Saturday 14 December 2013

Red with Black French Tops and a Reverse Accent!


Again, Scotland has delivered another perfect background for my nails! This is the kitchen bench top in my boyfriends brothers apartment and I think my nails look super-staresque with is perfect for this mani. Super quick and easy, I simply applied my base coat on each nail - either Sephora It-Girl (red) or Sephora Black Lace (black) - and then used my cut down nail art brush to freehand the tip in the opposite colour.


I am really proud of how neat the french tips look since it was all free-hand! Definitely making progress. 


Friday 13 December 2013

Snowflakes + Nail Fail


Day 13 of the December nail art challenge is snowfall. Originally, I read this as snowflakes and so that's why my nail is heavily focused on just the flakes! I mixed my own base through Essie Blanc (white) and Sephora Curacao (blue) for the base and used a cut down nail art brush with Essie Blanc for the snowflakes.


I thought this design was waaaay to common and simple when I first finished and really didn't like it at all. However the simplicity and subtlety has grown on me!


I tried to add some black and white glitter over the top to make it more interesting and more appropriate for the nail art challenge but it turned out to be a huge nail fail! H&M Graffiti Nail Polish Black/White Glitter is so dense that it completely covered the design. I did enjoy the contrast of the pale blue with the black glitter so I kept it on for the day anyway.


You can see the rest of my nail art for the December nail art challenge here.

Thursday 12 December 2013

Half-Suns


I'm definitely going through a seasonal colour palette phase (see my mermaid colours with a fishtail accent mani) - I love choosing colours of the same family! These colours screamed for a fun and summery design so half-moons it was. The dots seemed perfectly fitting to make my half-moons look like little suns as I return to summer next week...maybe they should be called half-suns instead?


The colours I used were Kiko Yellow, Rimmel How Do You Like It? (purple), Rimmel Tangy Tangerine (orange) and Sephora Dinner for 2 (pink). I started by painting my base colour (the colour of the half moon) over the whole nail. Once it was dry, I placed an adhesive circle sticker over my half moon and painted a different colour over the top. While the nail polish was still wet I removed the sticker. I then used a toothpick to paint small dots around the circle of the half moon. 


Unfortunately it was dark when I finished this mani and by the time I took photos the next morning I had some pull back from the top of nail from my top coat. Oh well! I think I will make a tutorial for this mani soon so I will be able to take some better pictures.

Wednesday 11 December 2013

Christmas Nails for Nailagogo


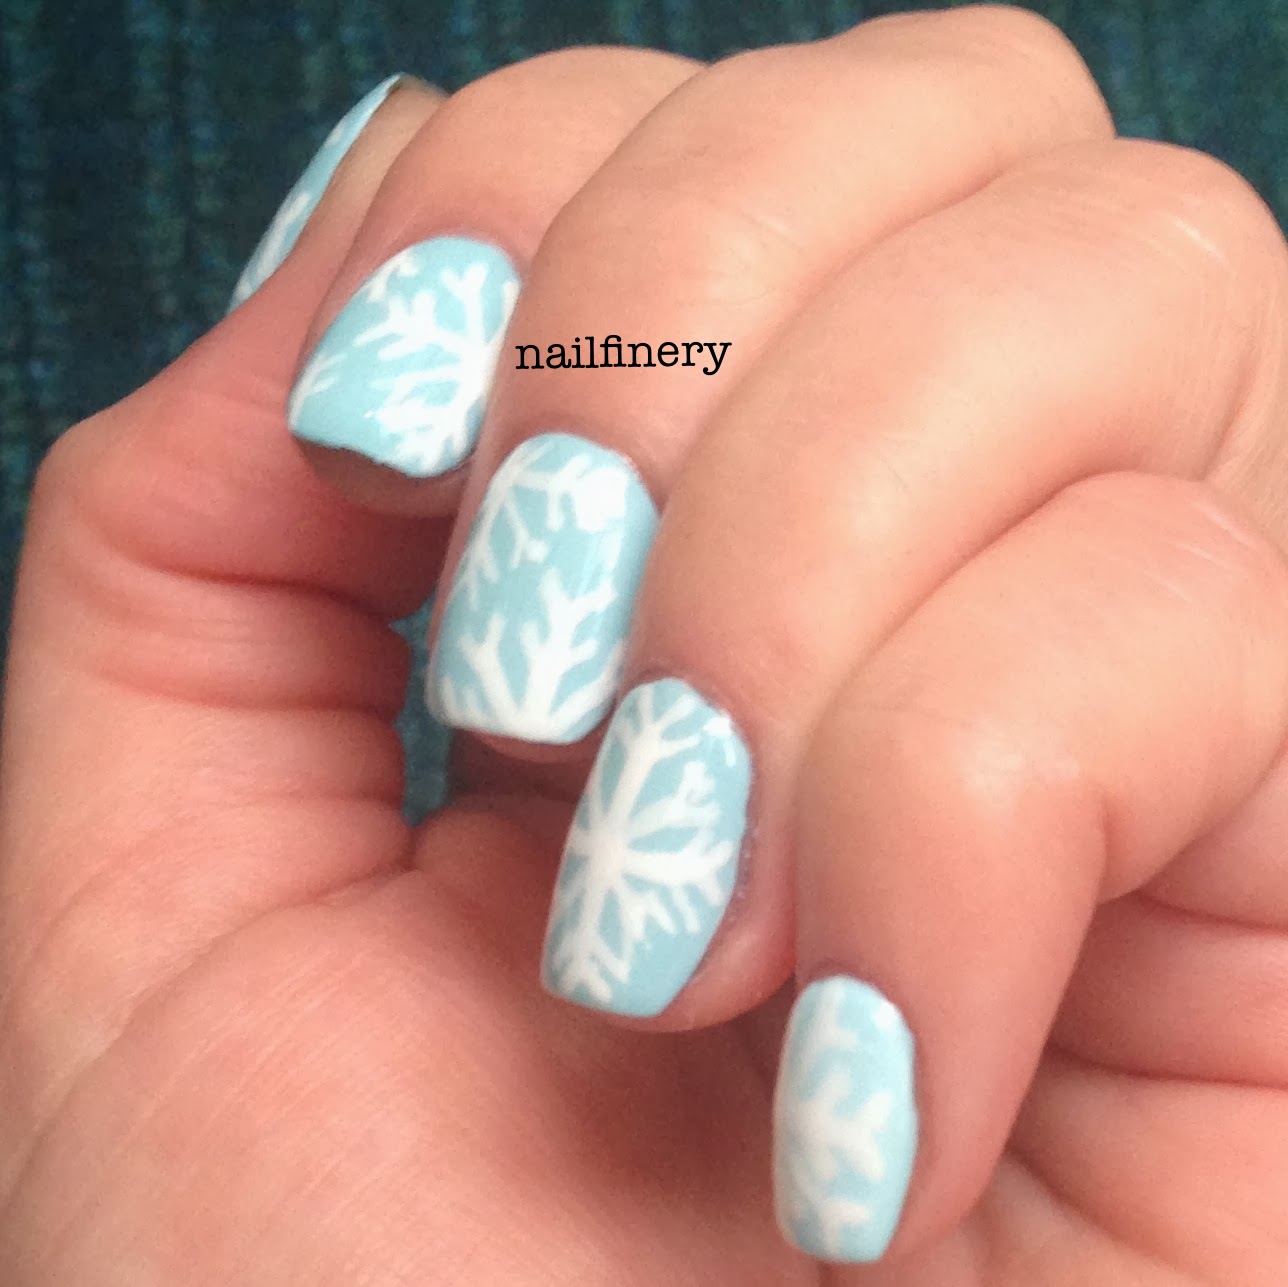
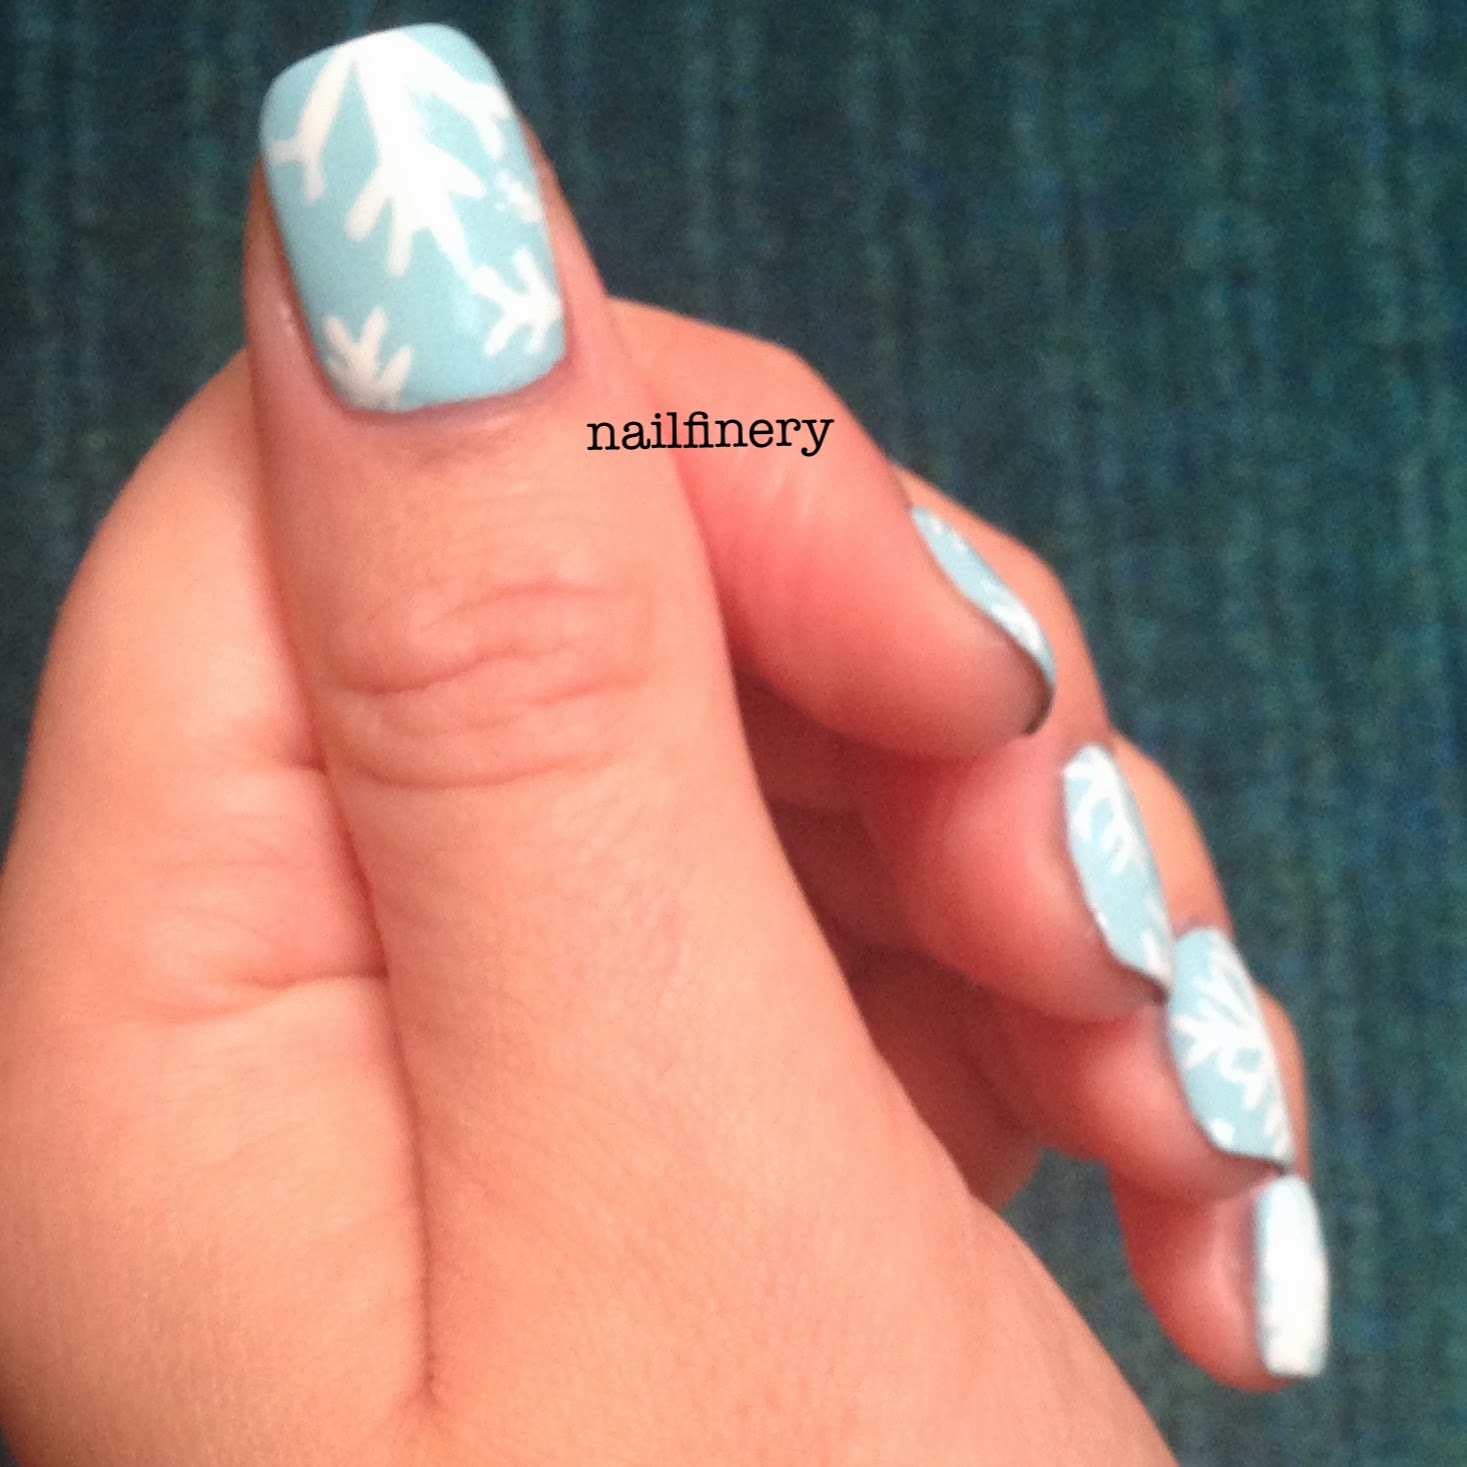
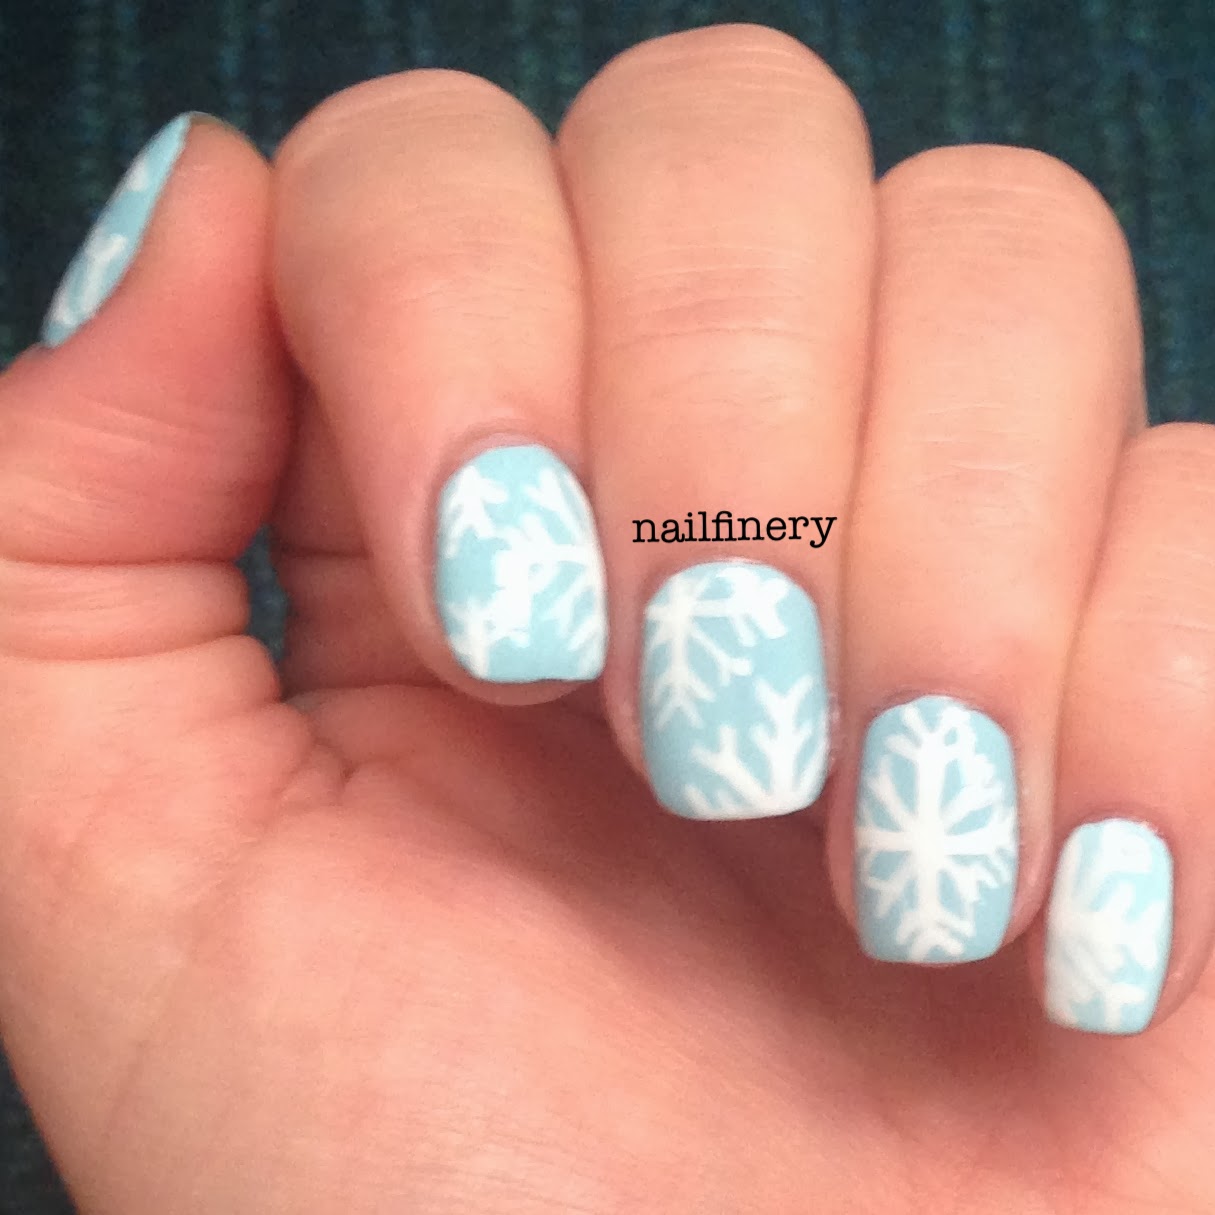
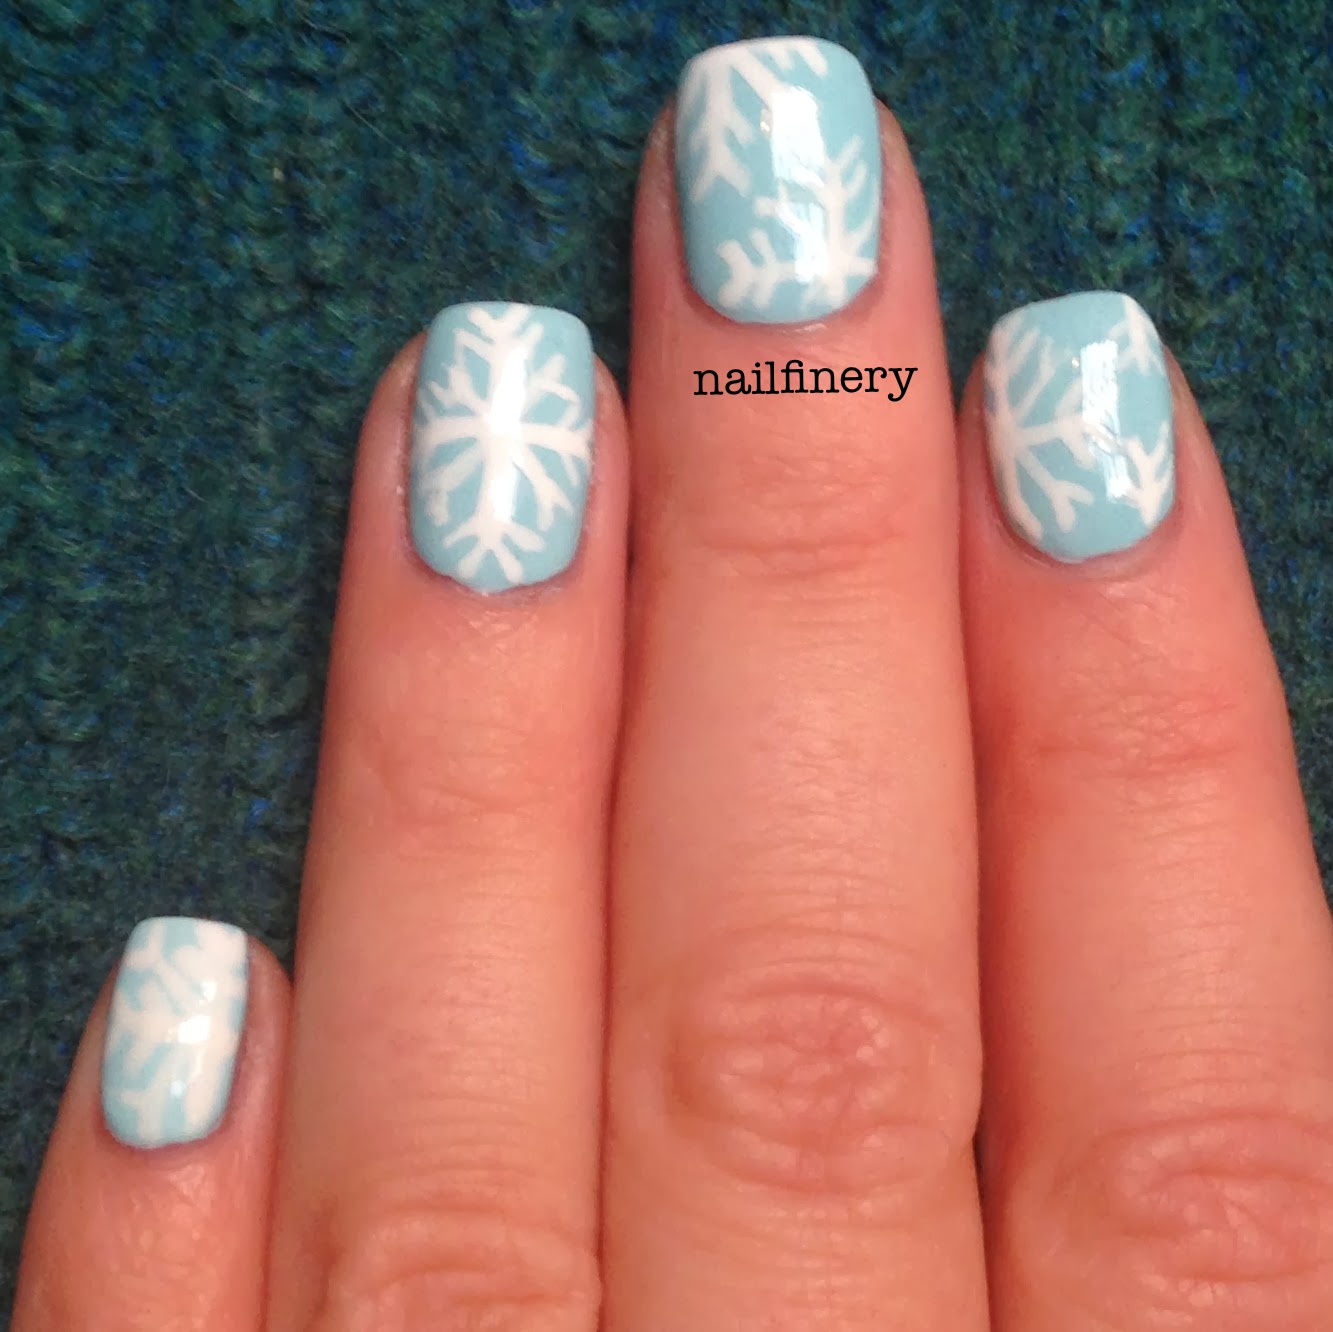
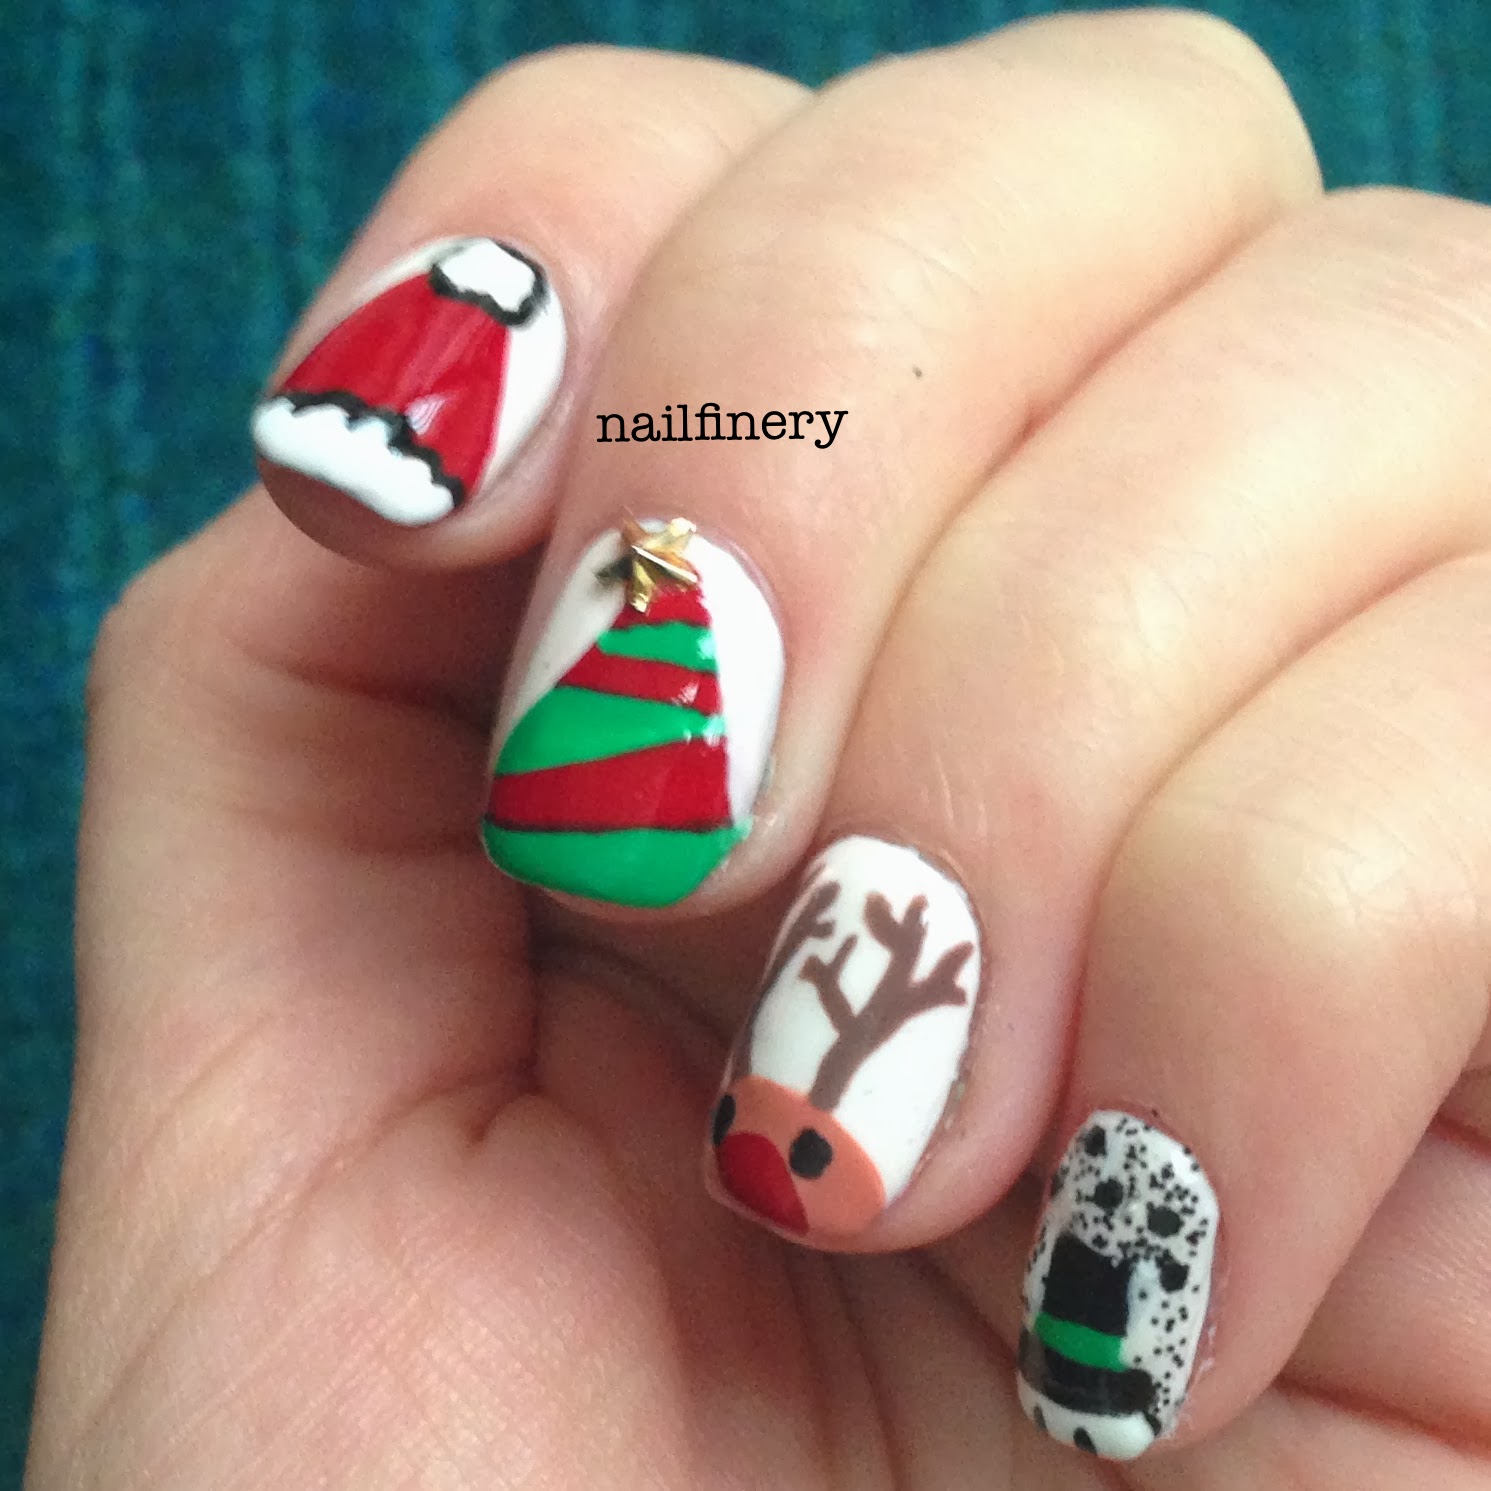
I know that a lot of people love Christmas but I really feel that my family and I love Christmas that little bit more. It is absolutely my favourite time of year with everything from lights to decorations to christmas food being number one priority in December. This is why that it is UNBELIEVABLE to me that I have waited 11 days to do Christmas nails!!


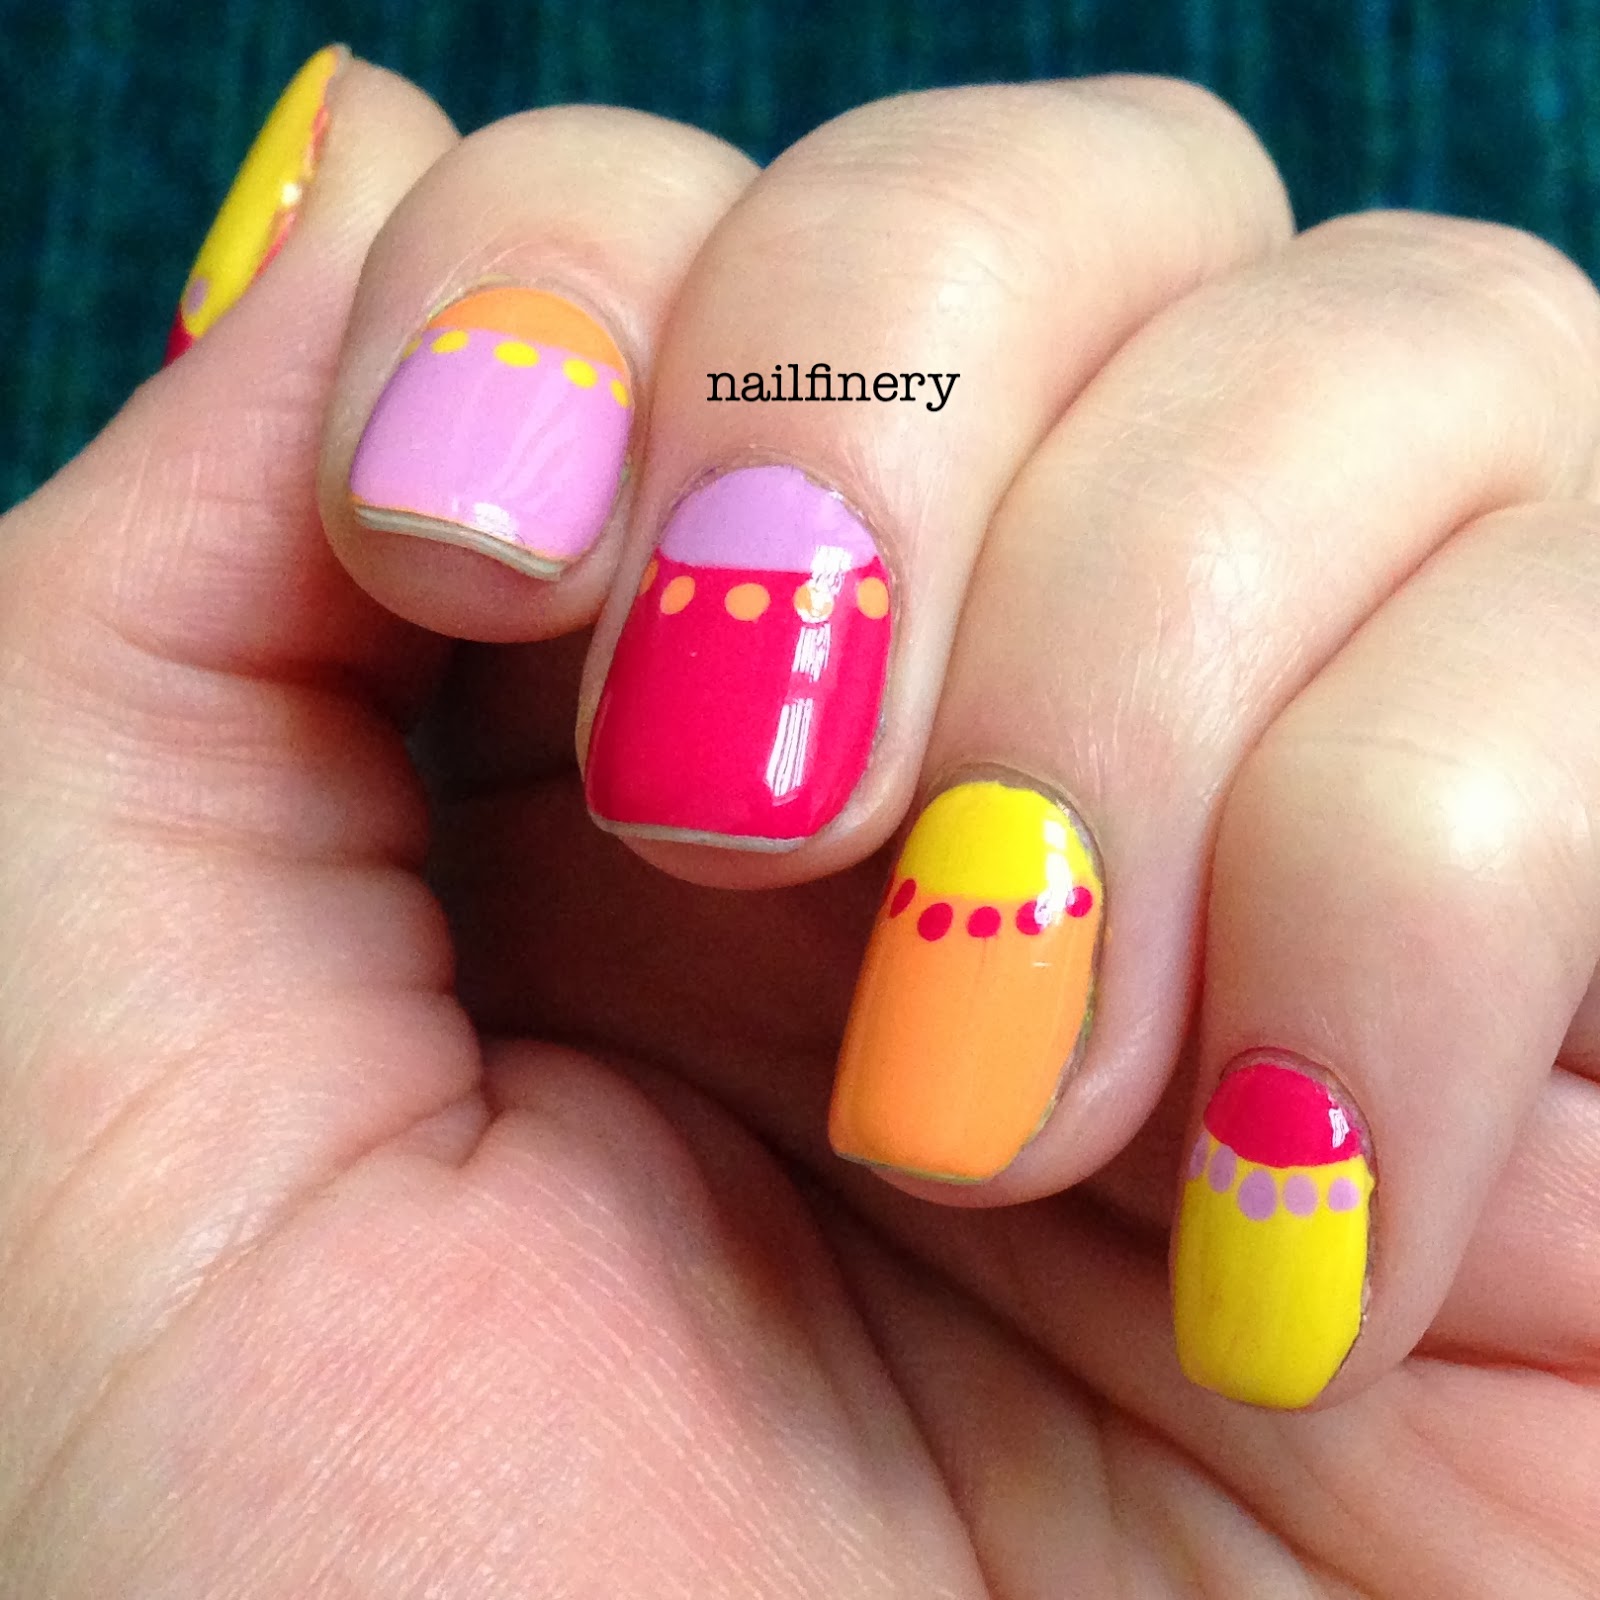
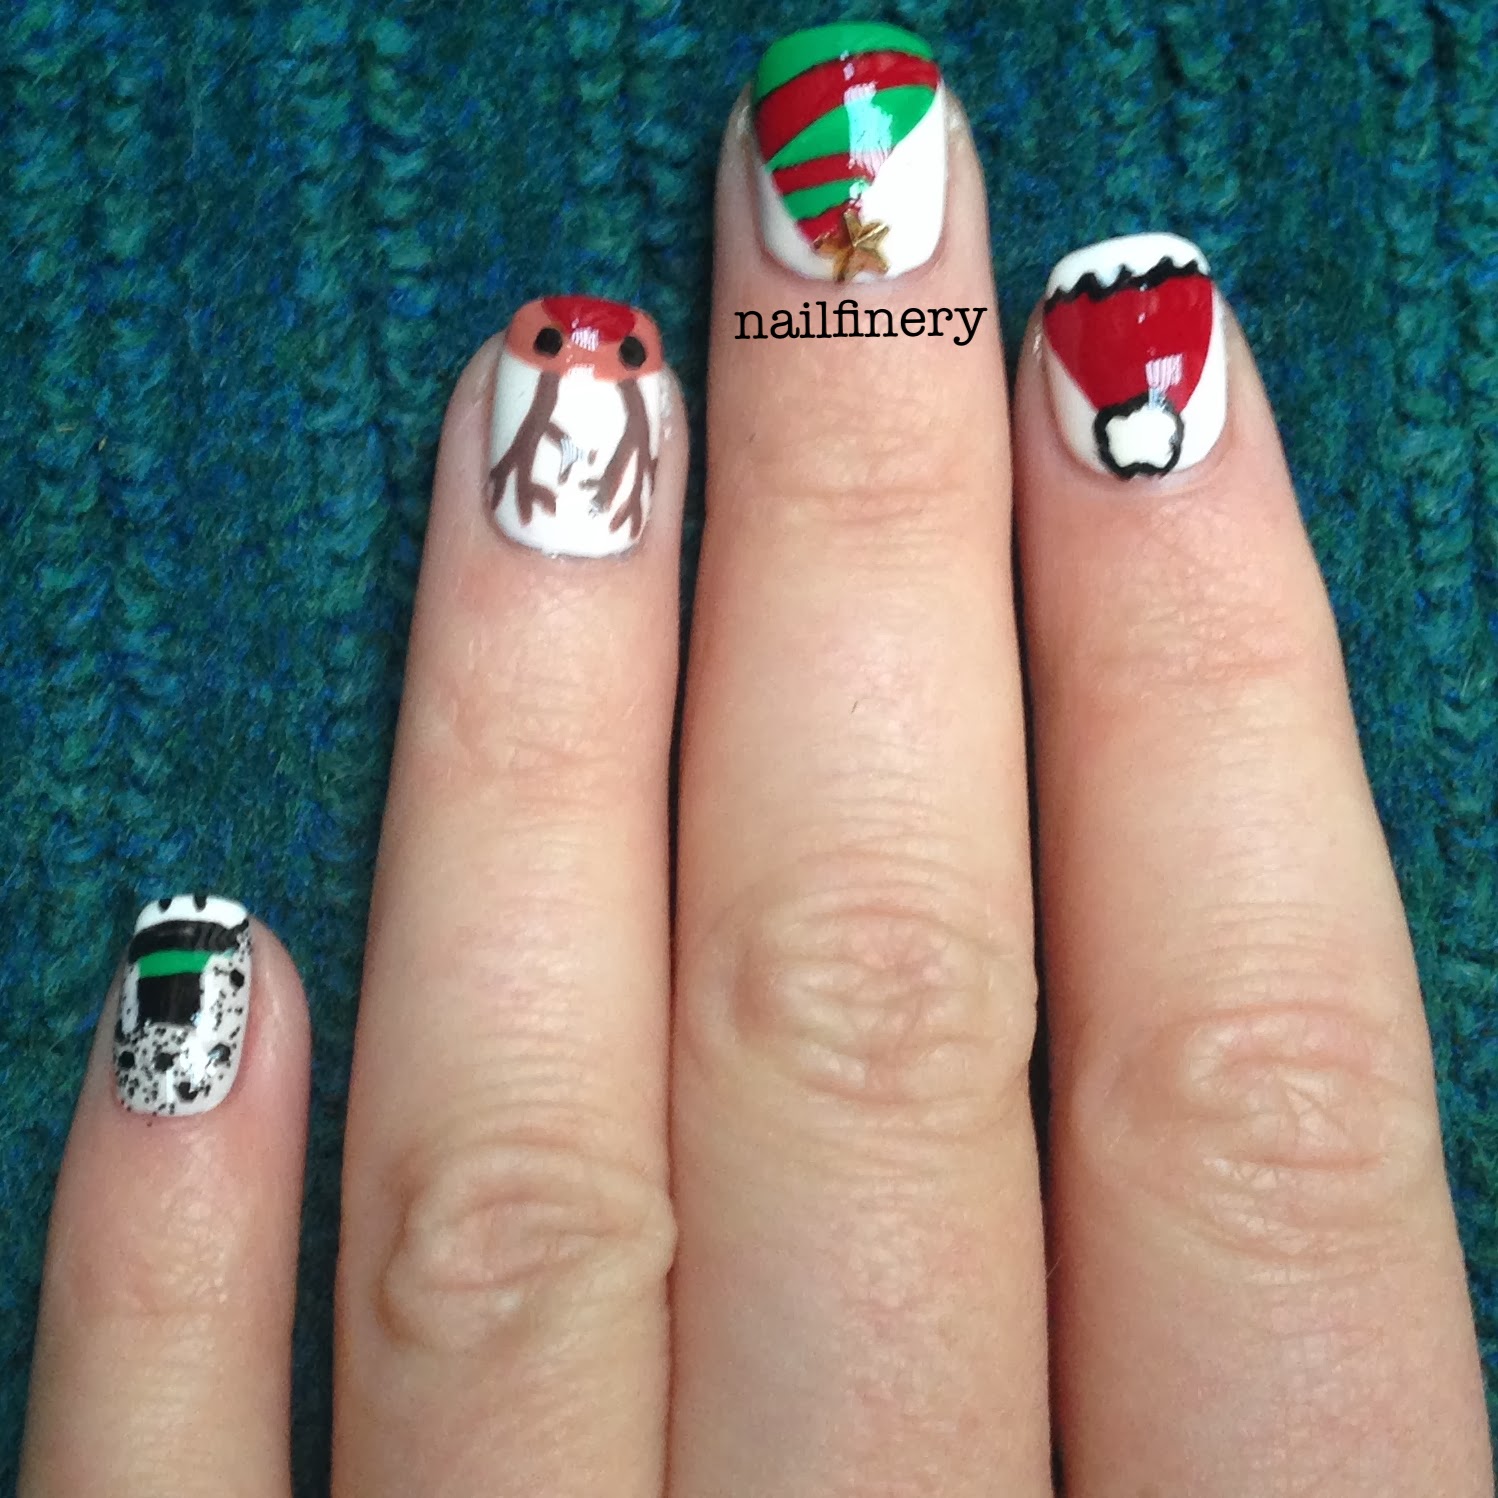
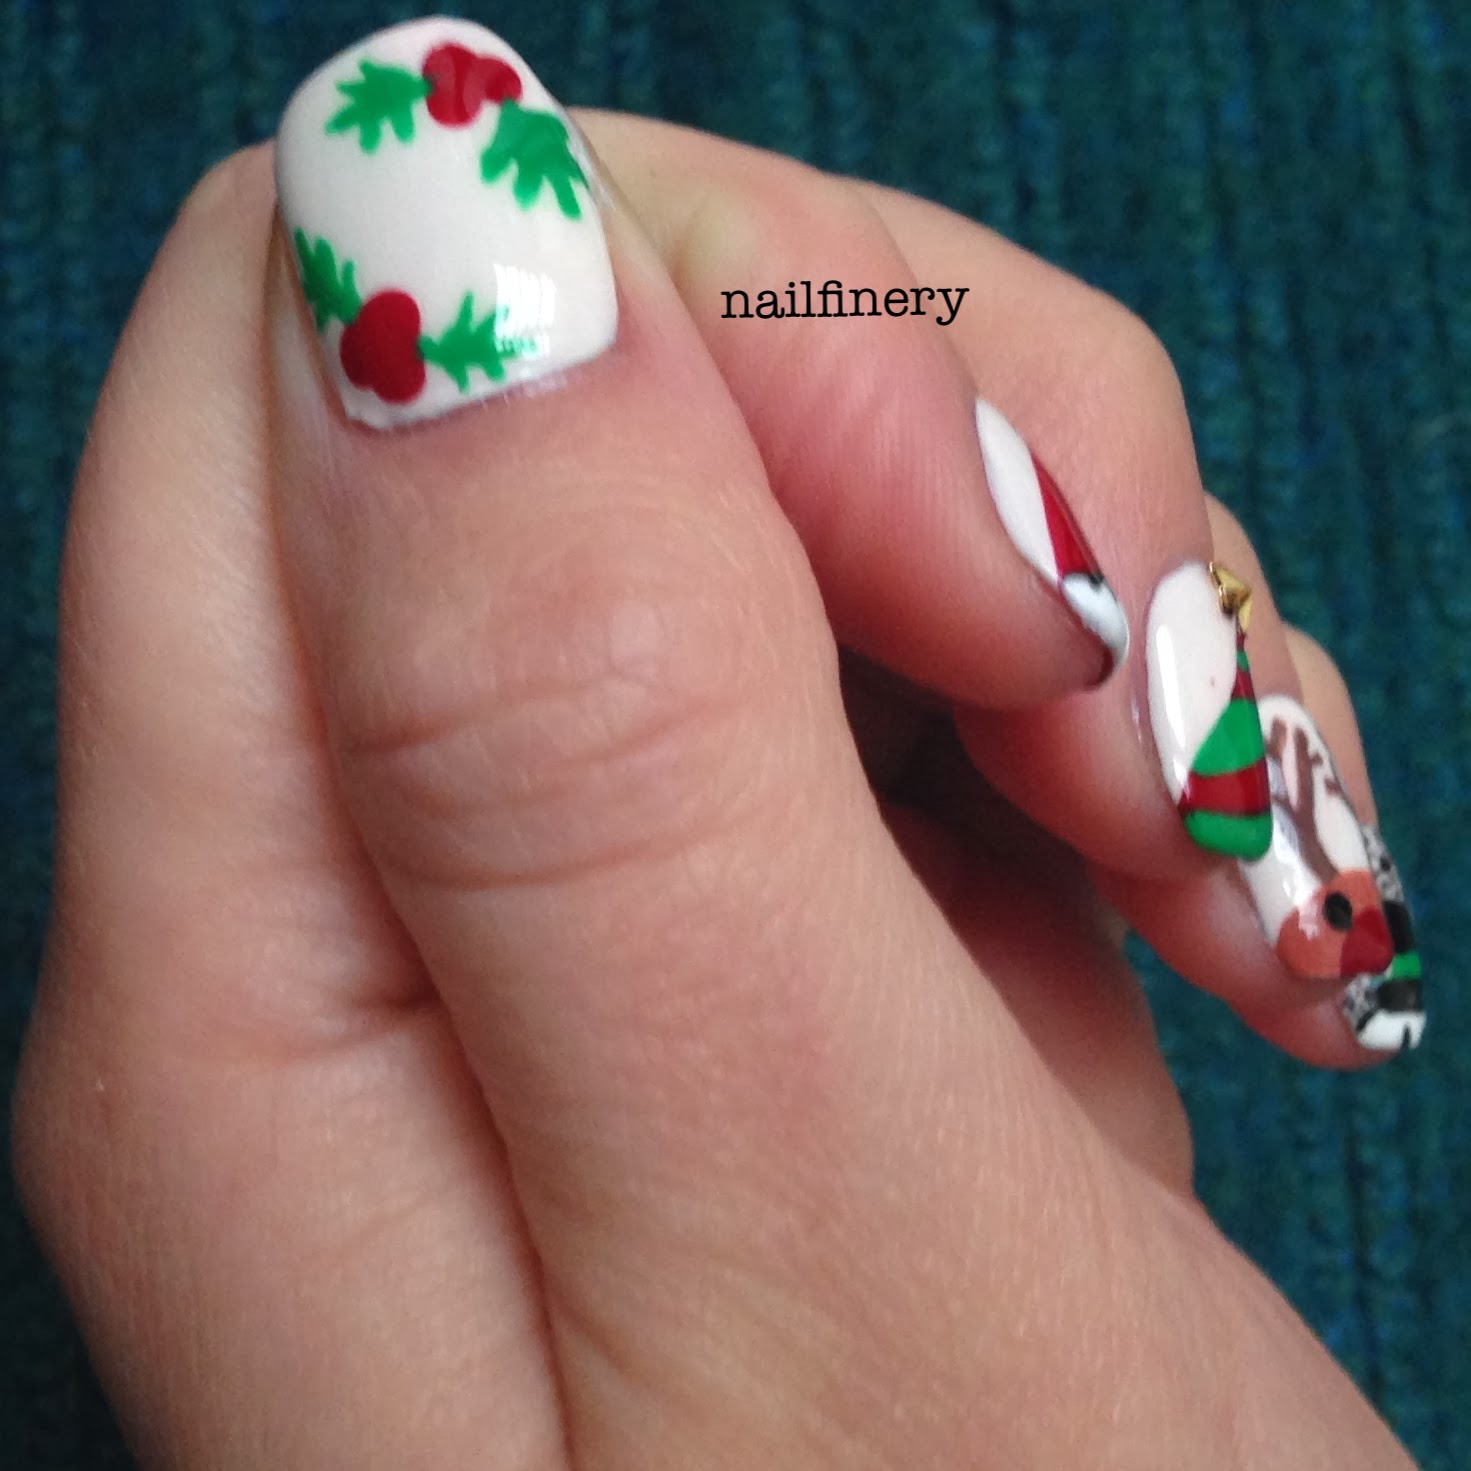
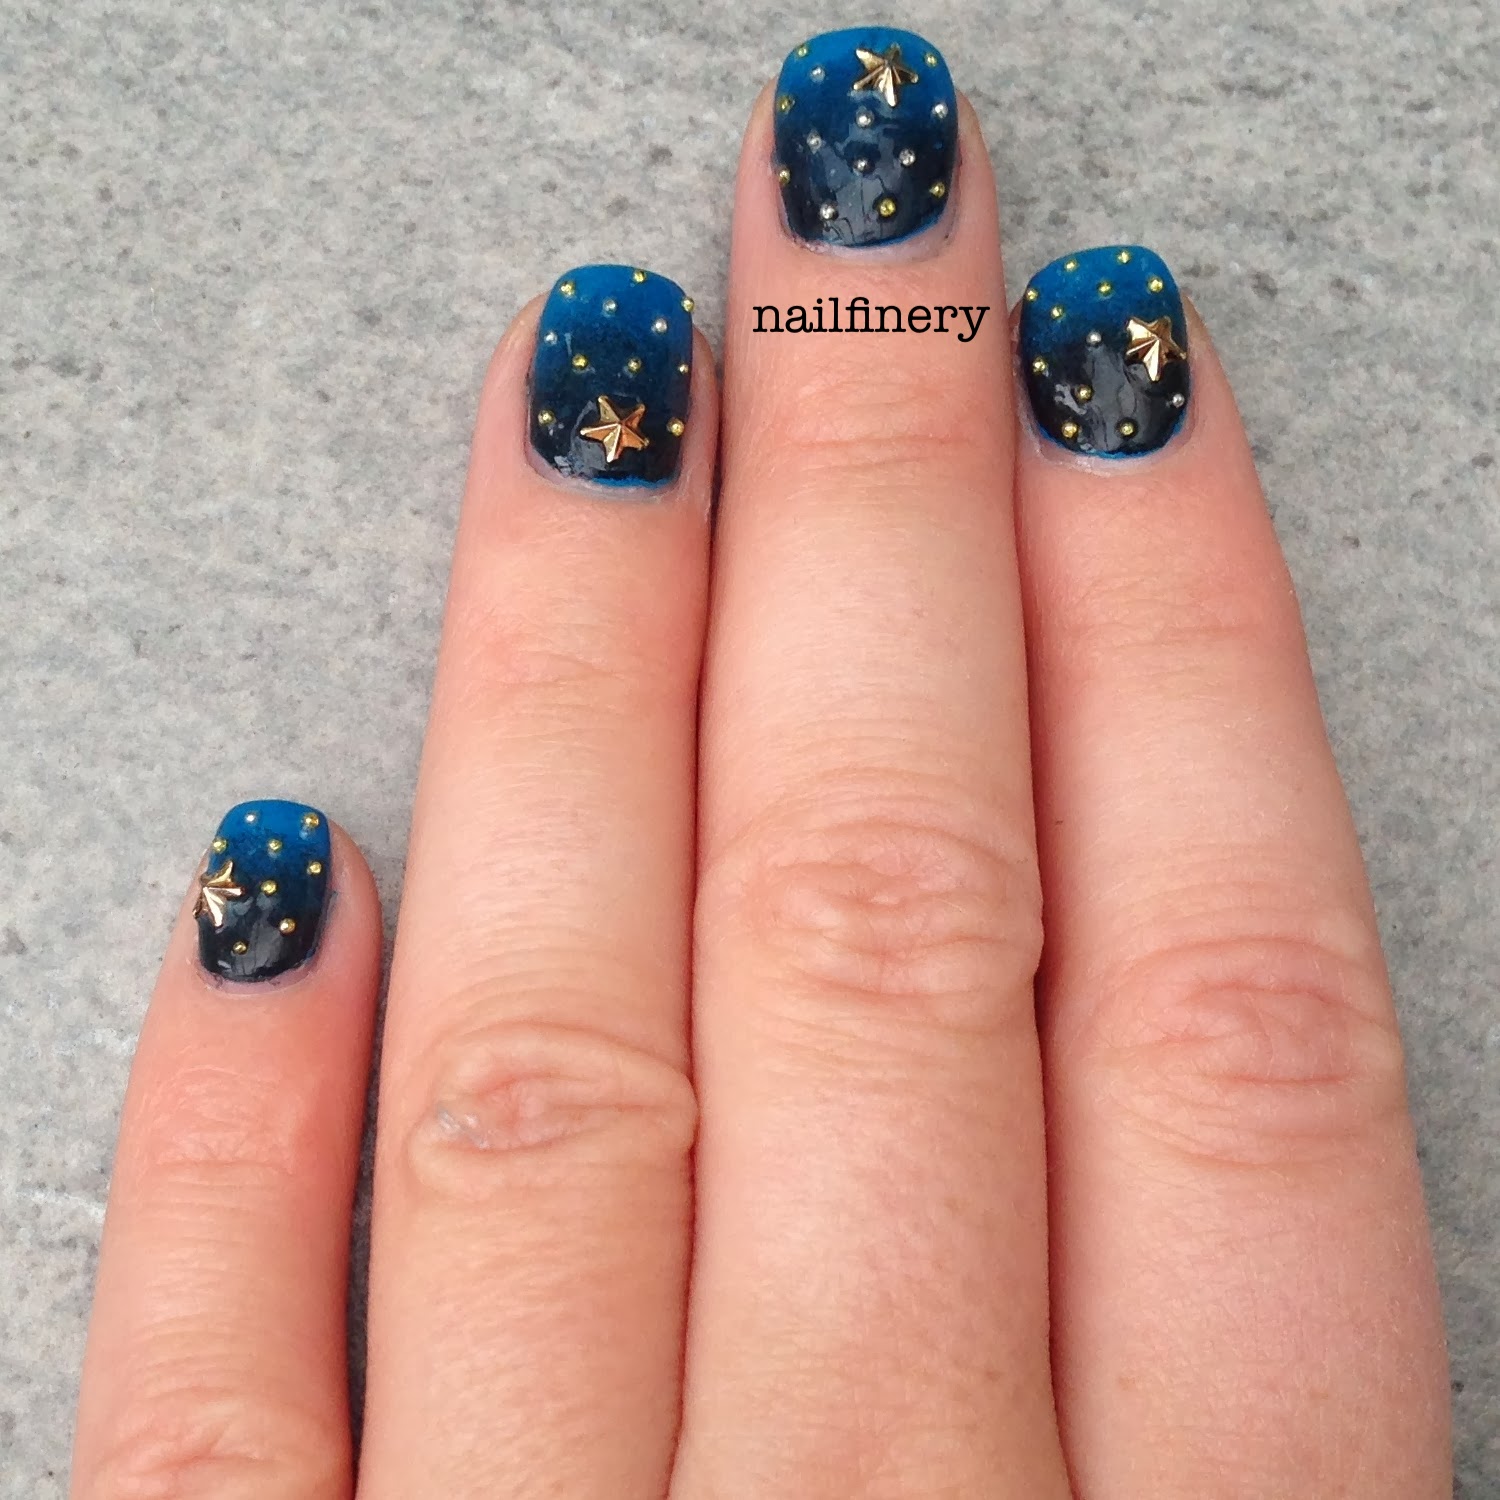
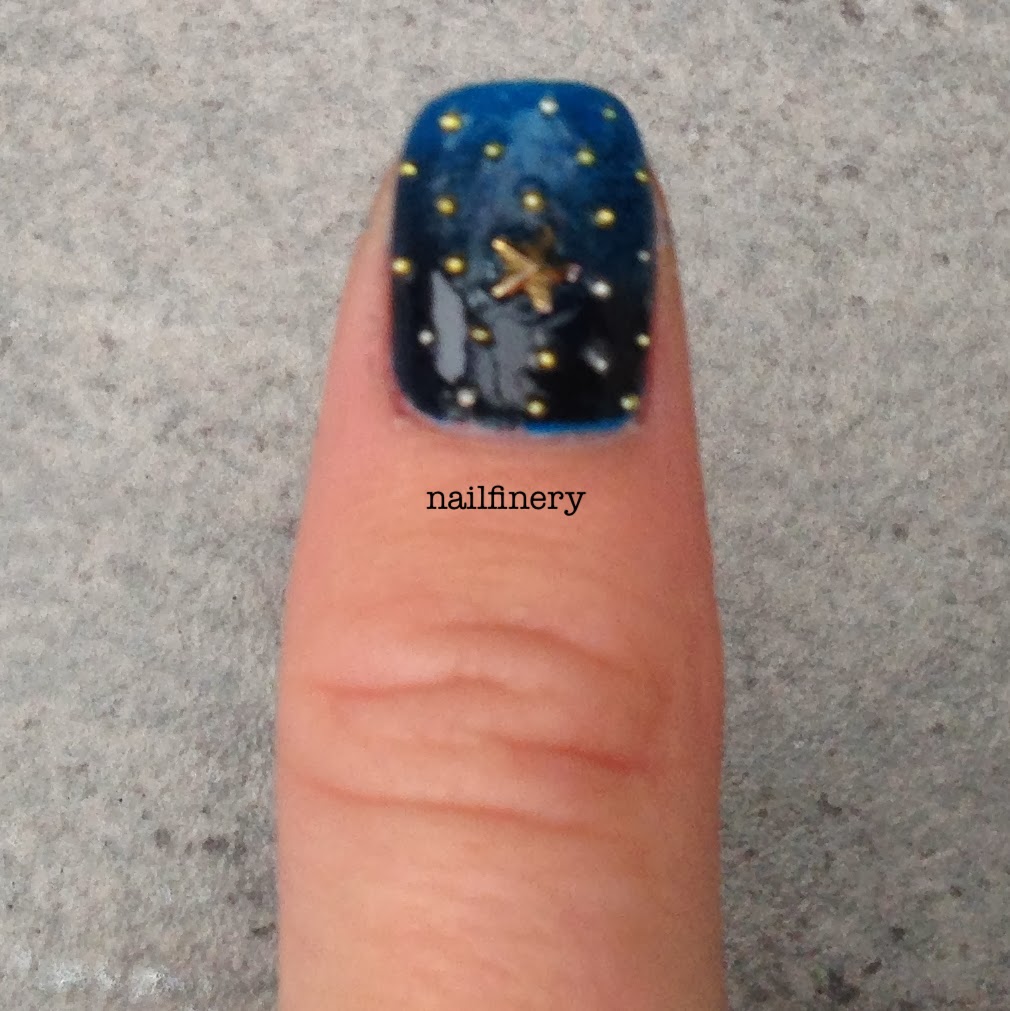
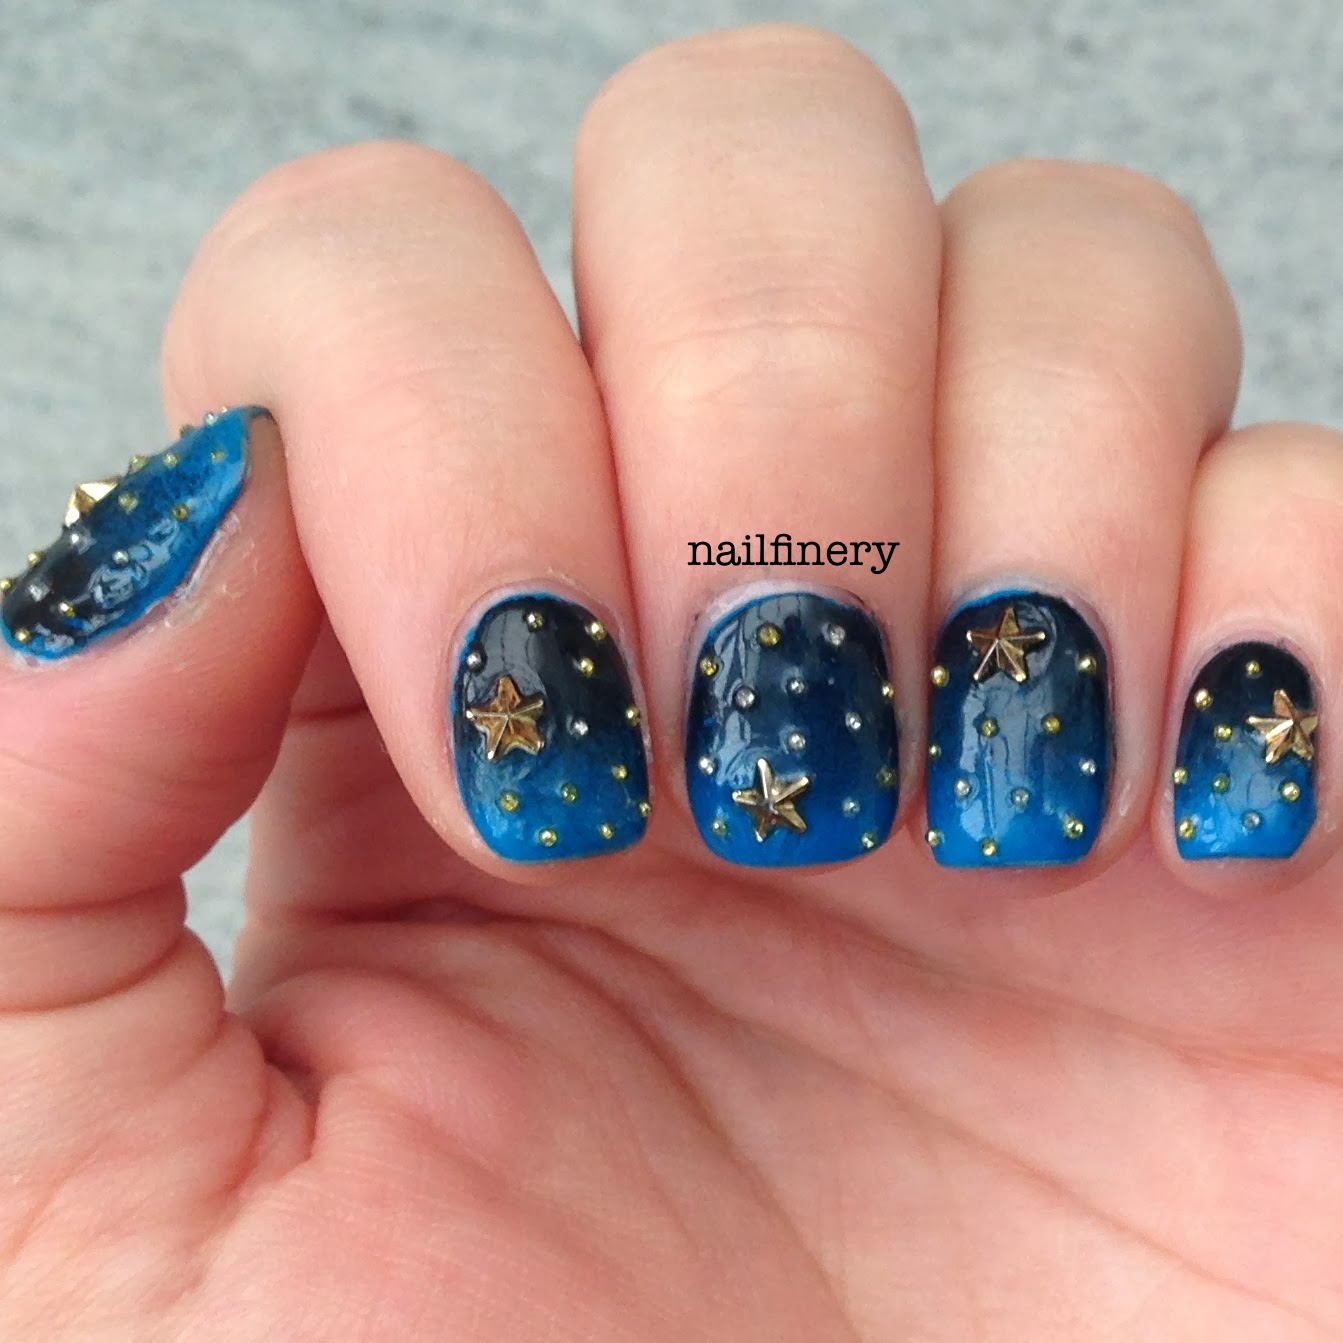
@Nailsagogo is hosting a Christmas nails competition ending on 23rd December that has one rule - each nail had to have a different design on it. So I decided to illustrate the hats and antlers of Christmas characters! Originally on my thumb I had three paper crowns that you get from christmas crackers but it really didn't fit in with the other nails so I swapped it for mistletoe instead!


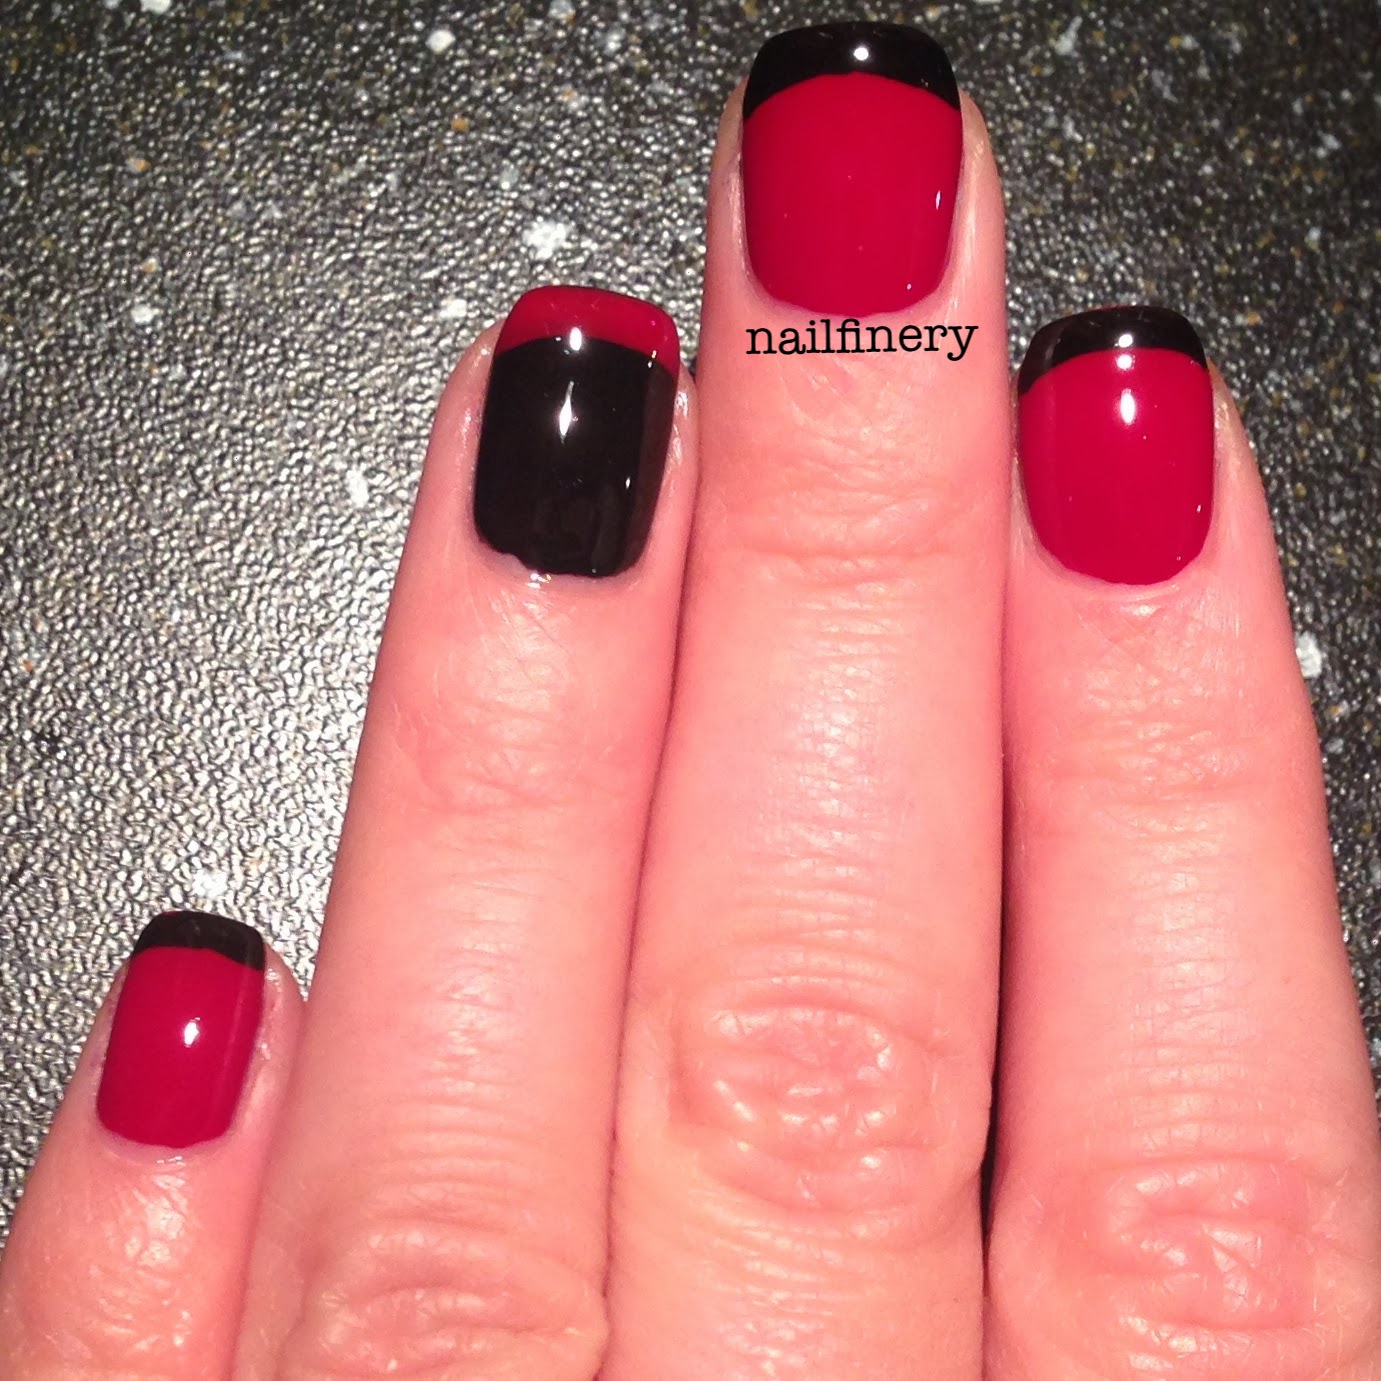
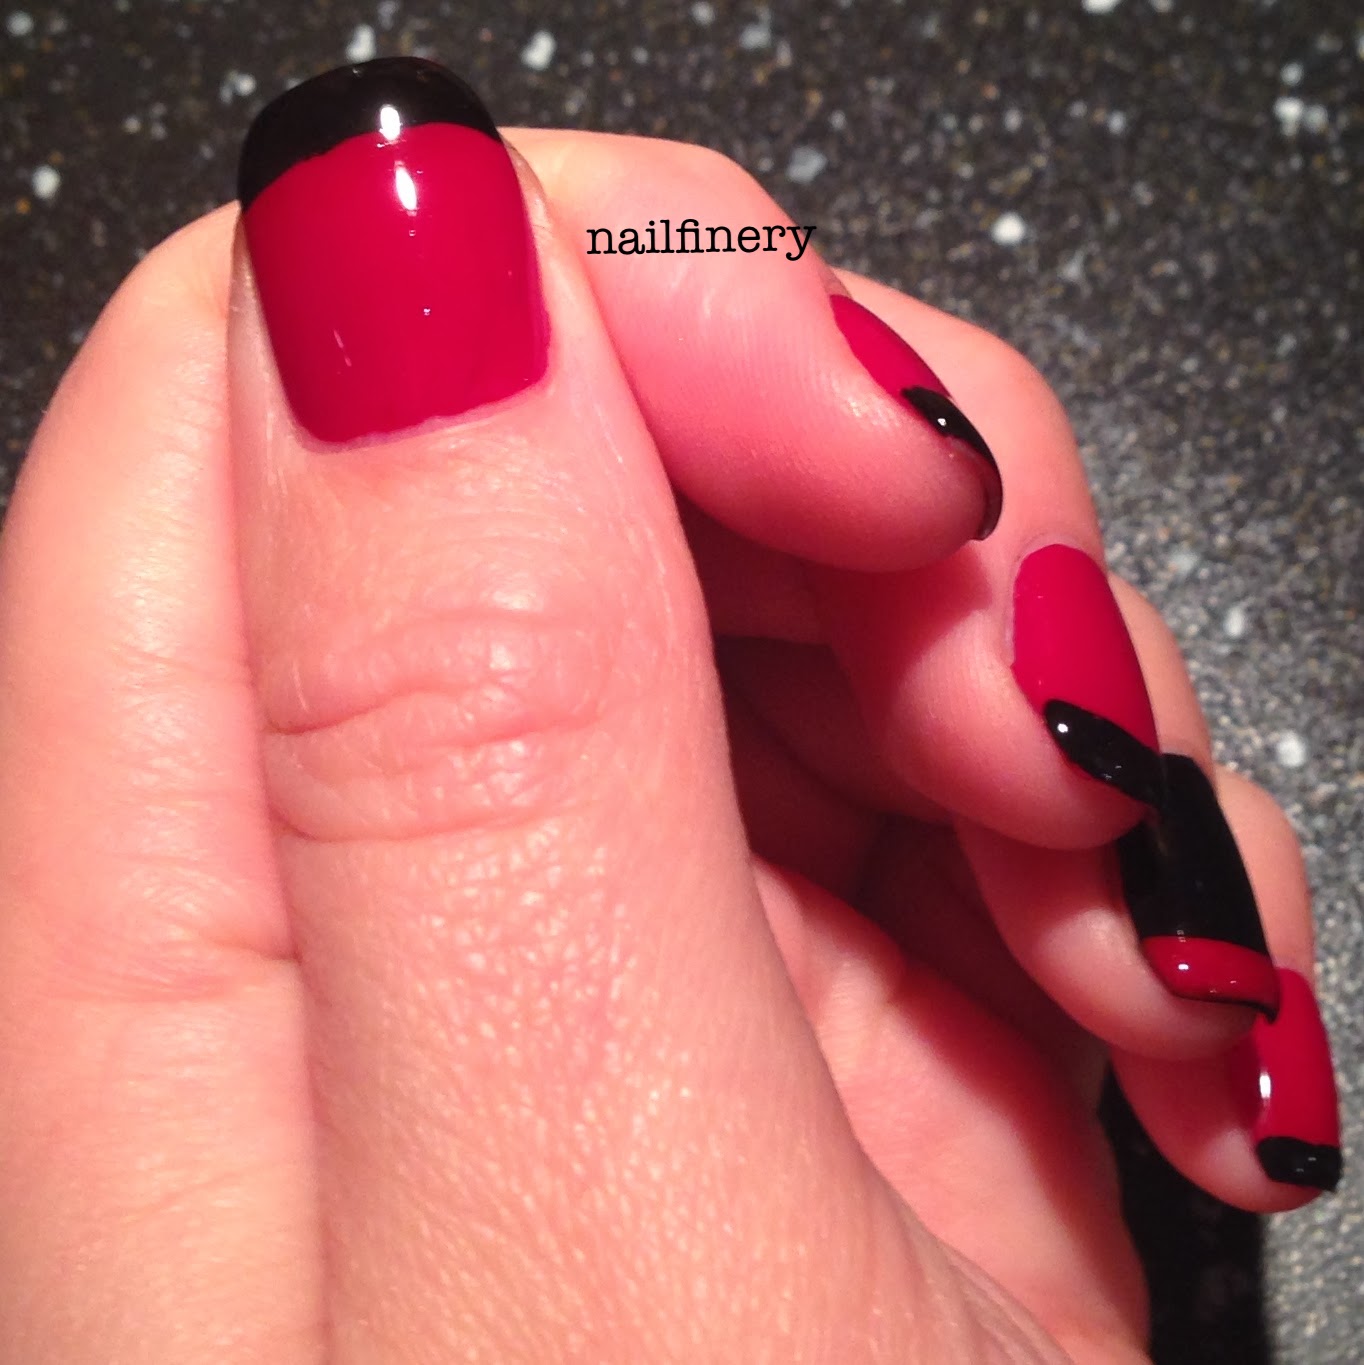
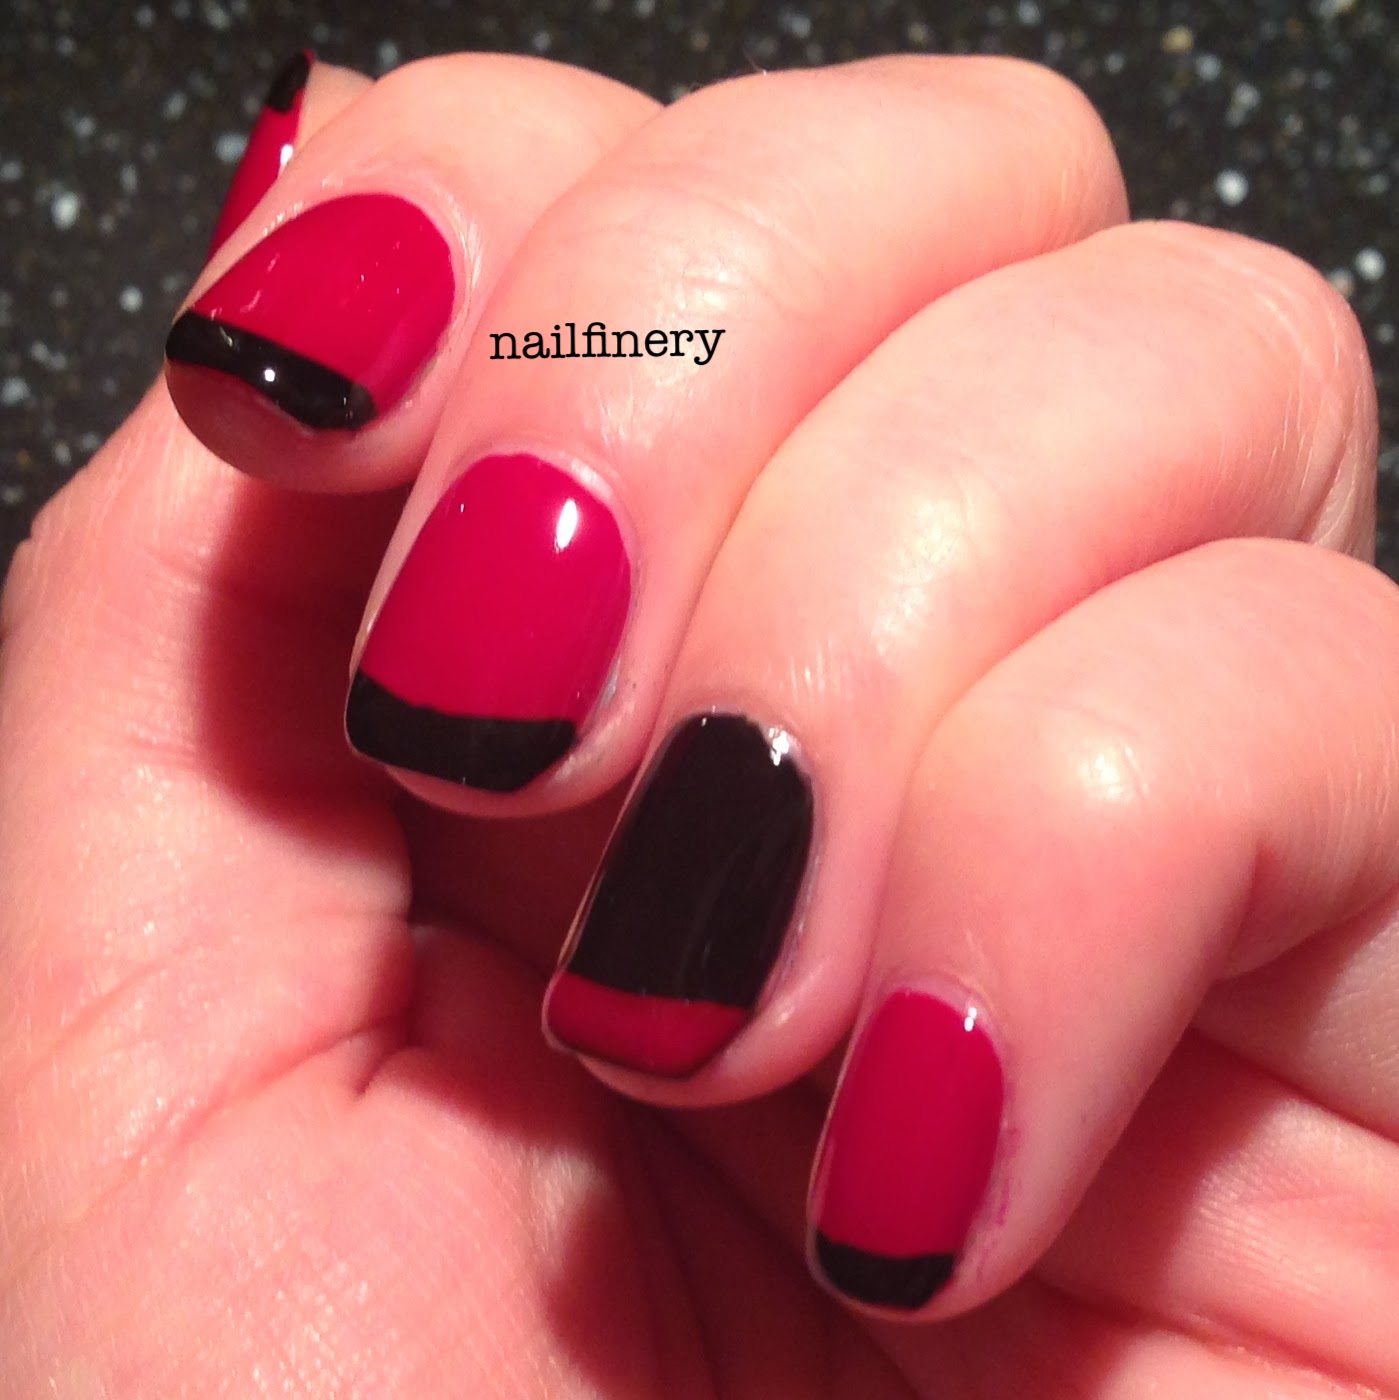
For the colours I used Sephora It-Girl (red), Sephora Black Lace (black), Essie Blanc (white), Kiko Green, Collection Antique Rose 12 (brown) and H&M Graffiti Nail Polish Black/White Glitter! For the base colour, I mixed a small amount of brown nail polish with a lot of the white and for the antlers I mixed a small amount of black nail polish with a lot of the brown!


Unfortunately the other entries are much better than mine so there is no chance I'll win! But it still felt great to do Christmas nails - yippee!


Tuesday 10 December 2013

Studded Night Fall


One thing I am noticing A LOT in the UK is nightfall - since it gets dark around 4:30! So it only seemed appropriate to pay tribute on my nails. I actually had this idea stored in the back of my mind for a while and then when I noticed that the theme for day 10 of the December nail art challenge was studded it seemed to be fate.


I used Sephora Black Lace (black) and Sephora Curacao (blue) for the gradient. The gold studs were also purchased from Sephora and the stars are from H&M. I started with a sponge gradient of black to blue on all nails. I then used nail glue to stick one star on each nail, trying to keep it random. I finished by covering each nail with a slow drying top coat and placing the studs with tweezers while it was still wet. I sealed the whole thing with Seche Vite!


The only thing about this mani that really bothers me is the clean up! Black and blue are so difficult to get out of your cuticles and I wish I had waited till I was reunited with my acetone next week so I could really do a clean job. The studs also were shiner before I Seche Vite'd the whole thing, I should have taken photos then. I also took some snaps of the mani under artificial light as I liked how my nails looked, even if my skin colour is a little off.


You can find more of my nail art for the December nail art challenge here.

Monday 9 December 2013

Triangle Mani with Pink and Yellow Gradient


One of my biggest secrets with nail art was that I had never done a gradient using a sponge. I've always cheated using jelly polishes and covering it with a glitter topper. Chalkboard Nails sums it up perfectly here. So I wanted to try a sponge gradient but didn't want to bother with the clean up without having my acetone on me and that's where the triangle pattern came in!


Definitely room for improvement with my sponge technique! I've learnt it works best painting the nail polish straight onto the sponge. It also blends better if it's done right first go (like on my middle finger) rather than dabbing the sponge and trying to blend it further yourself (like on my ring and pinky finger). I will be trying a sponge technique tomorrow for day 10 of the December nail art challenge so hopefully I will be more successful!


Sunday 8 December 2013

Mermaid Colours and a Fishtail Accent


Could I start by saying how amazingly perfect is the carpet background in this photo? It's the hallway carpet in my boyfriend's brother's apartment in Scotland and it really couldn't have worked out any better for my colour scheme. Here is my first attempt at fishtail and in keeping with the under the sea theme, I've opted for beautiful greens and blues. The colours I've used here are Essie The More The Merrier (pinky), Rimmel Pear Drop (middle) and Kiko Green (index). 


I've realised now looking at other fishtail mani's I need to keep my diagonal strips moving from the outside to the centre - rather than from side to side - to get the same look as a plait. I've also realised that clean up is ALWAYS a nightmare when you flood your cuticles with blues :( Still I love this design and this colour scheme, expect to see a lot more of it!