
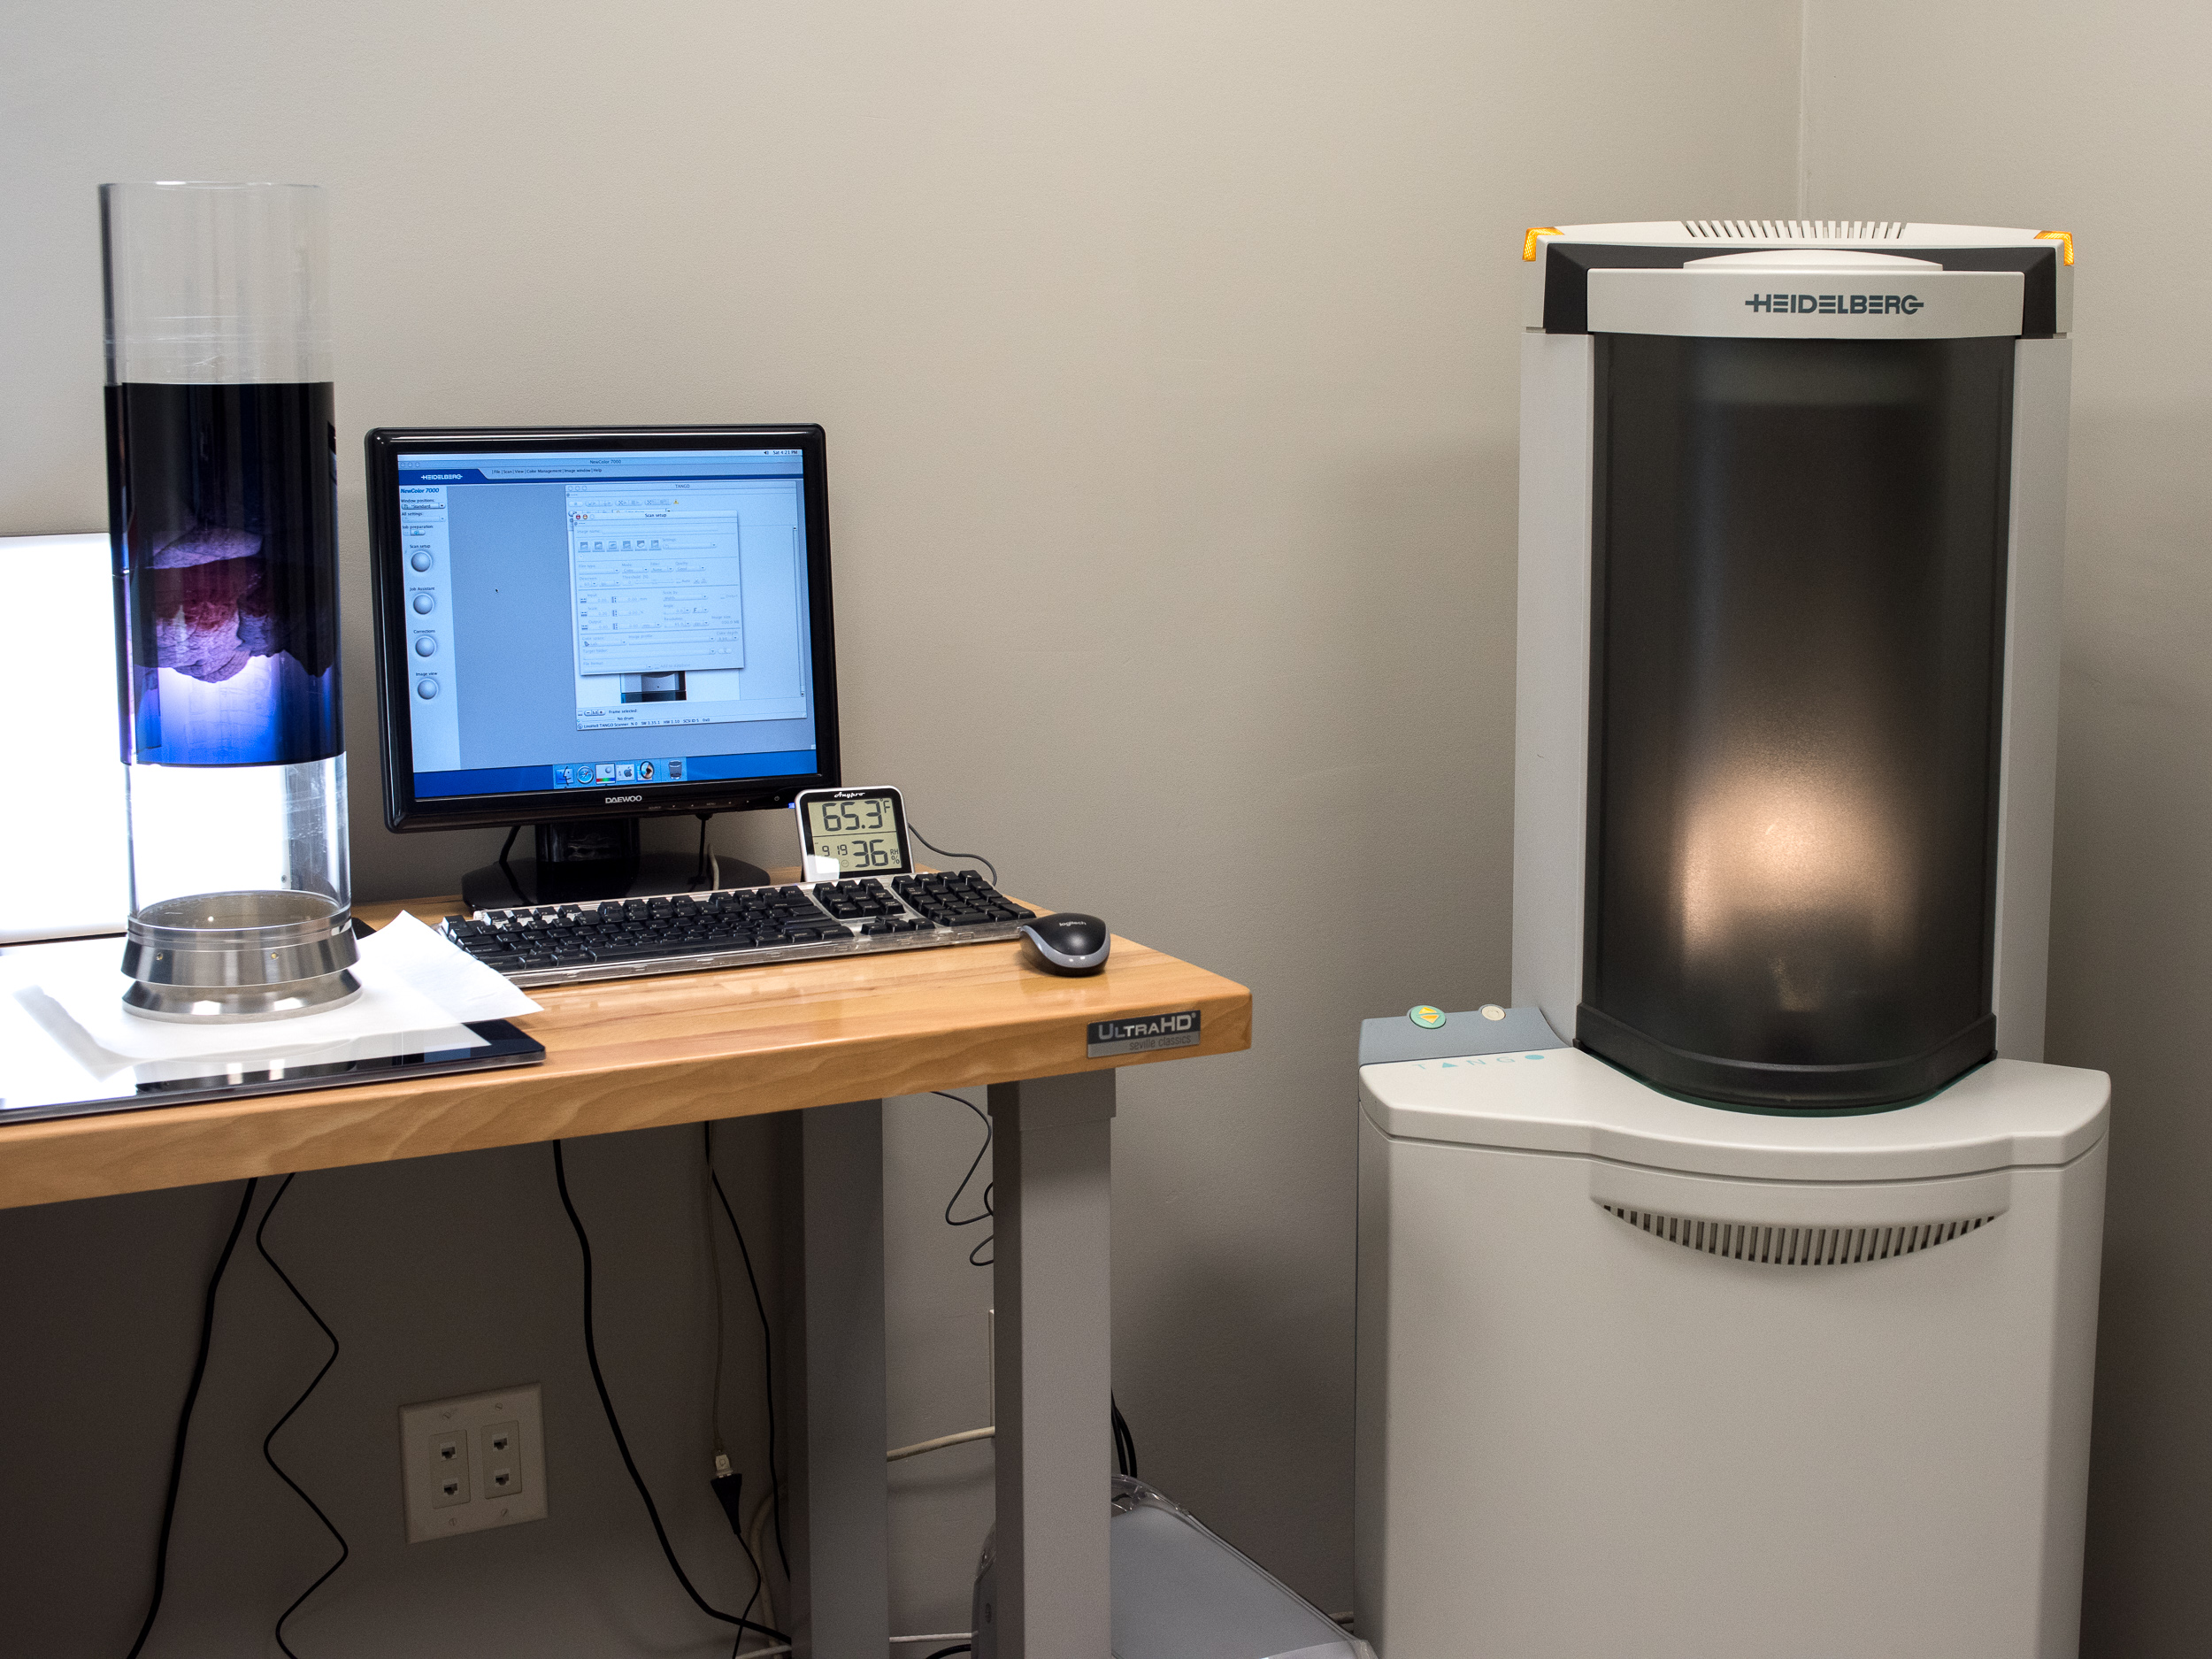
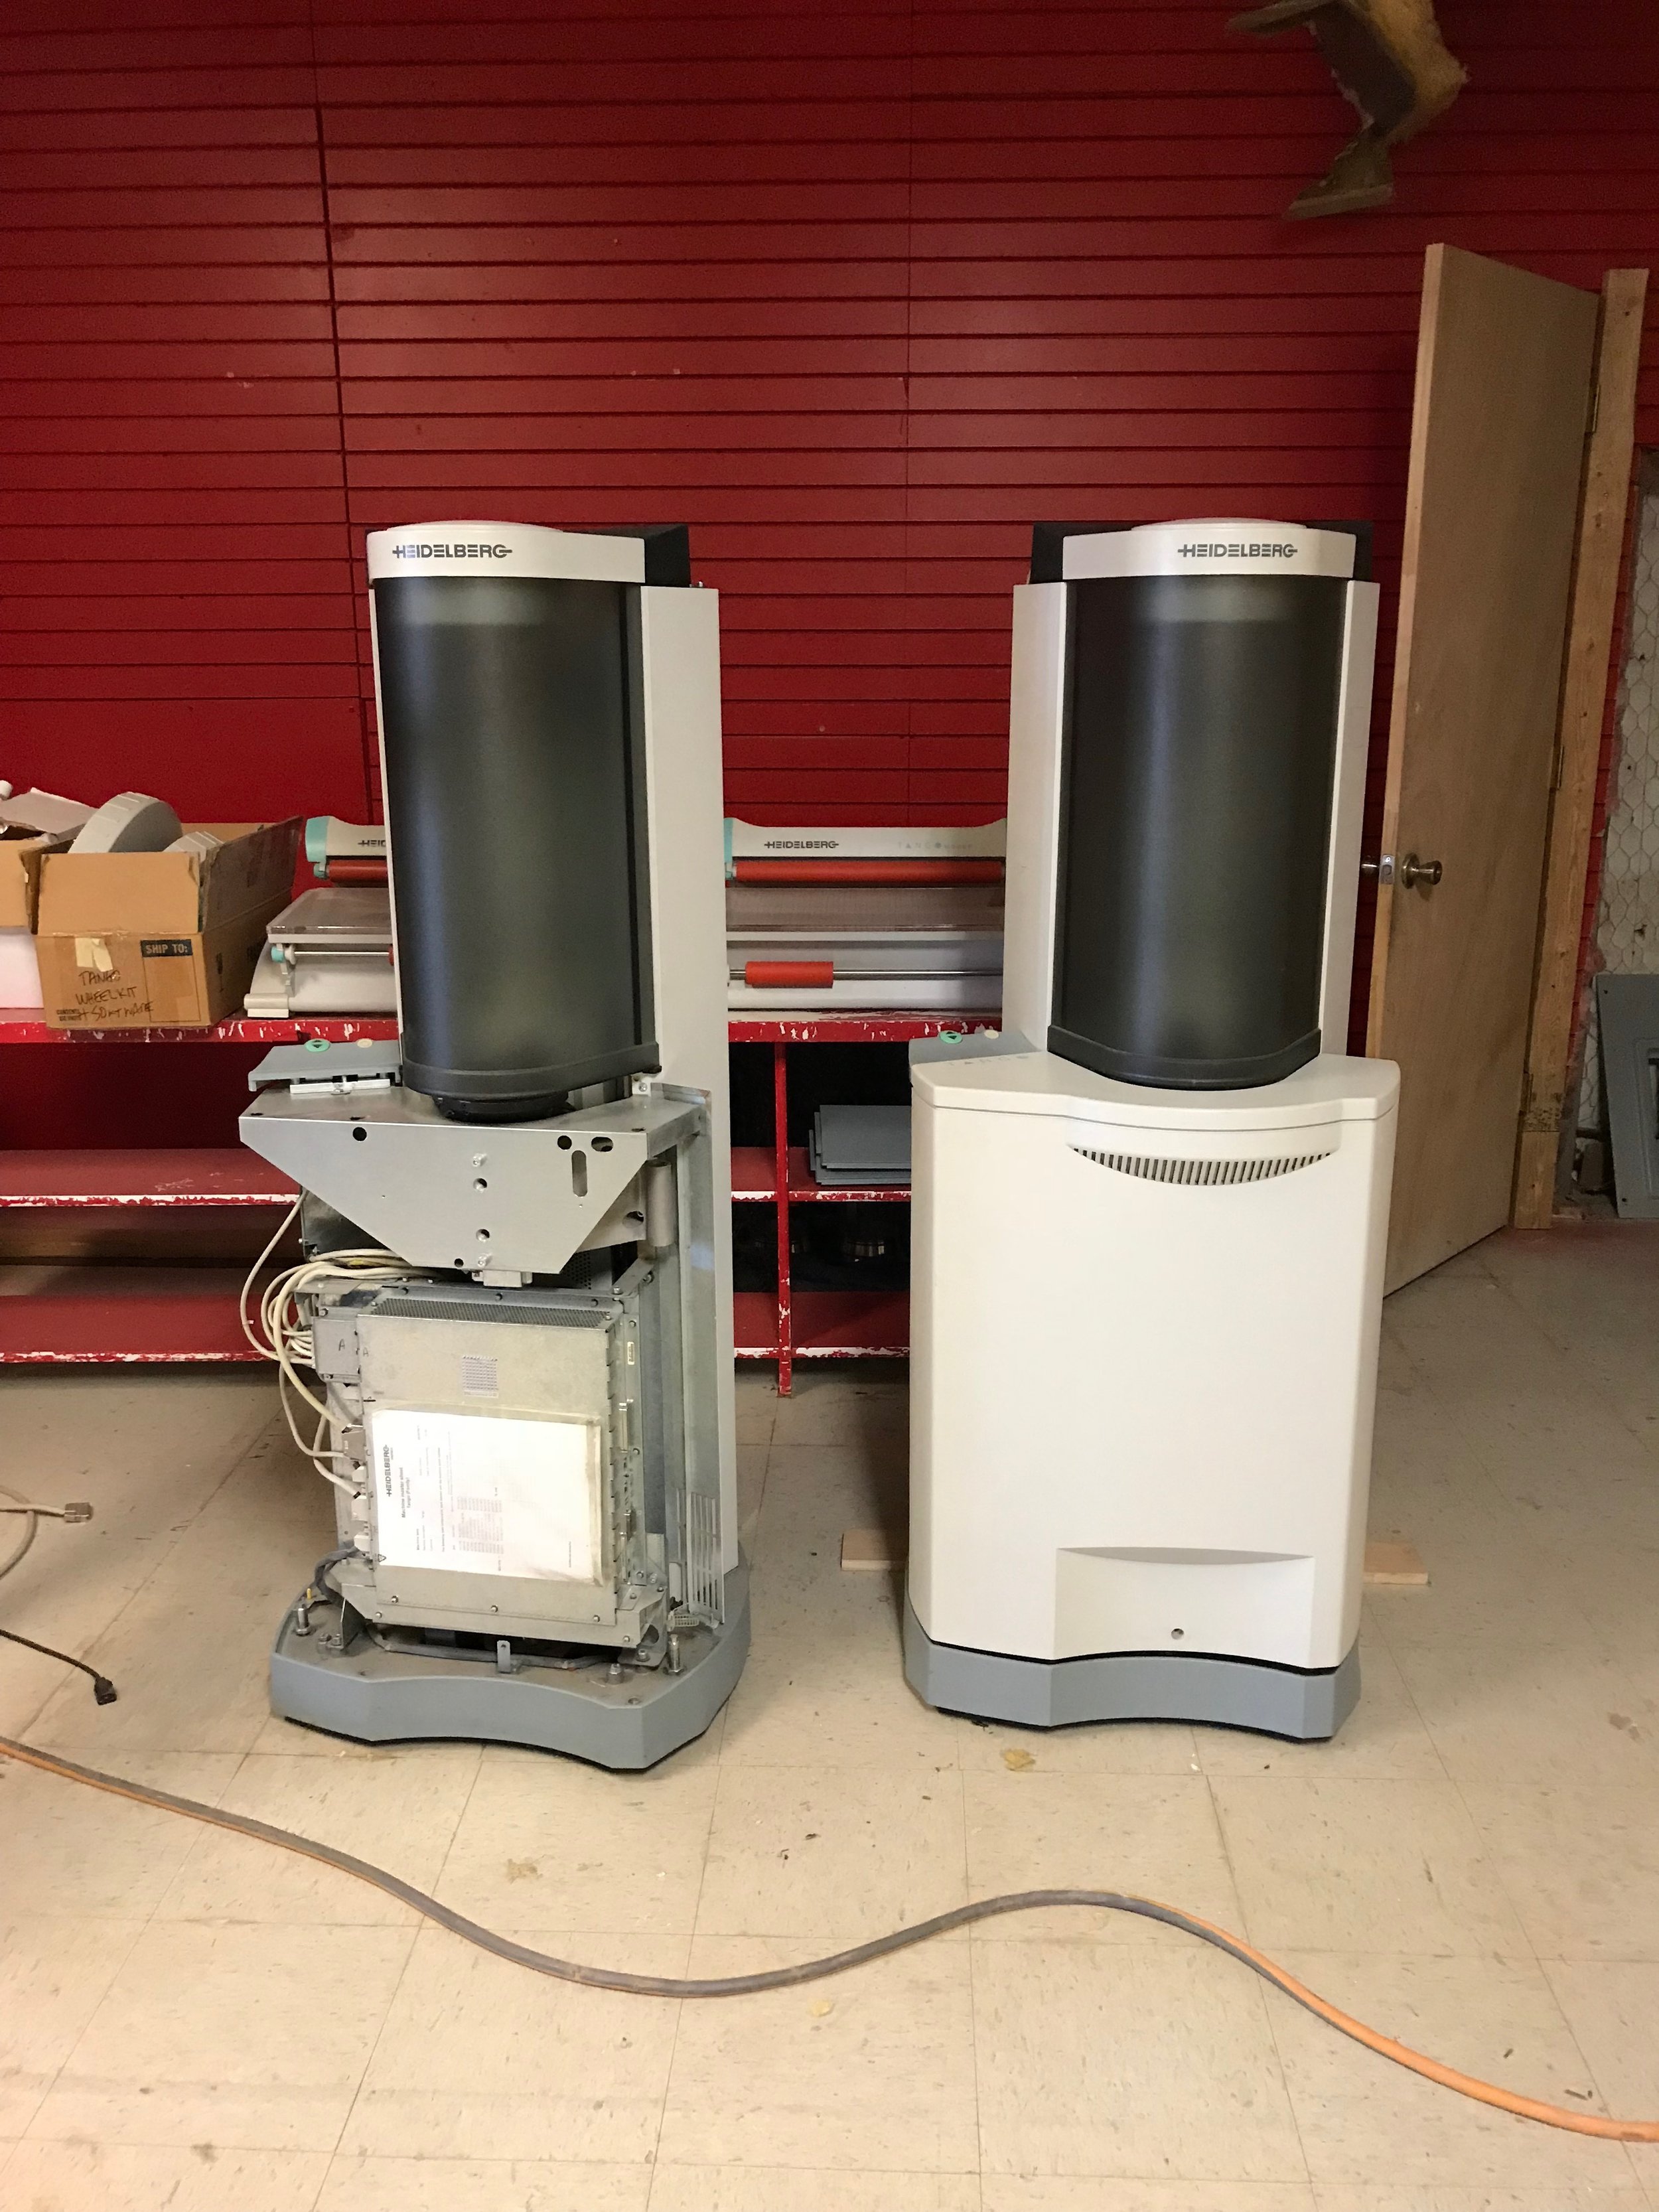
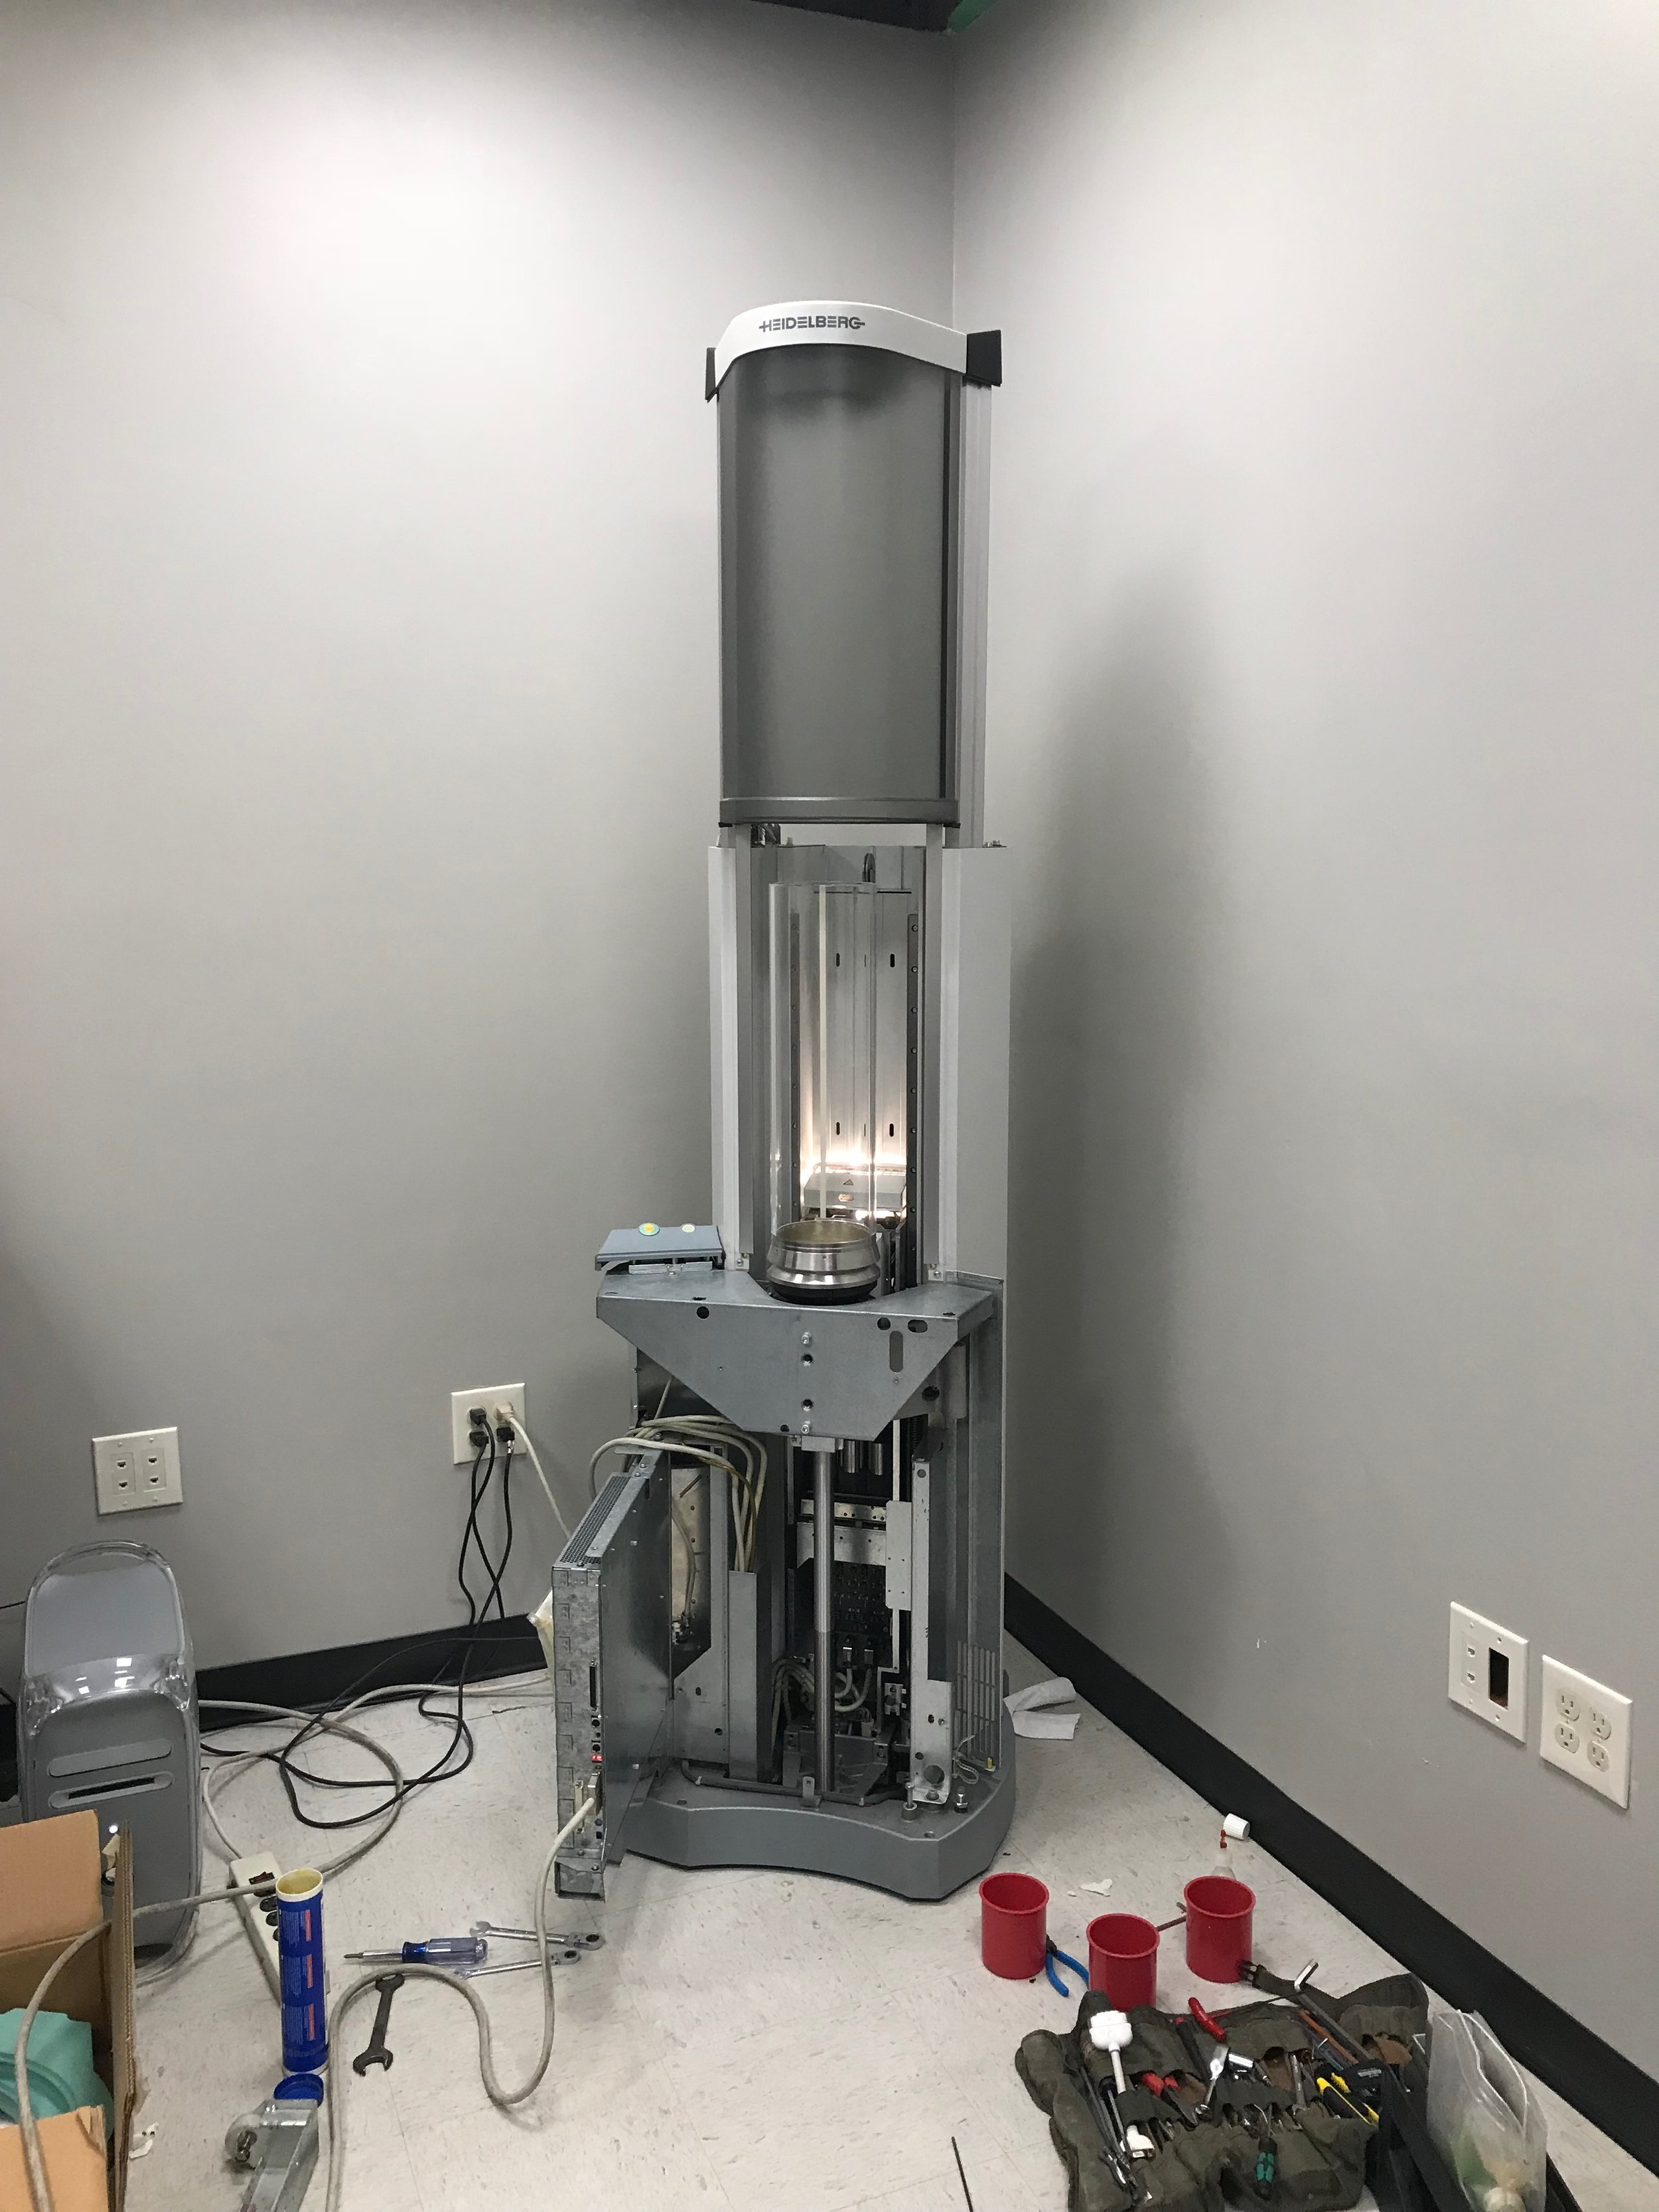
In September of 2017, I managed to come across two used Heidelberg Tango drum scanners. One of which was fully functional, the other unit being for parts only. These behemoth's, weighing in at about 550 pounds each, were located in Arizona. In its prime, this model of drum scanner was, and still is, one of the top quality available, fetching a high five figure price tag. So what the heck is it?
A drum scanner acts essentially as a precision digital camera, used to scan reflective and transparent materials at an extremely high resolution. It captures the image with analog light, producing the most detail possible in each color channel and then converts it to a digital file. With this, you achieve essentially noise-less shadow areas, increased detail in the shadows on transparency film, and overall increased sharpness and tonality. Though sounding extremely complex, the process is relatively simple. The user mounts documents or transparent material on acrylic drums, which spin on the machine at revolutions up to 2,000 RPM. For me, its sole purpose is to scan my film. The Heidelberg Tango allows me to have full control over my own scans, which I was paying upwards of $250 per scan prior to owning my own scanner. An 8x10 transparency can be drum scanned to produce a resolution equivalent to a 709 (possibly slightly larger) megapixel digital file - a feat unachievable by any current digital camera in a single frame.
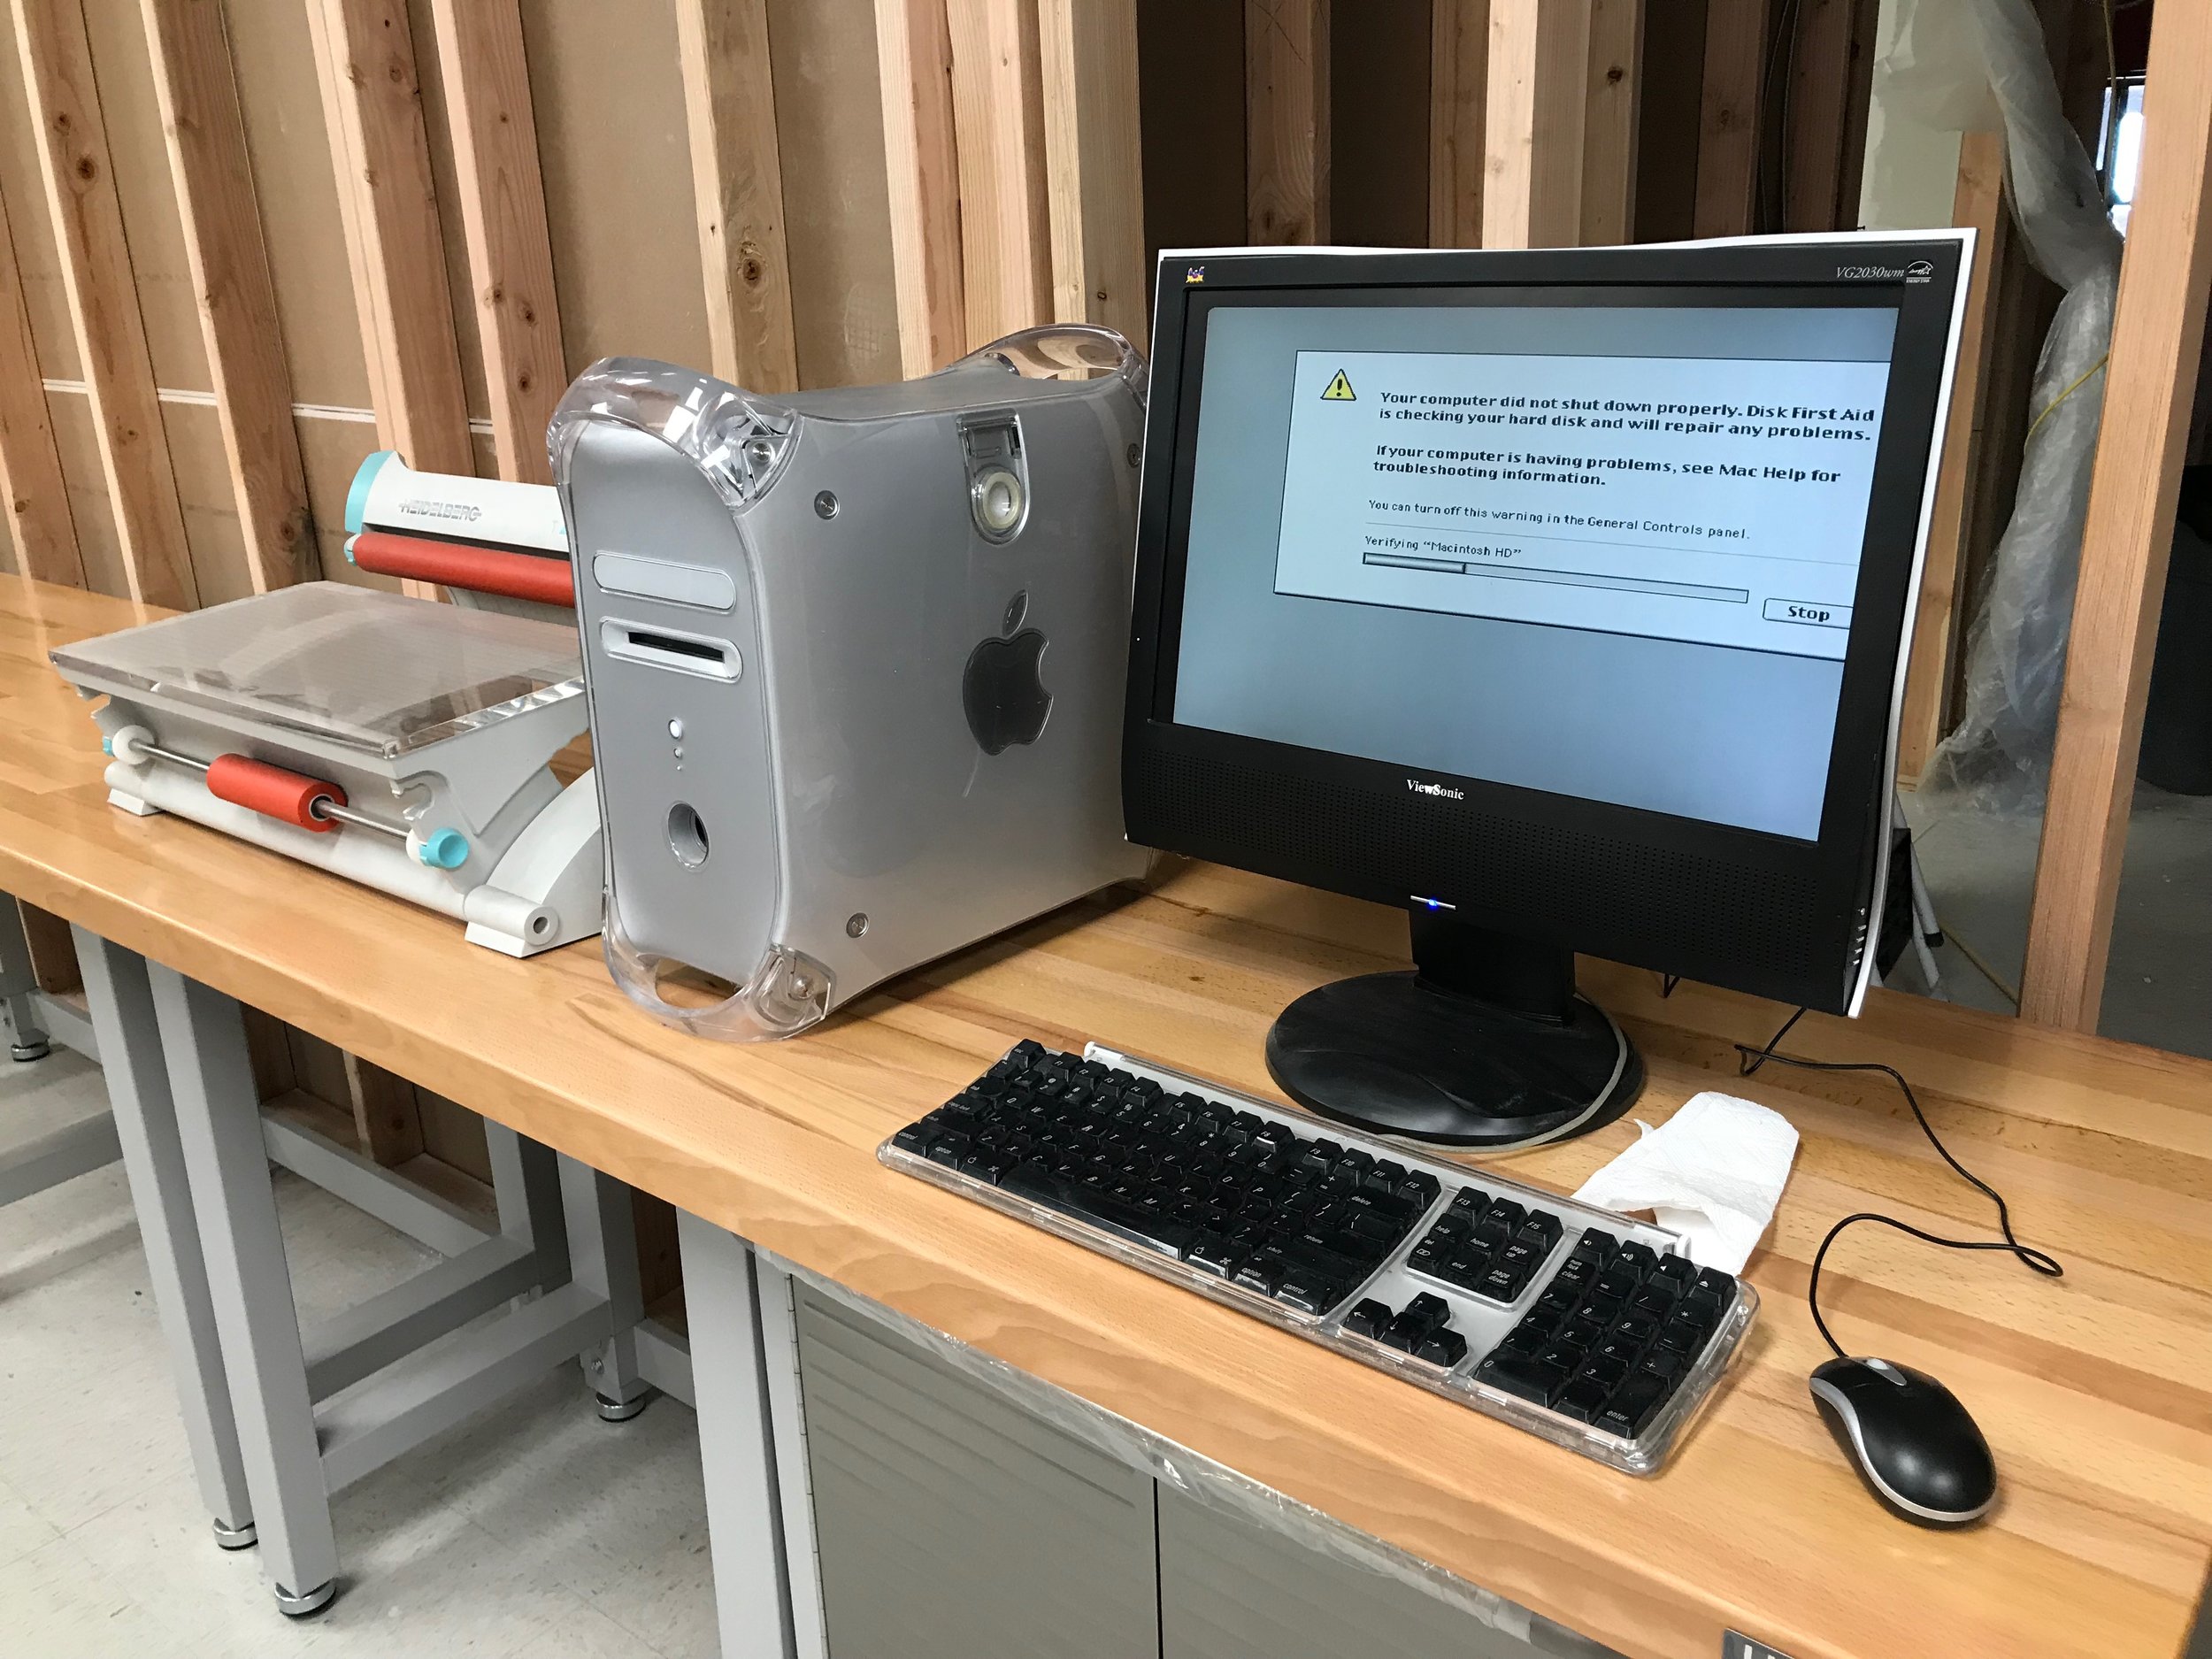
Being incredibly precise instruments, and being a piece of electrical equipment from the 1990's, I was wary of the purchase at first. What would happen if the scanner was damaged in shipment, or what if it failed on me a year into its use? How would I even know how to turn it on? How do I mount film to the drums without damaging the scanner or the film? There are essentially no resources online for these machines, and the purchase was initially very intimidating.
Fortunately for the film world, Karl Hudson of Hudson Grafik services and restores these machines, and also provides operator training. I gave Karl a call and Brian, his partner and drum scanner himself, flew down to Arizona, rented a box truck, and drove the scanners to me. Brian arrived hours before I was scheduled to leave on a trip to Canada, so the meeting was brief. He dumped the scanners off, we covered them in a tarp, shook hands, and he was off.
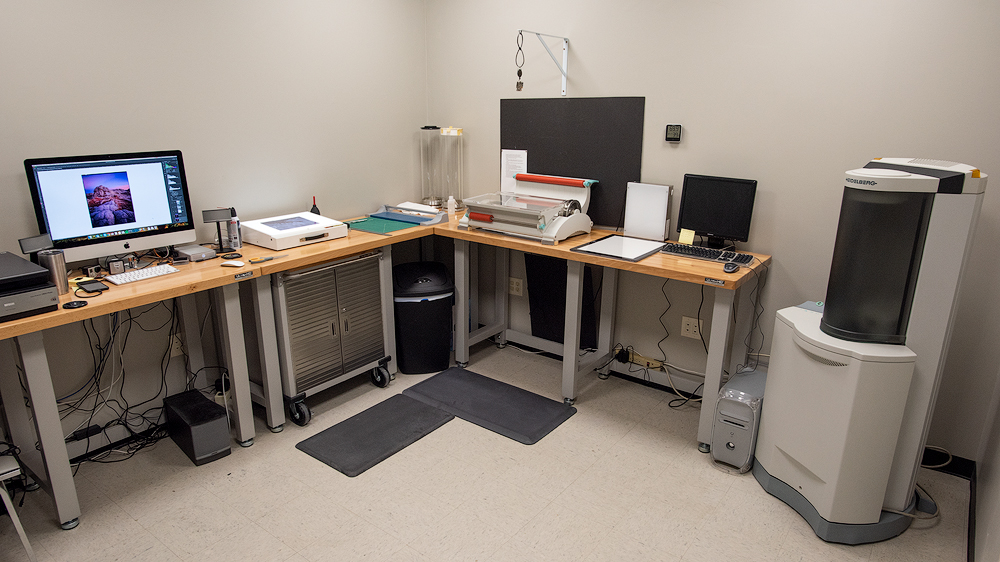
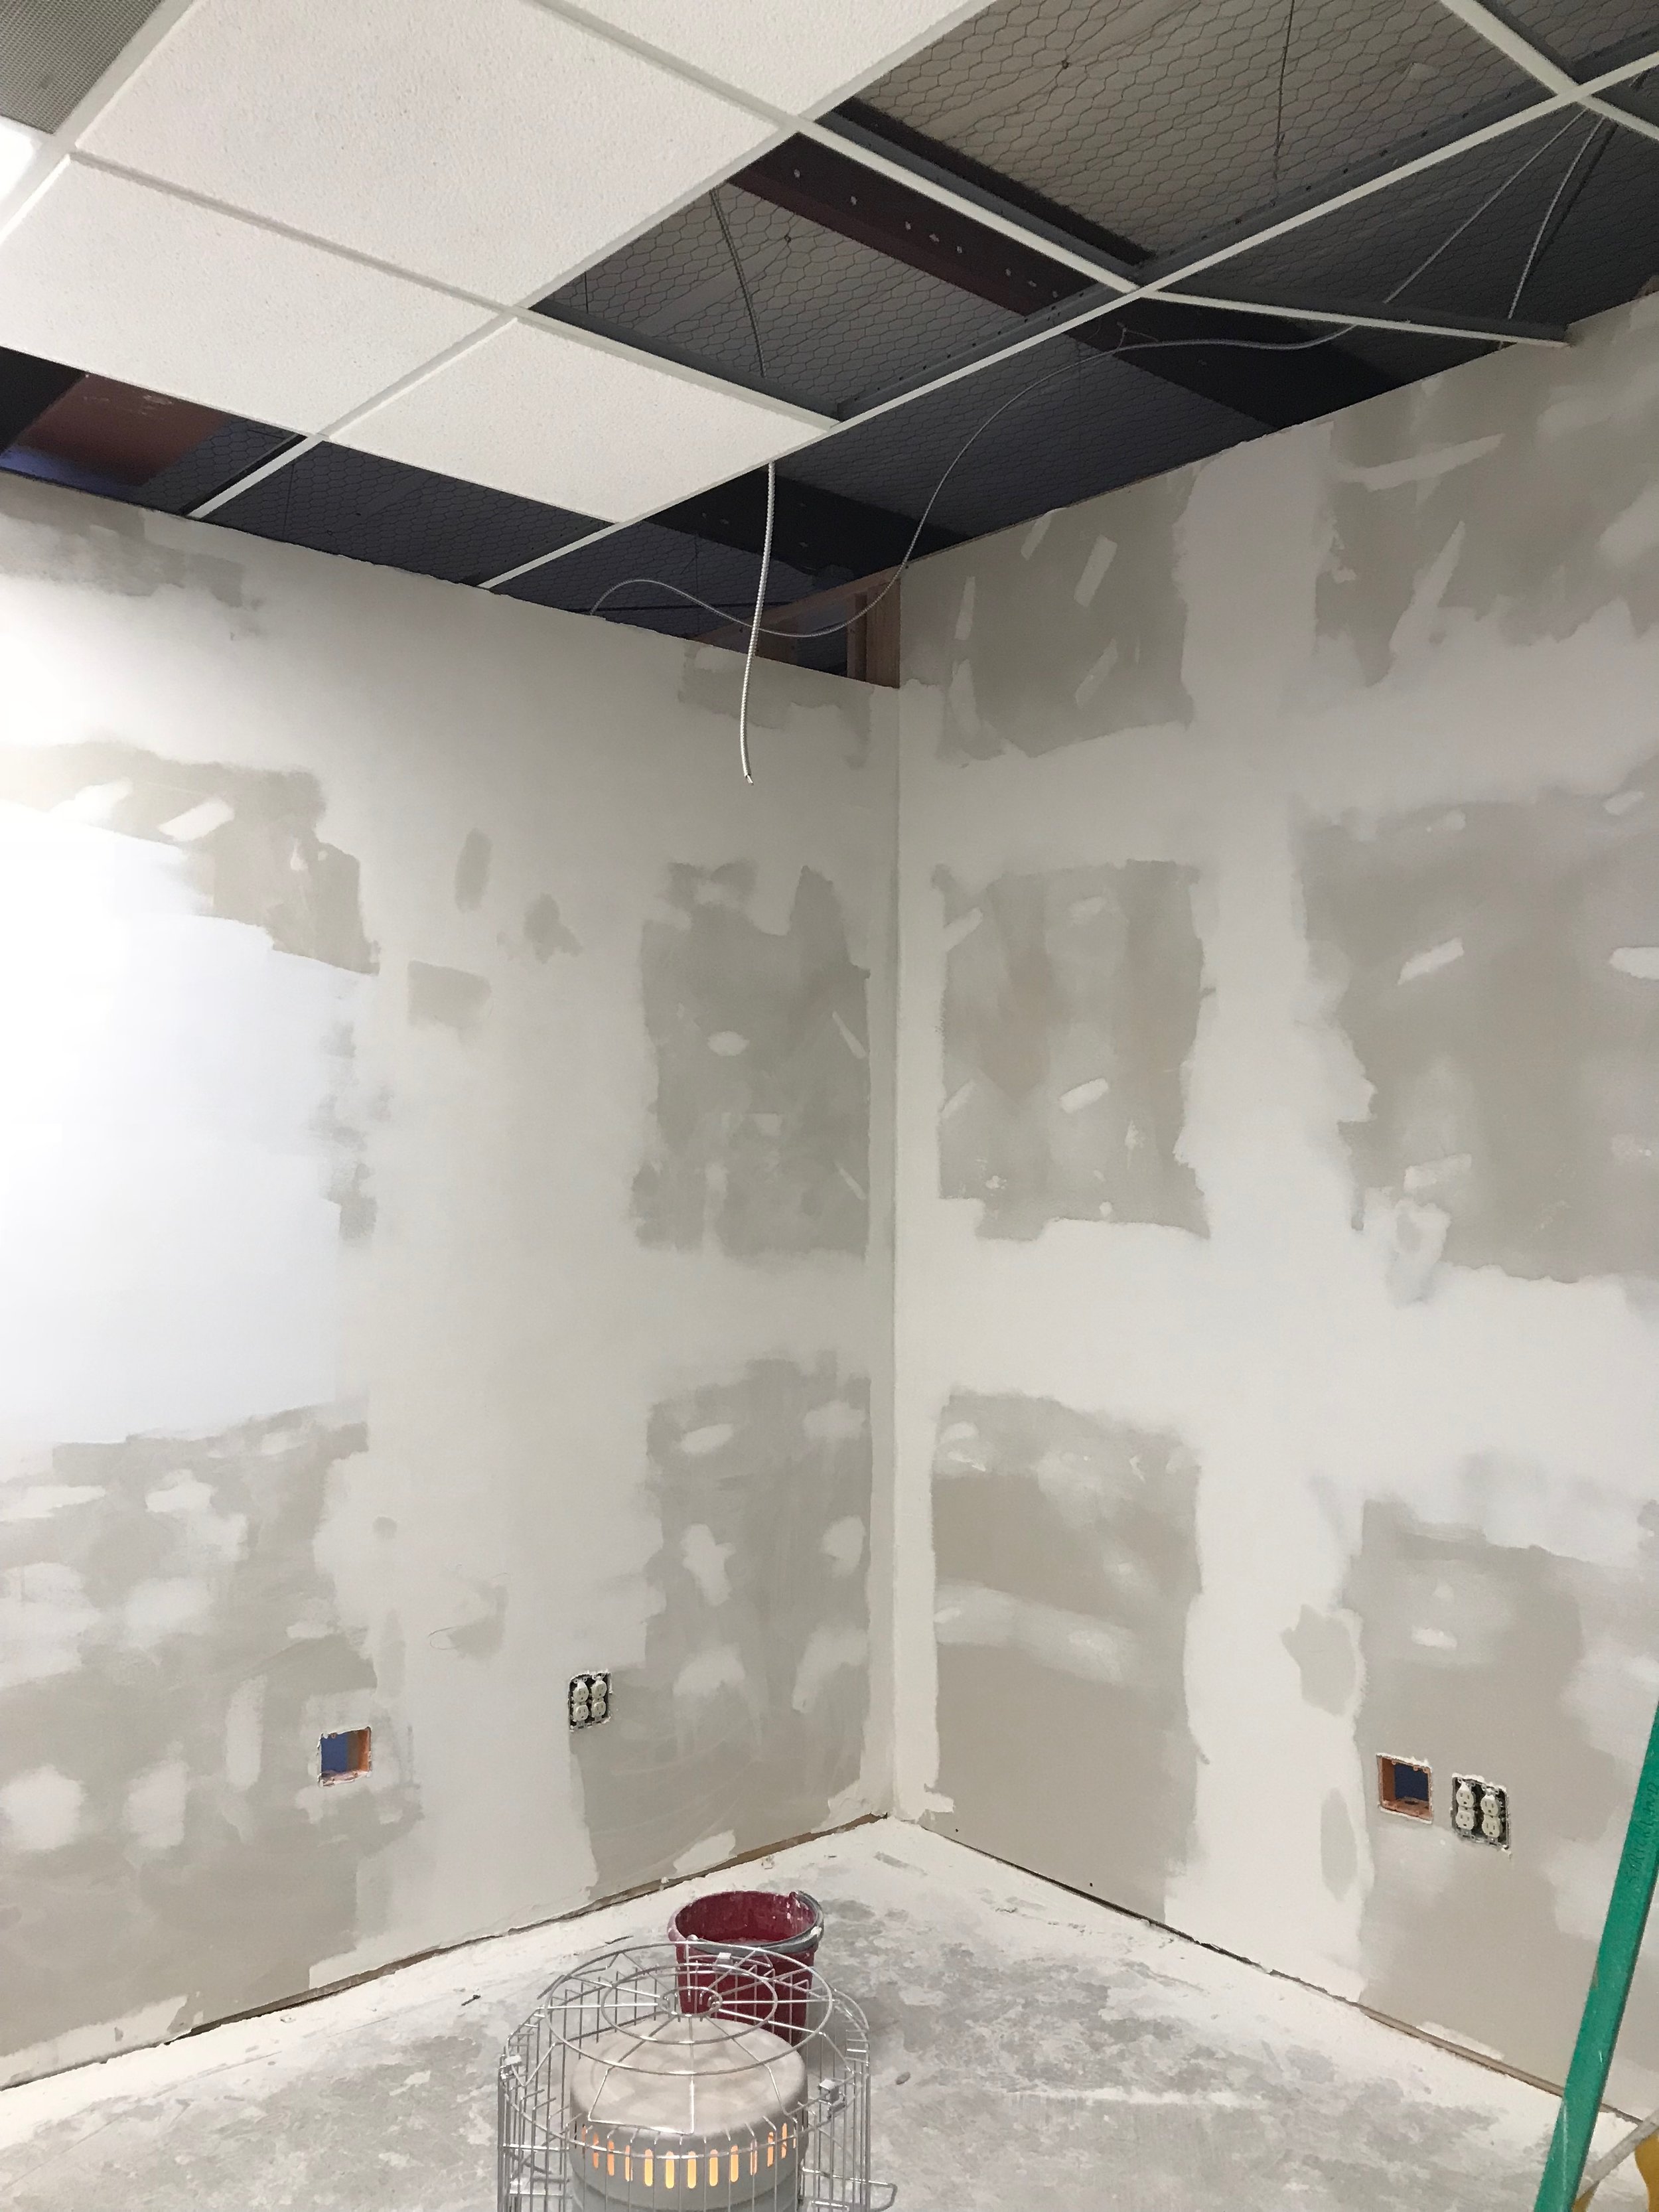
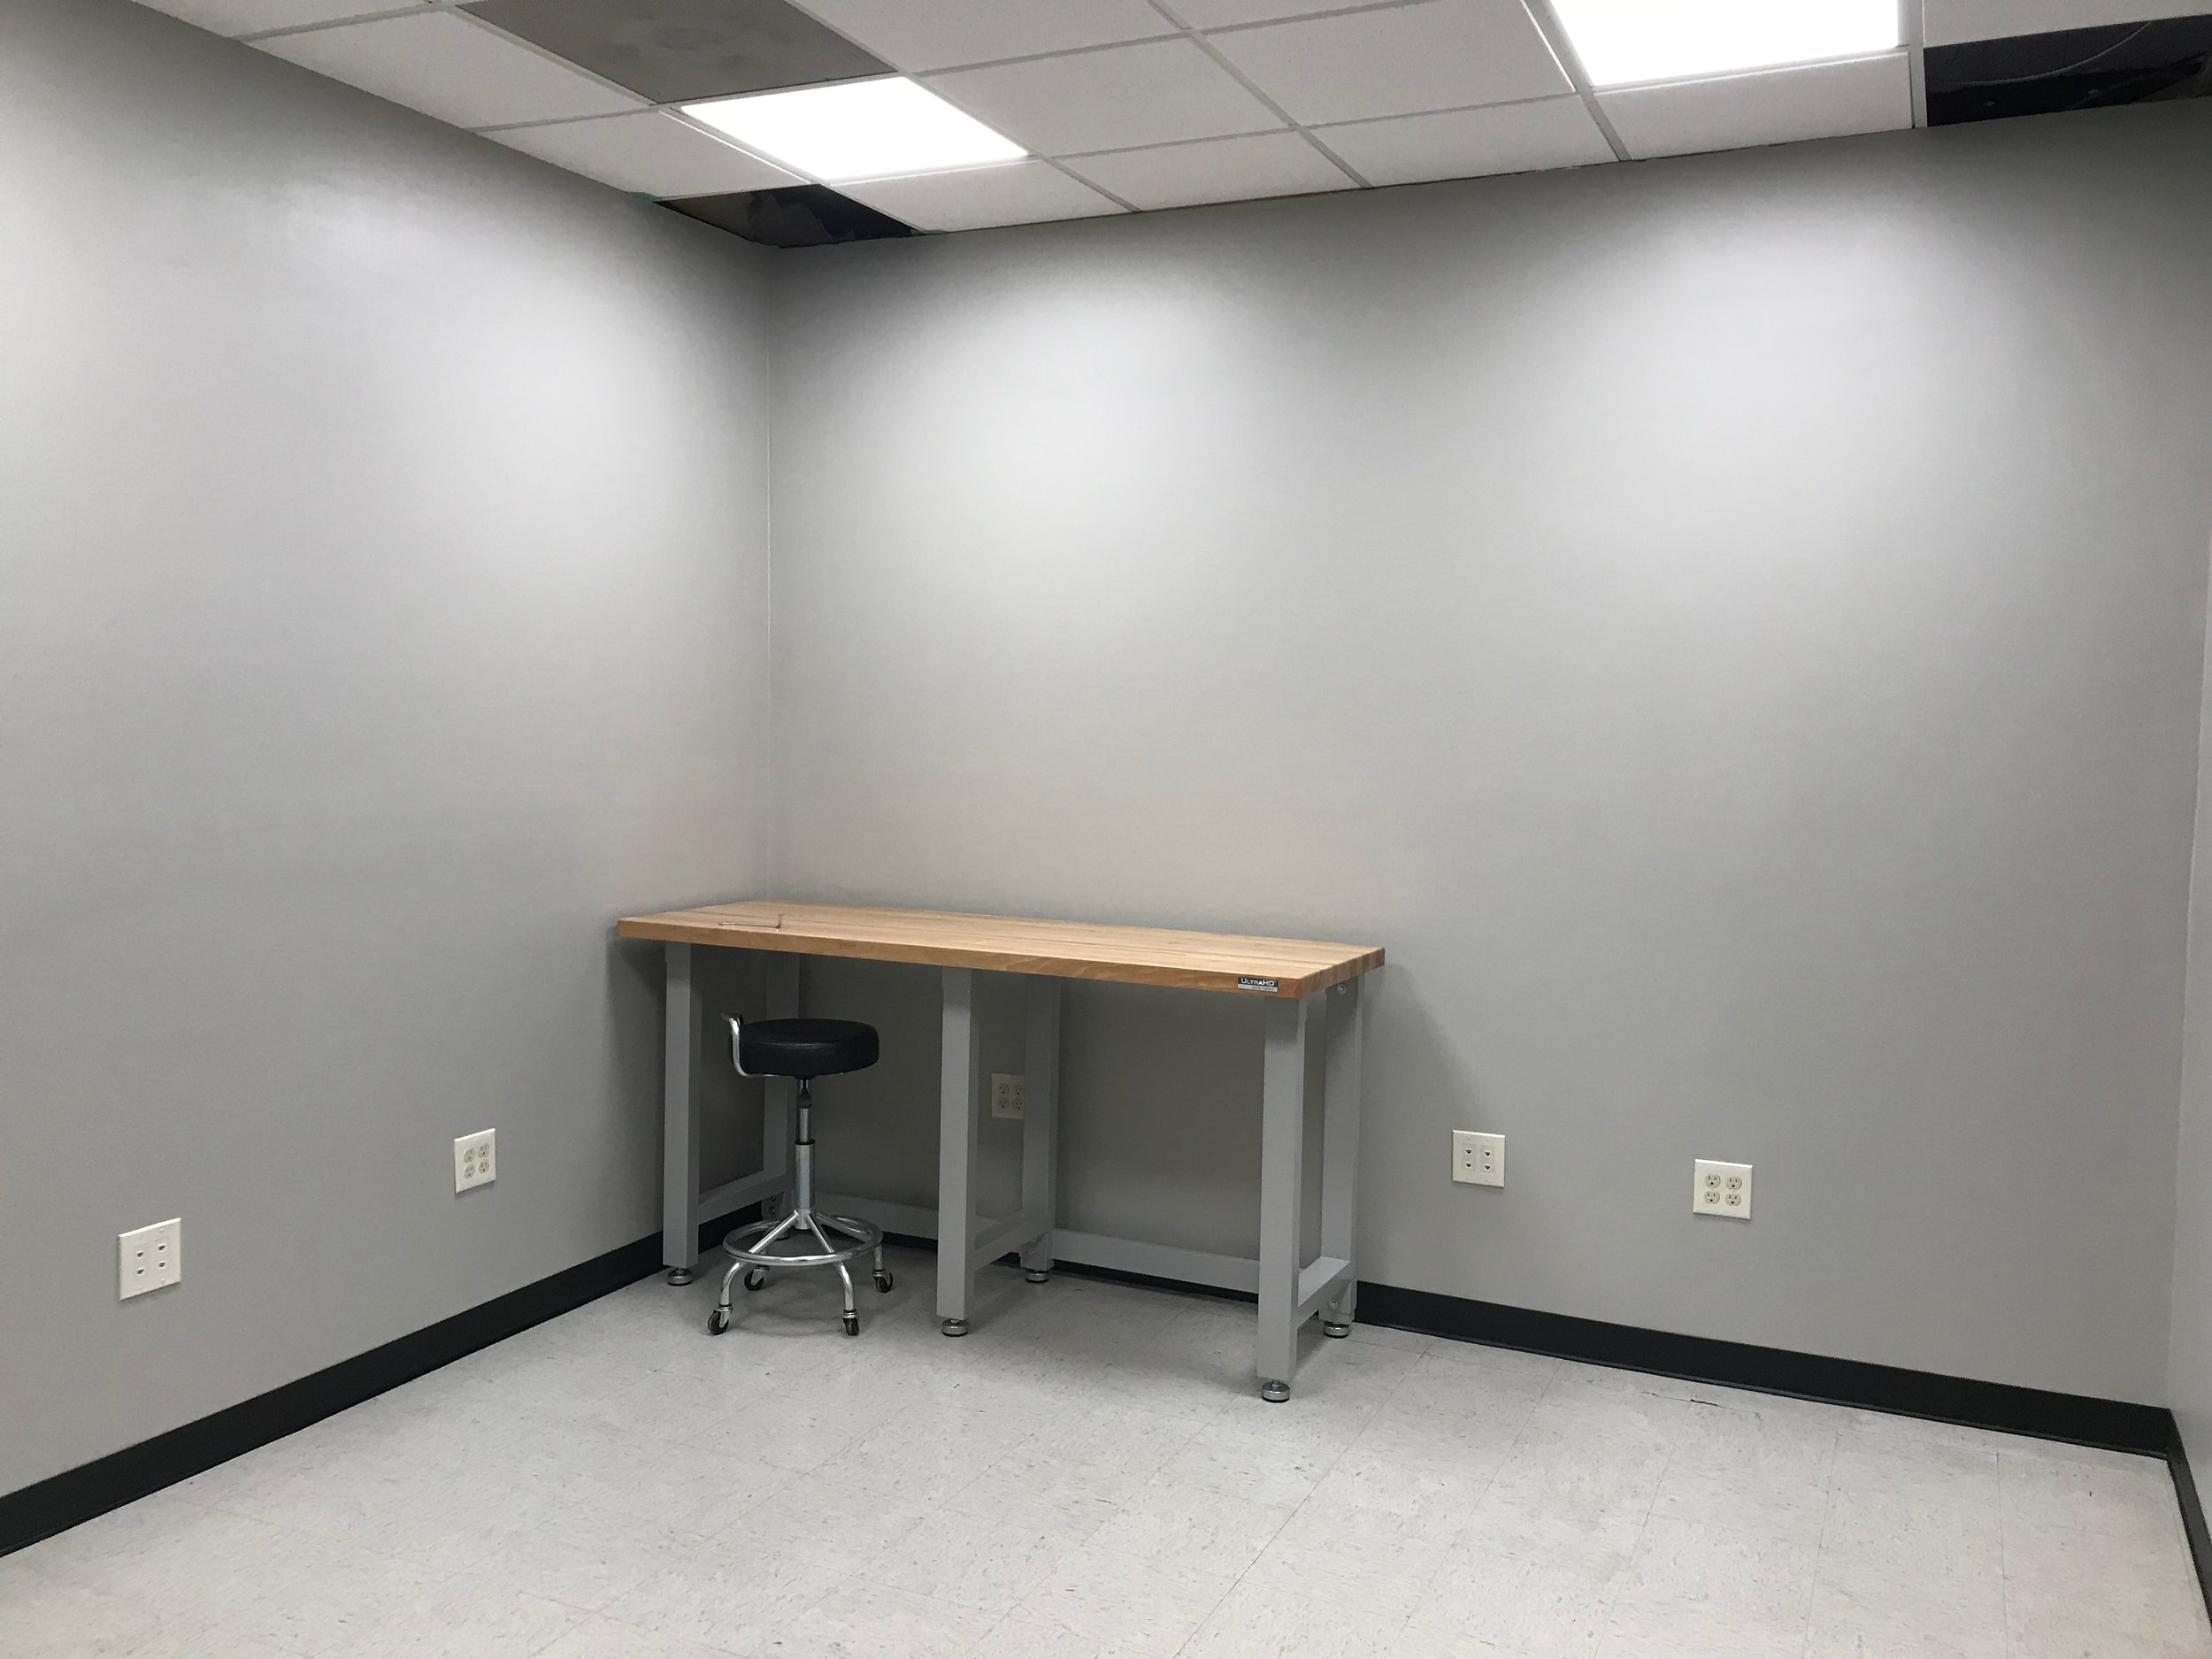
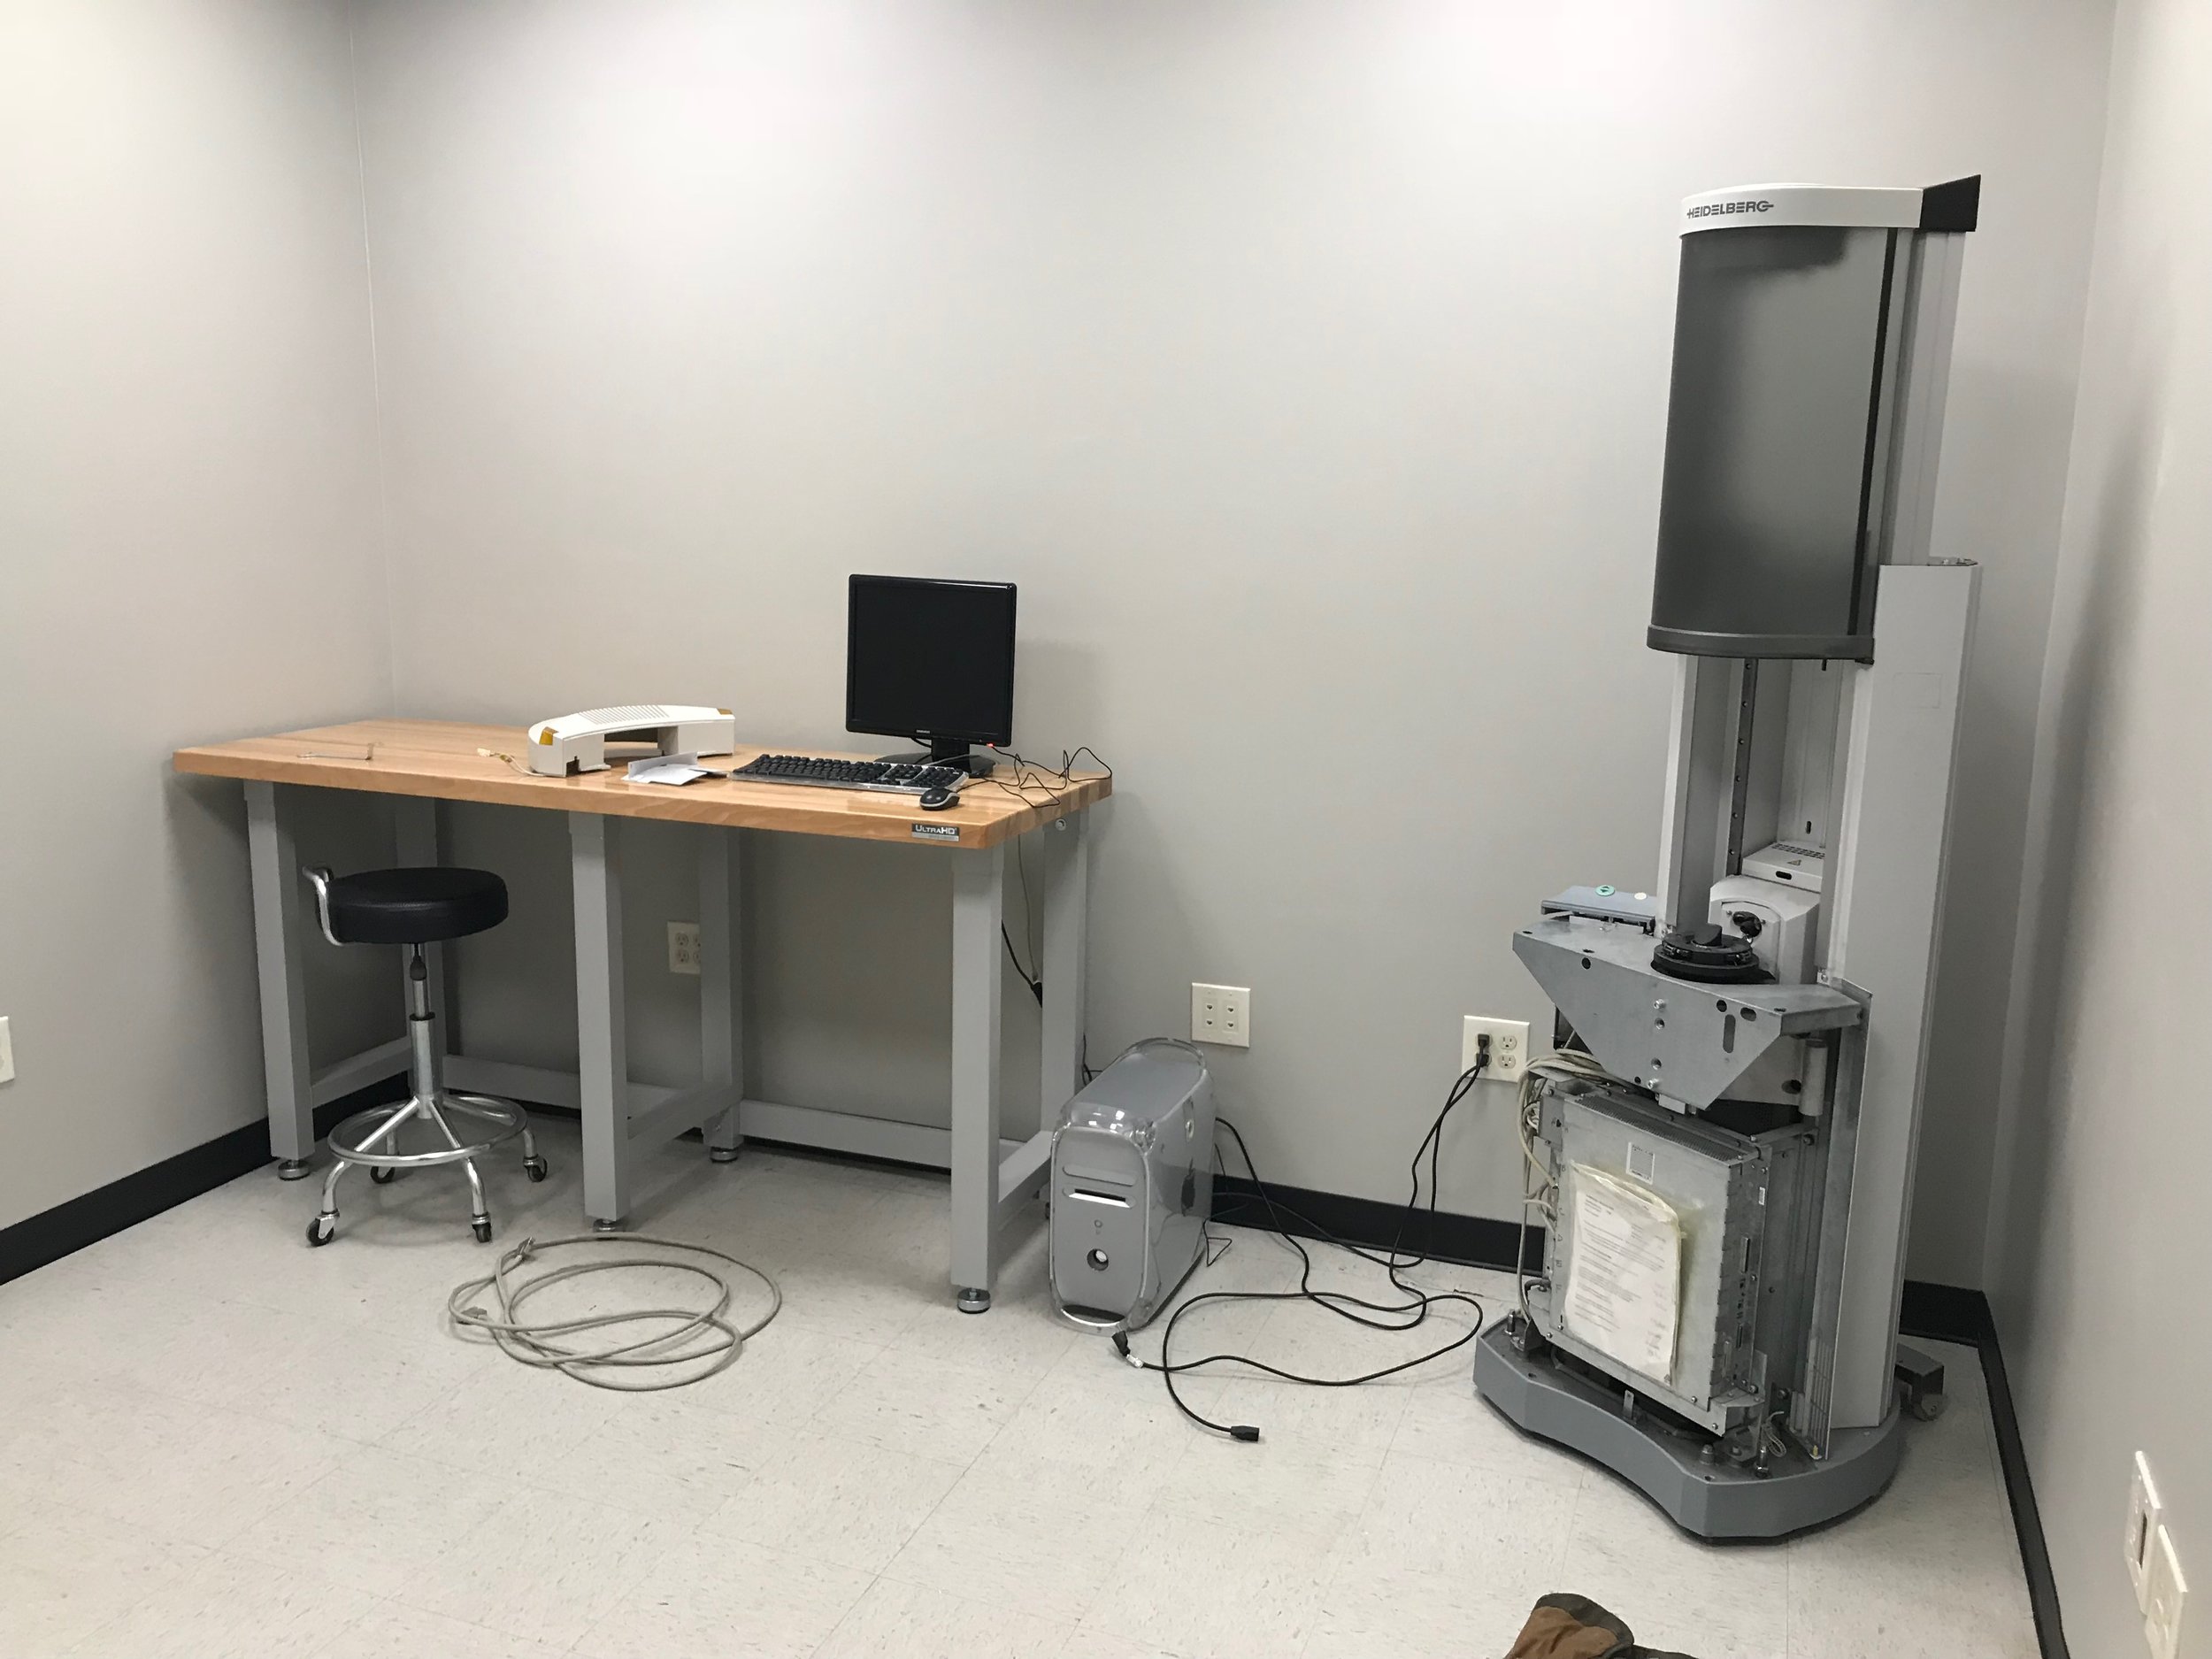
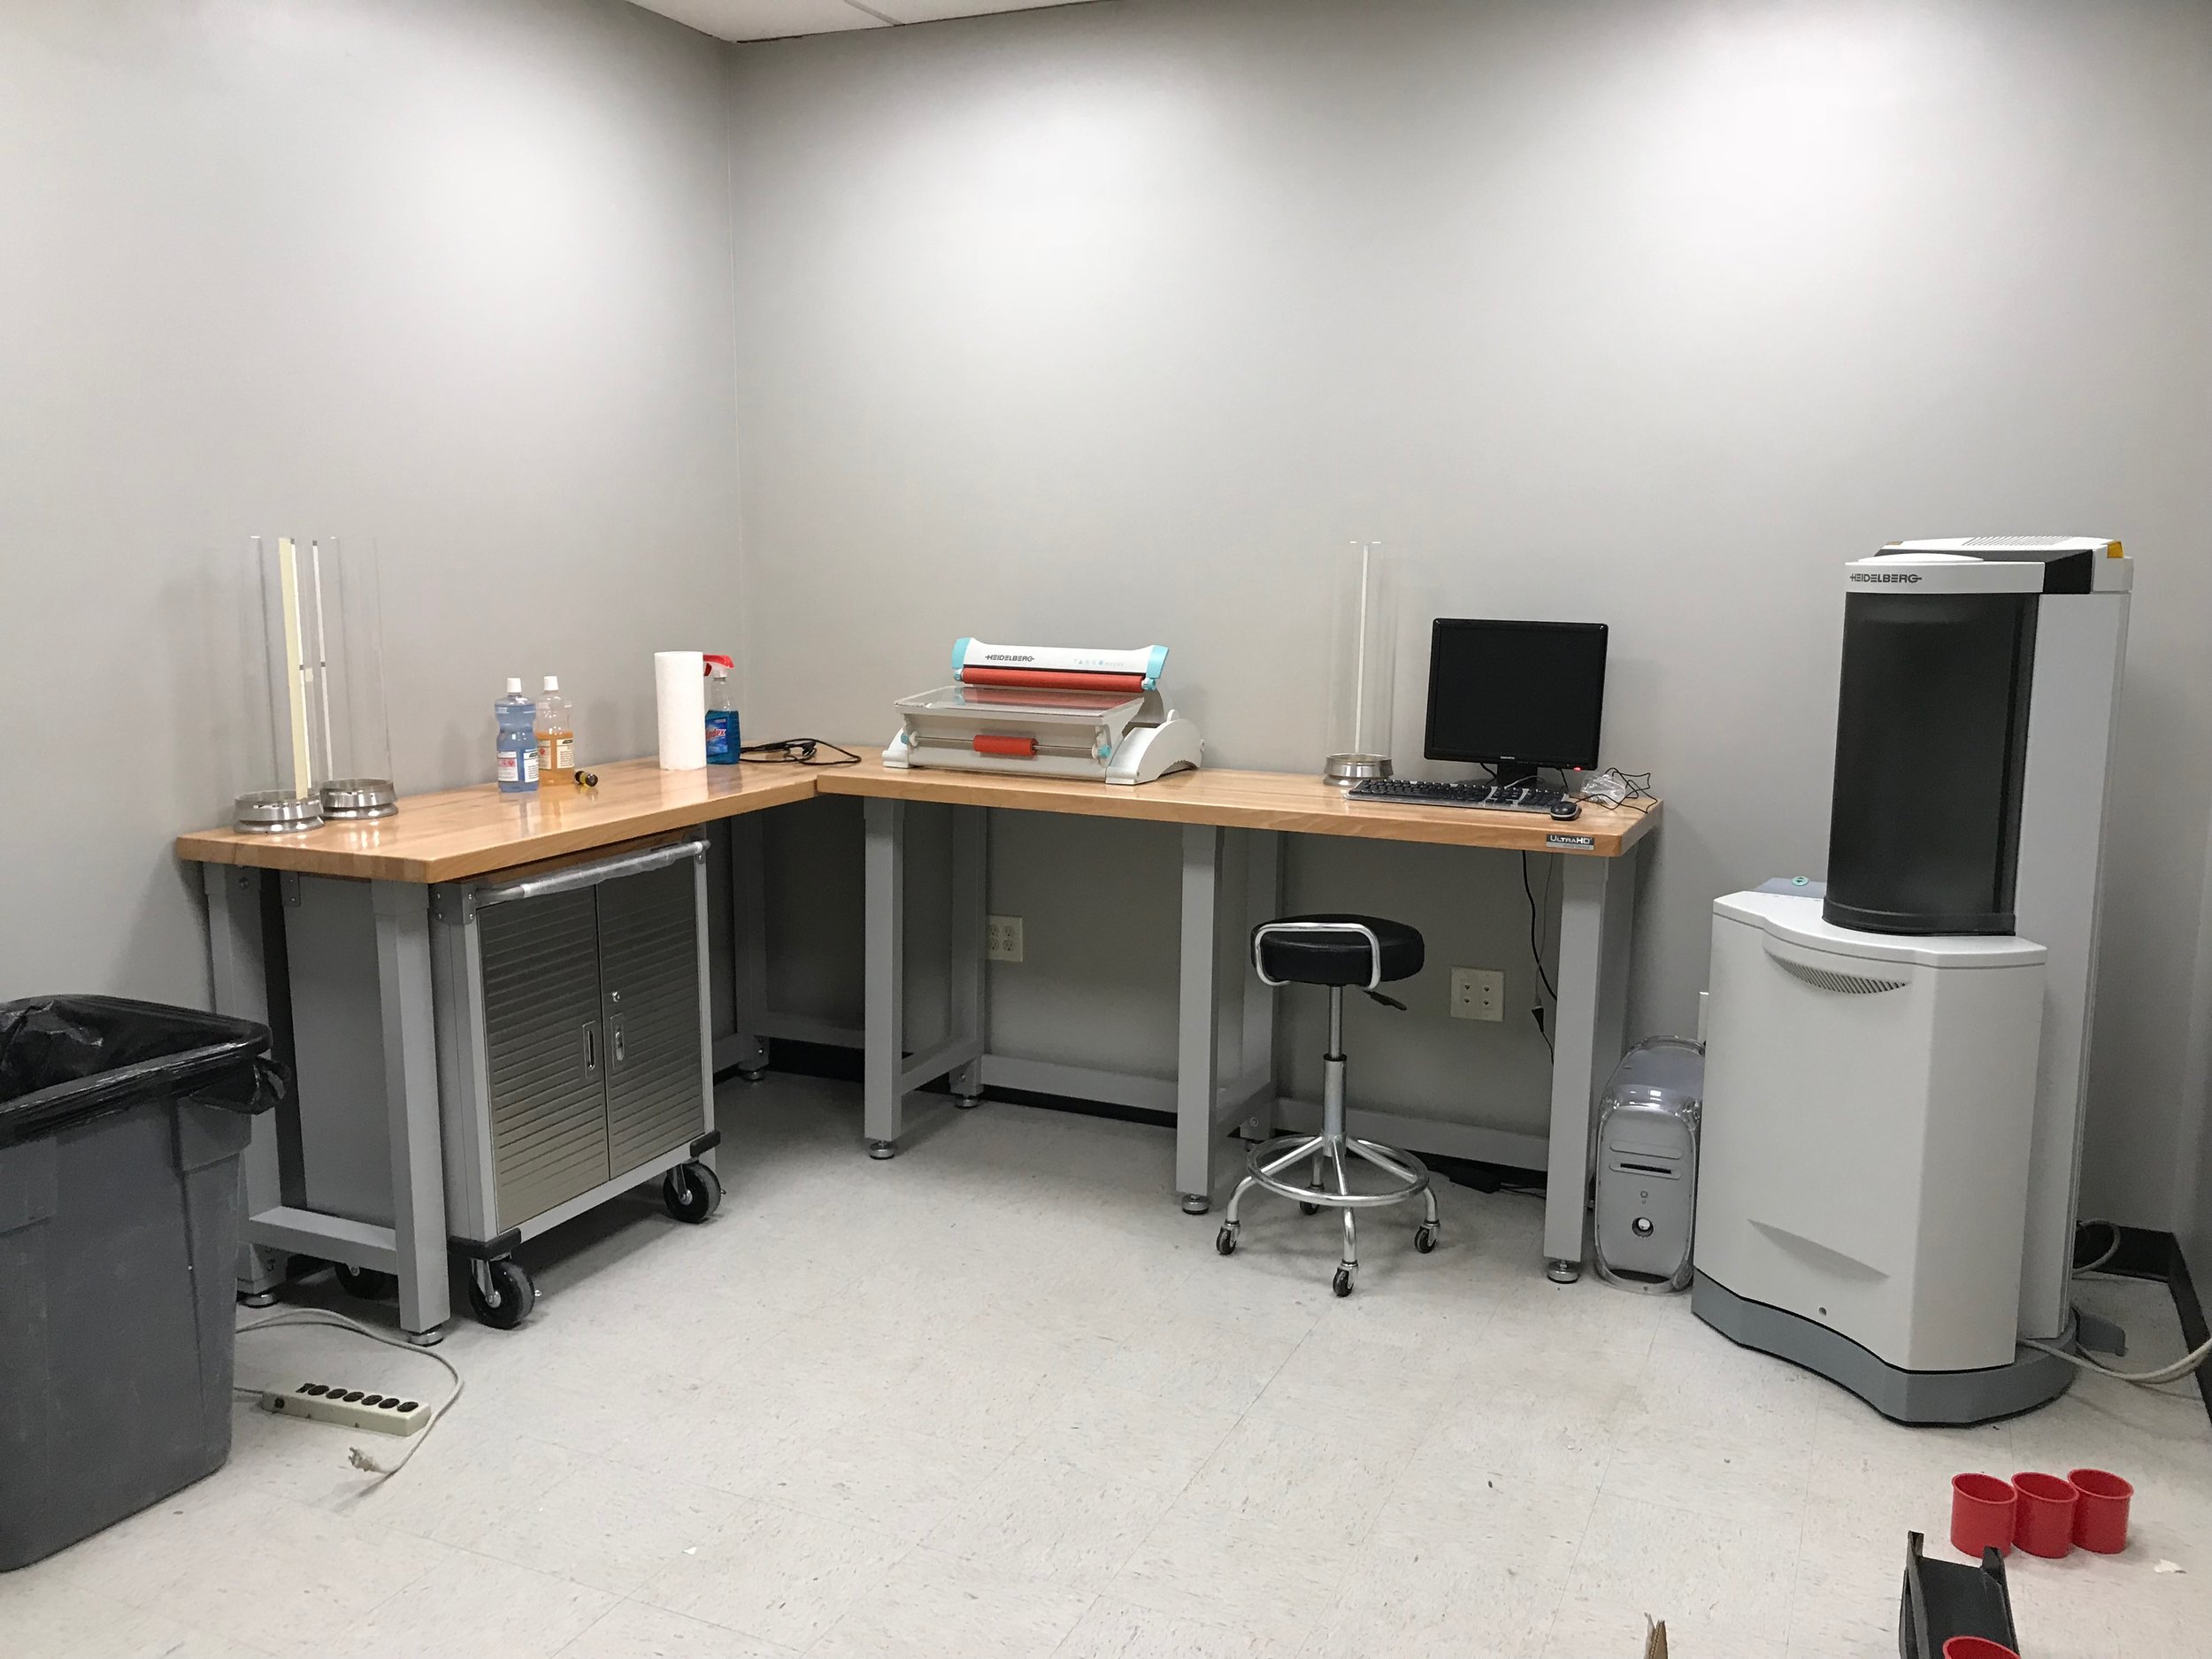
In January, when I returned from a few months of travel, Brian returned to my studio to do a full overhaul on the working Tango. It was a mad dash to finish the room in time, as the building was undergoing a fresh remodel. We went from nothing but studs, to a fully functioning scanning studio in a matter of about 5 days.
The Drum Scanning Process
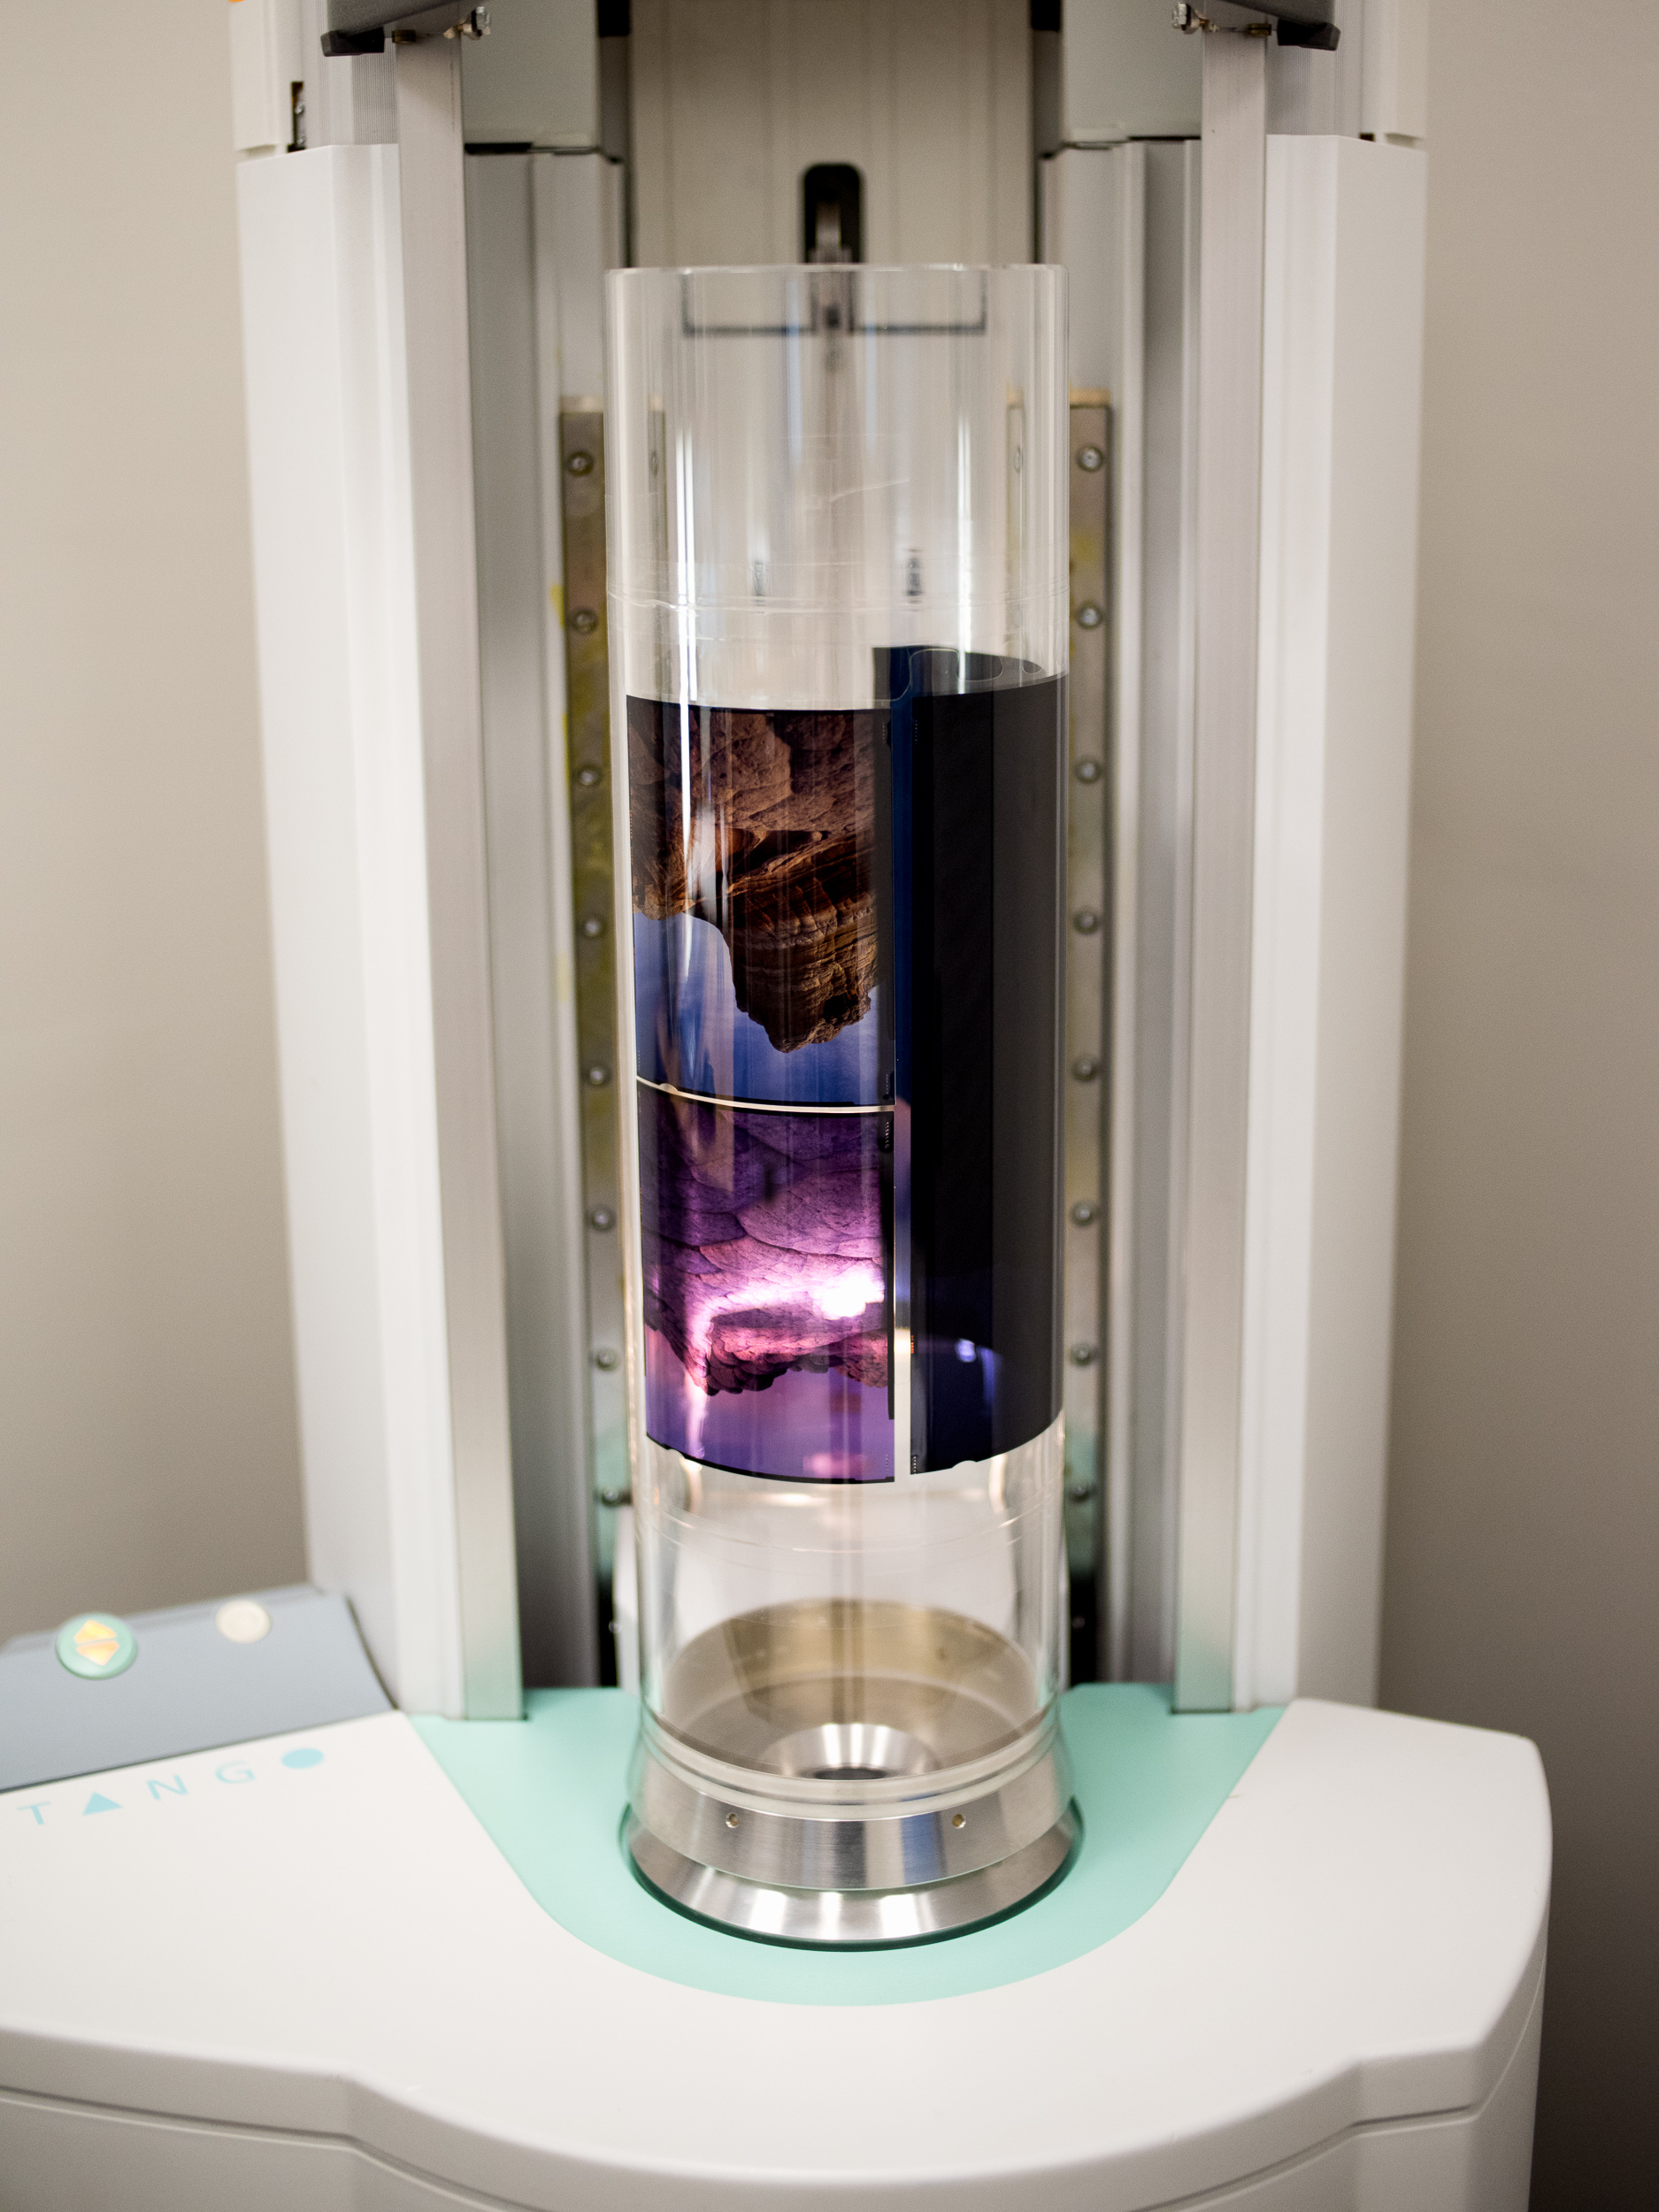
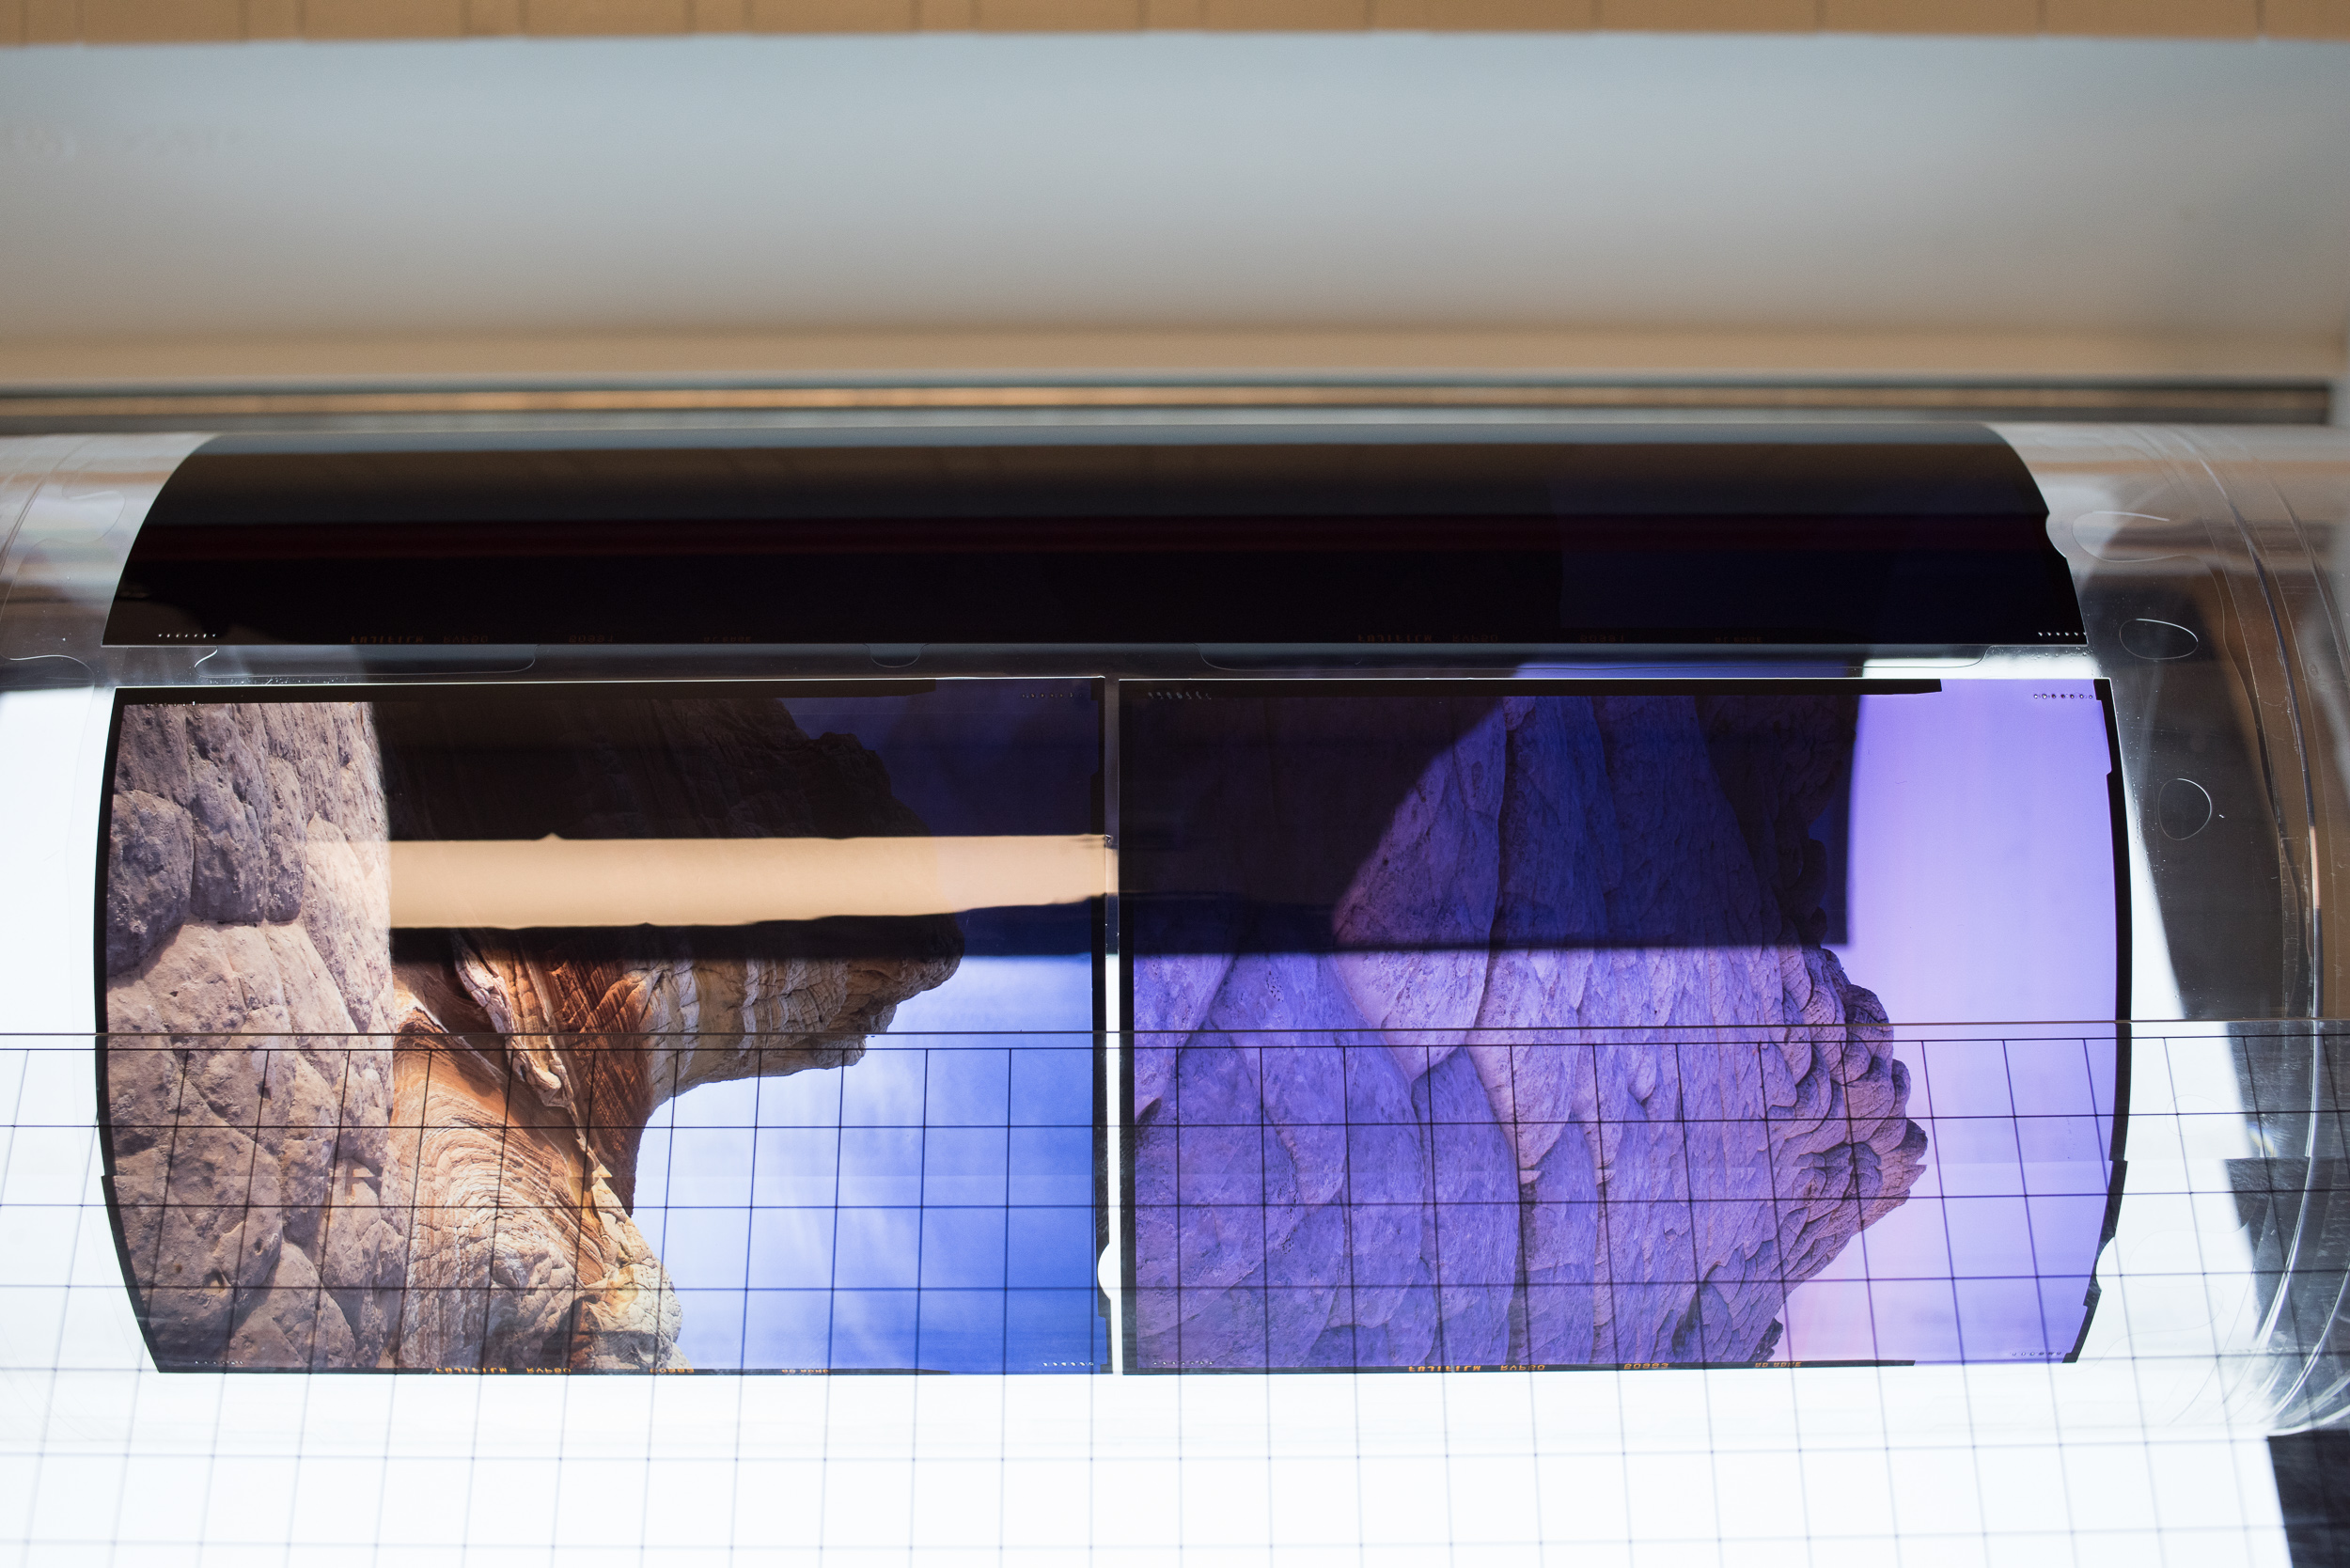
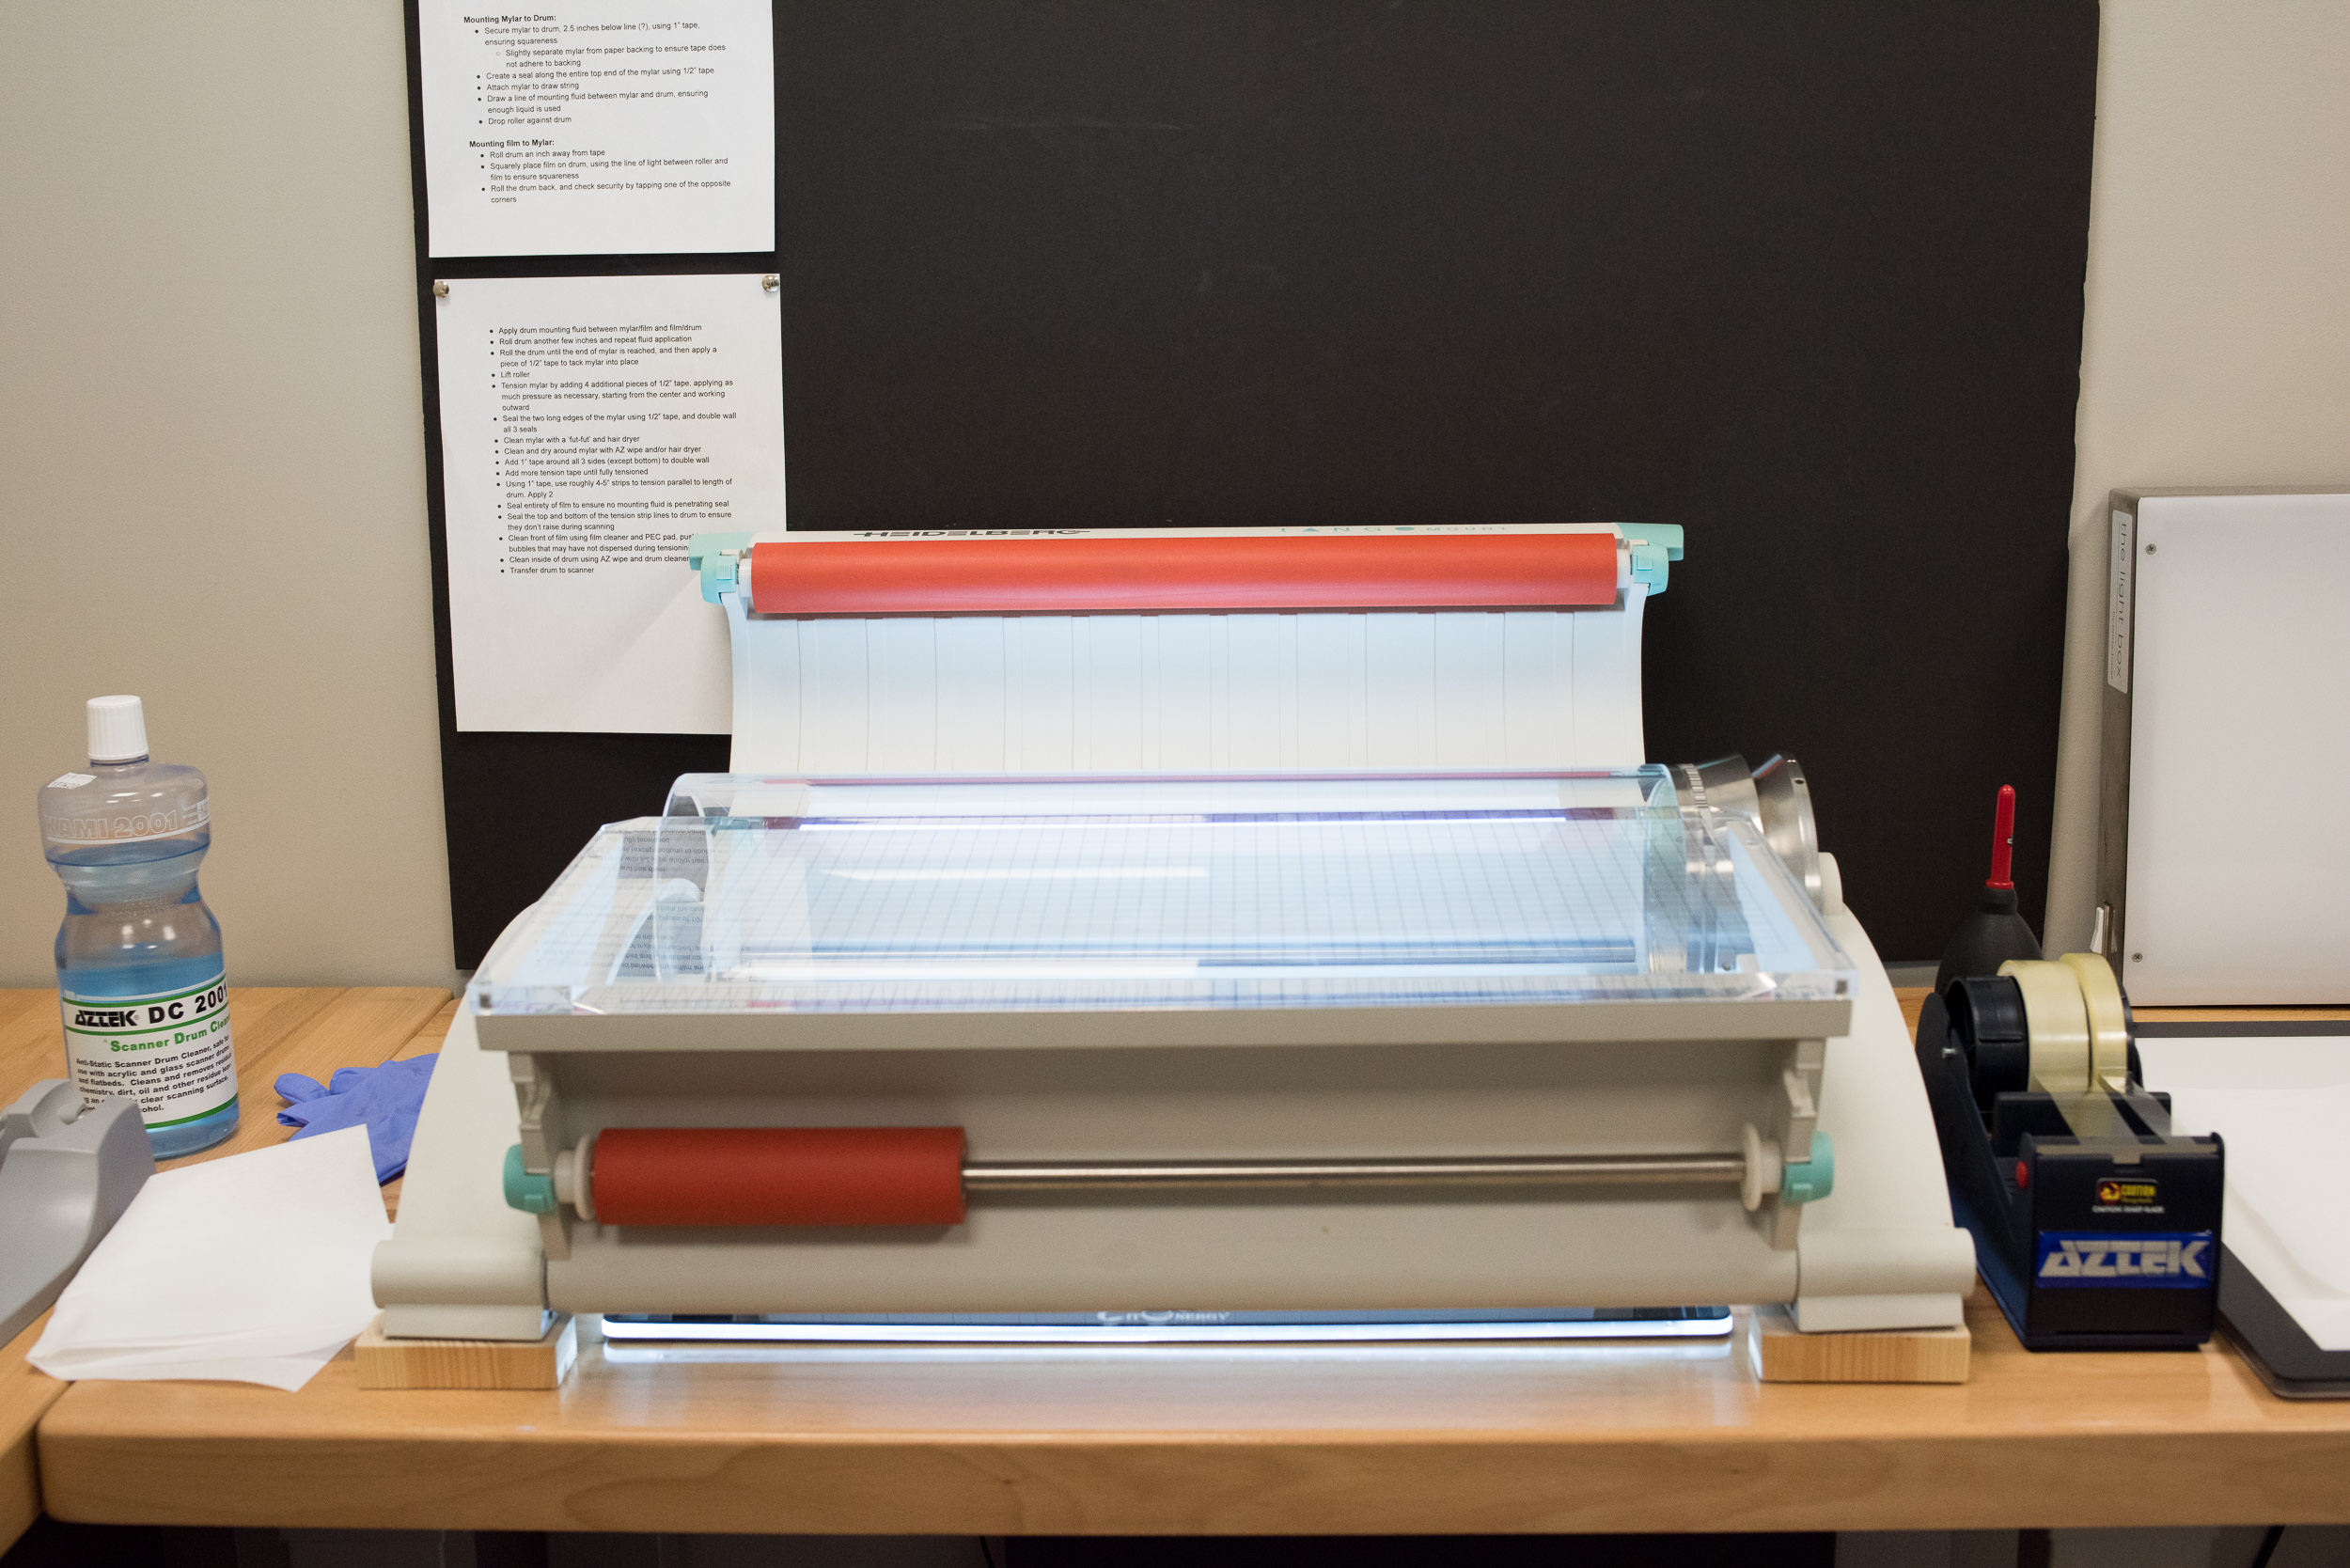
Since January, the unit has been spinning almost continuously while I am home and in my studio. I've pumped through upwards of 250 drums and well over 1,000 transparencies and negatives in just over 6 months. Before each clear acrylic drum can be loaded onto the scanner, it must first be wet mounted with film. This "wet mounting" process includes floating a piece of film in an oil solution, which aids in the scanning process, as well as fills in some minor defects in the film. The film is mounted between the clear acrylic drum and a piece of optically clear mylar. The mylar must then be securely taped and secured to the surface of the drum. This process requires the room to remain as dust free of an environment as possible. Considering the drum spins at 2,000 RPM during its prescan, it is essentially that everything must be secure. Each drum can hold an area of up to about 11x14 inches of film. Once dust is cleared and the outside of the mylar is clean, the drum is loaded onto the drum scanner, and a prescan is completed. This generally only takes a few minutes, but can take a fair amount of time depending on how many frames are loaded onto the drum. After the prescan of each image, the actual drum scan begins. The drum spins much slower during this time (the RPM is based on the DPI being scanned) and this is where the waiting game begins. Below is a short time lapse video I made of the entire scanning process. This drum was loaded with one sheet of 8x10 from Ben Horne, and one 6x17 of my own. The entire process, from mounting to completion, took about 4 hours. With more (smaller) film, it can take all day to complete a full drum.
Sharpness
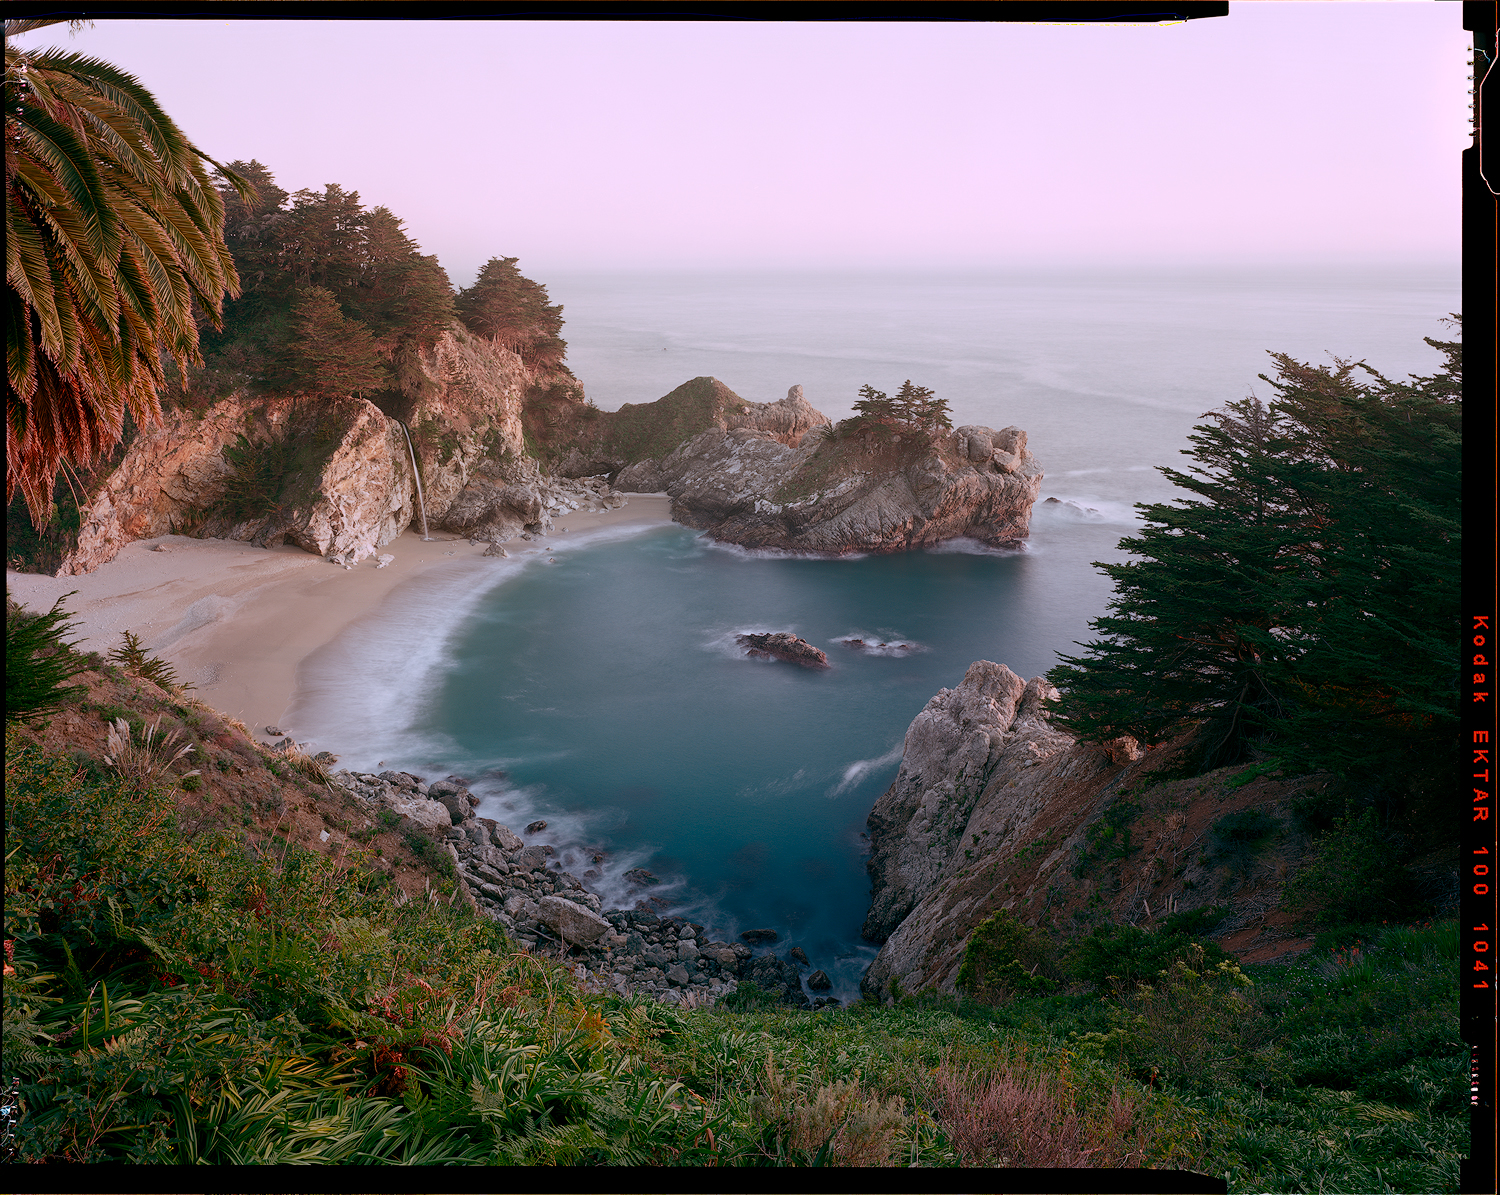
So what does all that mumbo jumbo mean? Amazing scans! There is no better scan of a piece of film than a drum scan. Period. And the Heidelberg Tango is one of the best drum scans you can have. Below is an example of a drum scanned 6x6 (2 1/4") transparency.
Photographed on a Hasselblad 501 c/m with an 80mm Planar f/2.8 lens on Fuji Velvia 50, drum scanned at 5,000 dpi.
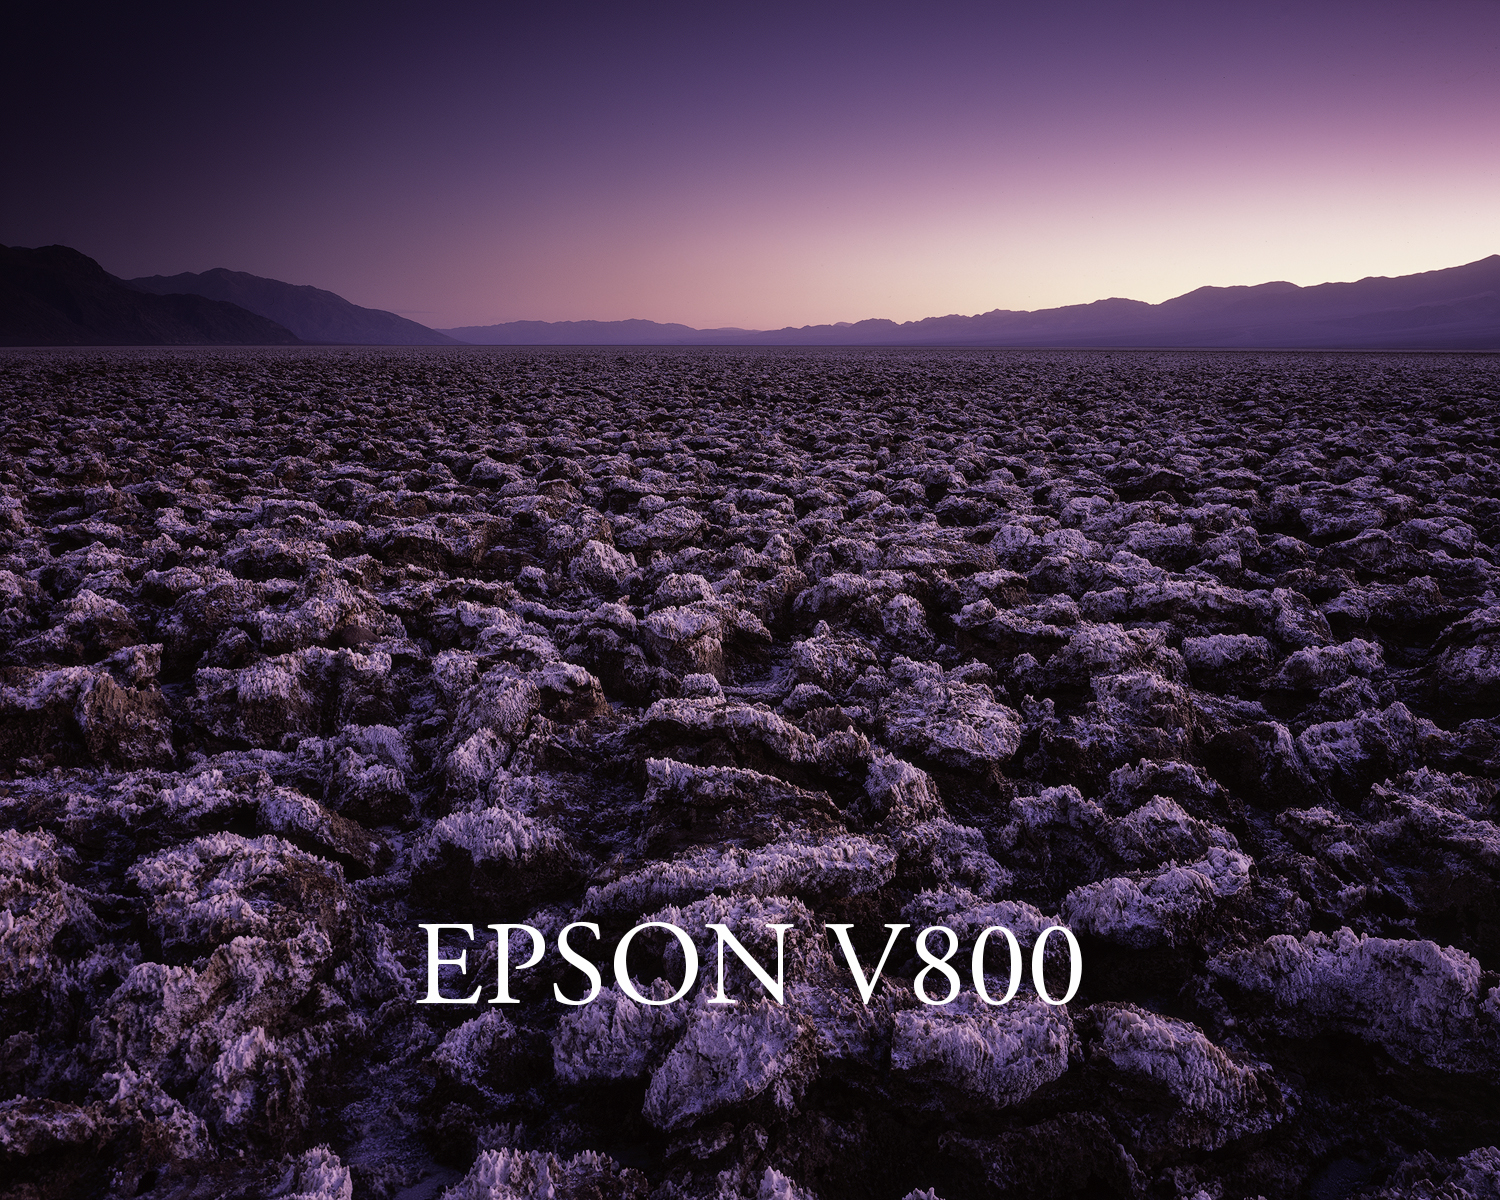
As you can see, the detail is outstanding and that's from a relatively "small" piece of film. What's more amazing about the scan is the ability to resolve grain at such a high level, thus producing an overall much sharper scan. Most modern film photographers are using what's called a "flatbed" scanner to scan most of their film. Most of which are using an Epson V700/750 or V800/850. I still use an Epson V800 for some quick scans and it does a great job, especially for the price of the unit. Sharpness of the film is at the grain level, therefore sharpness of a scan resides in the scanner's ability to focus on the actual grain of the film and most flatbed scanners don't have that much control. The ability to scan at the grain level ensures the photographer achieves every bit of detail out of his or her piece of film. Fortunately, the Heidelberg Tango focuses its lenses on the grain of each piece of film to ensure sharp grain in the final image. To give you a bit of comparison, below is an example of a flatbed scan on a V800 of the same image. I also want to note, both of these images are straight out of each scanner, with no post processing or color correction. Sharpening for use on the web is the only technique that has been applied to both of these scans.
Exact same piece of film as above, scanned on an Epson V800.
I hope you see there is quite a noticeable difference in sharpness. Be sure to click on each image to see it in full resolution.What I also hope you notice is the difference in color. Part of this is in the software differences, but much of this is also due to the actual scanner. I'll discuss this more later on. It is also worth noting that what you're seeing in these last two images are crops at about 80% overall. At a 200% crop, as shown below, you can see a major difference in sharpness. At this size, you're now beginning to see grain in the Tango scan, and mush on the Epson scan.
Still tough to tell? Here's a bit closer view, side by side.
Sharpness comparison between a flatbed scan from an Epson V800 and a drum scan on a Heidelberg Tango
Resolution
Resolution and sharpness are two different ballgames. Sharpness is derived from the actual exposure - the resolving power of the lens, vibrations, chromatic aberration, etc. Digital resolution for digital cameras means, by and large, the file size a sensor spits out of a camera. Digital resolution for film is a bit more complex and based on the film area and the type of scanner being used. Although the Heidelberg Tango claims to have the ability to scan at 8,000 dpi, it has limitations for output file size based on the area of the scanned object, and in reality, you gain very little past 6,000 dpi on film scans.
I have done testing and compiled the best output file for each particular film area, which is what I provide for my clients' scans. In other words, if you want to use my scanning services, you'll get the highest usable resolution file for your particular film size.
Scanning 8x10 film beyond 2,000 dpi is beyond the functional limitation of a single scan on the Heidelberg Tango, but I've been able to scan 8x10 film at (roughly) 3,000 dpi to produce a file that measures 709 megapixels! This is done by scanning 8x10 film in several swaths (3-4 to be exact) and then merging them in Photoshop. This is a painstaking amount of work and takes many hours of computing time, but the results are outstanding. I've done several tests on my own 8x10 film, and Ben Horne wanted to give it a try. We were both blown away by the results. He made a video showing some of the insane detail that can be found in this scan.
If you want to see some of these enlargements on your own, you can find examples on his blog.
There is a bit of discrepancy and room for argument when it comes to comparing resolution from a digital camera vs. a drum scan of a film image. It's somewhat like comparing apples to oranges. There's a lot to be said about the sharpness of a 100MP file from a Phase One or Hasselblad medium format digital camera, but I think where I see the benefits of the "analog" resolution, so to speak, is seeing the grain in the prints. In a sense, you can't truly over enlarge a film image because you will eventually just see grain the size of quarters, whereas if you over enlarge a digital file, you'll see square pixels. Perhaps that's more of a argument of taste, but the analog "feel" of a film scan will always outweigh a true digital file in my mind.
Tonality Improvement
I think that one of the important benefits of a drum scan is the tonality improvement over flatbed scanners. The Heidelberg Tango has the ability to scan such fine tonality gradients an image due to the nature of its scan. The scanner actually scans in analog using RGB lights, collects that data with the use of old vacuum tubes, giant capacitors, resistors, etc., and then converts it to a digital file. Compared to an image scanned entirely electronically, the Tango produces a file that has far less issues with banding in areas of transitioning color and tonality. I've found this especially noticeable on scenes photographed at twilight, where no clouds are present and the sky's natural gradient can be seen. In the image below, take a look at the difference between the Tango scan and the Epson scan, particularly in the sky. The Epson was pushing the limitations of the image and nearly clipping the highlights, where the Tango can resolve so much color and light in the scene, particularly in the sky.

Shadow and Highlight Recovery and Noise
My general rule of thumb is that if you can see it in a loupe on a light table, the Tango will see it too. Some of the most difficult areas to scan in a piece of transparency film is the shadow areas. These areas block up, go to pure black, and become mushy, noisy, and gross in most scanners. This is where drum scanners, and particularly the Tango shines. While I've never personally scanned on another drum scanner, I've had many drum scans of my own images made for me and I have to say that the Tango handles shadow recovery and extraction like an absolute champ. What's beautiful about these scans isn't only its ability to seemingly peer into deep shadows on transparency film, but it is in the scanner's ability to do so essentially noise free. Many times, if you are attempting to extract shadow detail from an Epson scan, those areas will essentially block up and cast towards a reddish color. On the Tango, I have scanned what I thought to be pure black areas (values reading at 0, 0, 0 in RGB) at values of 1's and 2's across the board. What I mean by that is whereas most scanners would fall over backwards trying to extract something out of nothing, the scanner almost refuses to scan at pure black.
The same can be said about highlights in transparency film. What the scanner can do with blacks, it can also do with whites, but generally it isn't quite as shockingly noticeable as it is with shadows. Epson scanners do a fair job at scanning highlight areas most of the time.
Digital noise is always a problem, even with modern digital cameras. The beauty in a drum scan is the lack of this noise across the board with all scans. You're getting exactly what you're seeing on the light table, preserving and archiving each piece of film as it was meant to be seen. Below are a few examples of areas of deep shadows from some of my drum scans that would be previously unrecordable in a flatbed scan.
Negatives, Can They Be Drum Scanned?
The most common misconception I've seen with many film photographers is that you can't drum scan negatives. I believe this came from many labs over the last decade that did not want to scan them, therefore did not accept them. Drum scanning negatives, especially color negatives, has proven to be a very labor intensive process. The older scanning software does not seem to do a very good job in color inversions, so everything must be scanned as a positive and then manually inverted in Photoshop. This can sometimes take quite a bit of time to get looking right. In reality, while there's less noticeable benefit from a drum scan of a negative compared to a transparency at first glance, there is definite improvement. You are still gaining the sharpness benefit of a drum scan over a flatbed scan, as well as increased color tonality. What you don't gain is increased dynamic range. The ability for the scanner to seemingly peer into the shadows of a transparency isn't as prevalent, but by hand inverting negatives, I can assure that the shadows aren't blocked up and the highlights aren't clipped.
Drum Scanning Service
So, you've made it this far and you may be asking yourself, what does this mean for me? I'm now offering out my scanning services to you. Images will be provided to you in either 16 bit LAB or AdobeRGB color space. Files will be delivered via GoogleDrive, WeTransfer, or a USB drive you provide. Resolution will vary and custom scans can be made at your request, but based on my testing, I've determined the best optical resolution vs. film size for a scan, which is what I will provide by default.
35mm at 6k dpi - $35 per image - file size about 700 MB
35mm X-Pan at 6k dpi - $40 per image - file size about 1.3 MB
645, 6x6, and 6x7 at 5k dpi - $45 per image - file sizes range from 1-1.3 GB
6x8, 6x9 at 5k dpi - $50 per image - file sizes range from 1.4-1.5 GB
6x12, 6x17 at 5k dpi - $60 per image - file sizes range from 1.9-2.2 GB
4x5 at 4k dpi - $70 per image - file size about 1.7 GB
5x7 at 3k dpi - $85 per image - file size about 1.7 GB
8x10 at 2k dpi - $125 per image - file size about 1.7 GB
8x10 at 4k dpi - $250 per image - file size about 4 GB
11x14 at 1.5k dpi - $225 per image - file size about 1.8 GB
11x14 at 2.5k dpi - $450 per image - file size about 4 GB
Return shipping of $10 will be charged at time of order for all US customers
International customers will be based on quote provided by USPS or Fedex
Drum scans will be dust spotted zoomed to 60%. If you wish to have full dust cleanup, a service charge of 25% of the price of the scan will be added.
Strips will be charged 50% of the price of the scan for each unscanned image
Turnaround time is usually 1-2 weeks, based on availability. Email me at michael@michaelstricklandimages.com, or fill out the form below if you'd like your film scanned.
Donation
If you enjoy this content, please consider taking a moment to help me continue to pursue my dreams and donate a small amount back to this page. This is a source of free information, and every bit helps keep me writing more content and photographing more for your enjoyment. Thank you!