Hi all, welcome to my third blog post! I have some exciting things to share with you all today. As I mentioned in my previous blog post, I wanted to share my A.M. and P.M. skincare routines with you. This year, my skin has been having a tough time. My skin has been dull and oily to the point that it caused me to battle pimples almost everyday. I couldn’t figure out if it was my diet or if the products I was using weren’t meant for my skin type. So I ended up doing a little research to determine what factors contribute to skin trouble and the first thing I came across was “Diet!” Thus, finding out this piece of info, the first step I took to address my skins’ issues was to limit how much refined sugar I was eating (Oh my macarons), as well as incorporate more detox and herbal teas into my diet. In addition, I started eating more fruits and veggies and drinking more water. Sometimes if your skin looks dull or oily (Yes even if it’s oily) it could be that you aren’t hydrated enough. I slowly started to see the formation of pimples decrease once I changed my diet. The next thing I did was eliminate all the skincare products I was using and start over with new products that would target each issue I was having. I’m going to jump right in and fill you in on what products I’ve been using for my daytime and night routines!
A.M Routine
A normal morning routine should consist of oil cleansing, foam cleansing, or both (Further detail on how to double cleanse can be found in my previous post). Followed by using an exfoliating facial brush or sponge. Next you want to use a toner, Acid (BHA, AHA, Vitamin C), Cream (Thick consistency that targets specific skin concerns like hyper-pigmentation or dullness), Serum, Sheet masks (You can skip this step if you don’t have time), Emulsion (Lotion like consistency, like that of a moisturizer), and lastly sunscreen. Never forget your sunscreen. Even if you are darker-skinned, you can still be susceptible to sun damage.
The routine I mentioned consists of 10 steps, but you can forgo certain steps if you deem it unnecessary. The steps I believe that aren’t crucial to your A.M. routine are double cleansing and sheet masks. If you have previously cleansed your face at night you won’t need to provide your skin with as much cleansing. Also, it is wonderful to use sheet masks anytime during the day, but it’s much easier to incorporate that into your night routine. Also, I didn’t mention essence which is the step always found in Asian based skincare. For me personally that step didn’t help me and I use products that could be considered as an essence, so it wouldn’t make sense to use two similar products that yield the same results.
The routine I follow is a little lengthy, but it’s worth it at the end of the day when I see my skin looking radiant and healthy.
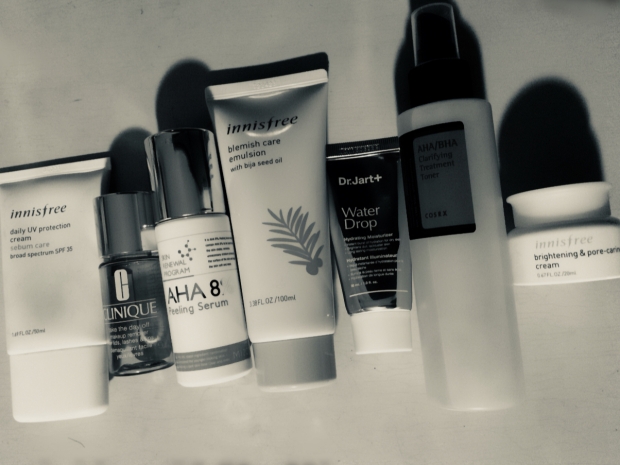
My A.M routine consists of these steps:
- Oil based cleanser (Olive oil or coconut oil)
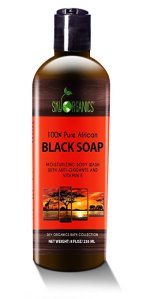
- Sky’s Organic African Black Soap or Innisfree Brightening & Pore-Caring facial Wash
- Ecotools Face Complexion Sponge
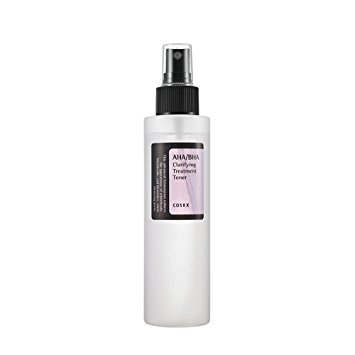
- COSRX AHA/BHA Clarifying Treatment Toner
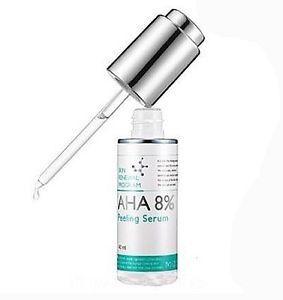
- Mizon AHA 8% peeling serum
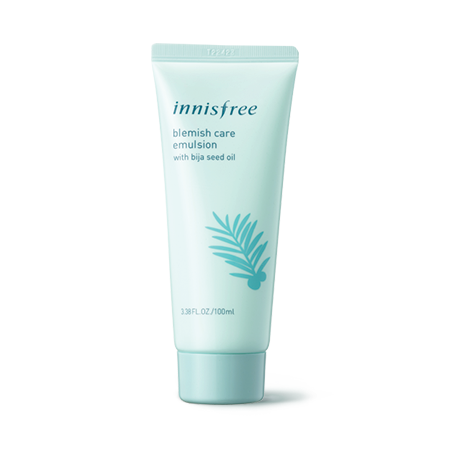
- Innisfree Blemish Care Emulsion (This particular product has to be used earlier in your skincare routine instead of the second to last step)
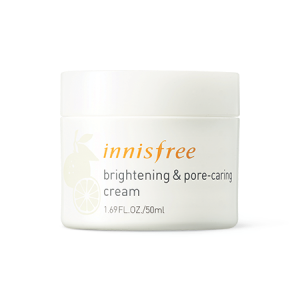
- Innisfree Brightening & Pore-Caring Cream
- Innisfree Intensive hydrating serum
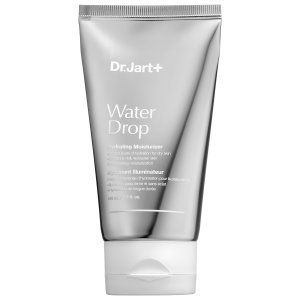
- Dr. Jart Water Drop Moisturizer
- Innisfree Daily UV Protection Cream (Sebum Care) Broad Spectrum SPF 35 (Mattifying)
My P.M. Routine
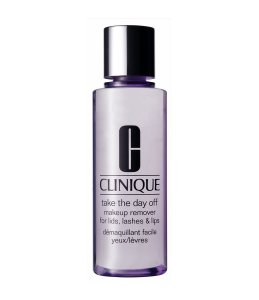
- Clinique makeup remover (Also I like to use makeup wipes, Skinfood Rice Brightening Facial Tissues is a good one to use)
- Oil based cleanser (Olive oil or coconut oil)
- Sky’s Organic African Black Soap or Innisfree Brightening & Pore-Caring Facial Wash
- COSRX AHA/BHA Clarifying Treatment Toner
- Innisfree Blemish Care Emulsion (This particular product has to be used earlier in your skincare routine instead of the second to last step)
- Innisfree Brightening & Pore-Caring Cream
- Innisfree Intensive Hydrating Serum
- Sheet mask
- Dr. Jart Water Drop Moisturizer
I want to mention a few things about the products I listed for extra clarification. I just started using the COSRX AHA/BHA Clarifying Treatment Toner after hearing great things about it. It’s supposed to reduce the appearance of fine lines, stop pimple from coming to surface, and reduce the appearance of blemishes. So far I’m liking this toner a lot. My skin feels a lot softer after use and my pores look like they have diminished. Whenever you use a toner you want to make sure it’s close to your skins P.H. level, so between the levels of 3 or 4. Using the right toner is essential as it preps you for your next step in your skincare routine. If you use acids then you definitely want to use the right toner so that your skin absorbs the acid better. That’s why I opted for the COSRX toner as it prepares me to use the Mizon AHA 8% peeling serum. I’ve had this serum for about two weeks now. I’ve been switching the times of day I use it so see how my skins reacts to it. If you use it in the daytime make sure you wear sunscreen. Any product that contains AHA or BHA must be used with sunscreen to eliminate the risk of sun damage. The Mizon AHA serum must be used right after your toner, that’s when its absorption rate is better. This serum doesn’t exactly peel your skin like it says, but you will notice that your skin may look flaky if you wear makeup. That’s because that dead skin is falling off. This is exactly what you want from an AHA serum. AHA serum is working to get rid of that dead skin, impurities, uneven skin tone, and fine lines to reveal a new layer of fresh and supple skin. I will continue using this product and show you all the results along the way. Another product I didn’t mention in my skincare routine is Vitamin C serum. I cannot say enough good things about Vitamin C Serum. I ran out of this product a month ago and haven’t had the chance to purchase another yet, but I will definitely buy it again. The brand I purchased was Pure Vitamin C 21.5 Advanced Serum by Wishtrend. I will provide a review at a later date so you all can find out all this details of this wonderful serum!
What is AHA and BHA
AHA and BHA share similarities but they function in a different manner and provide different results.
AHA stands for alpha hydroxy acid (glycolic and lactic acids). These acids are known to treat concerns such as wrinkles, fine lines, dull and dry skin, uneven skin tone, hyper-pigmentation, and dark spots. AHA basically helps to exfoliate your skin gently to treat these concerns.
BHA stands for beta hydroxy acid/ salicylic acid. This acid targets underneath the skins layers and inside the pores. BHA is recommended for those who have trouble with oily skin, bumps, pimples, enlarged pores, and blemishes. The use of this acid can also help dull skin, even out skin tone, reduce fine lines and wrinkles, and work to improve the texture of skin, just like AHA.
If you want to incorporate these acids into your routine do a bit a research and make sure it’s right for you. Those that have sensitive skin may find that these acids may be harsh on the skin, so do a patch test first to see how your skin responds. If your skin responds well to these acids try using them every other day.
If you want to learn more about these acids click here.
Sheet Masks
I’m extremely fond of sheet masks. I don’t always have time to use them, but I try to use them 3 or 4 times a week. Right now the sheet masks I’m testing out are peach slices by peach & lily. I really like the brighten mask. I typically apply it at night and wake up to radiant and bright skin.
If you would like to know more about sheet masks and facial masks, then look out for next blog post in which I will review some of my favorite masks to purchase and to make at home.
Until Next time
May your skin glow and may your coffee be strong
xoxo,
Aminah♥